As described in my last post, GoldenGate Studio requires the monitor agent on each GoldenGate instance. The goal of this agent is to allow GoldenGate Studio to interact with GoldenGate, for example, to deploy a new solution.
So lets start with the installation of the agent.
Download
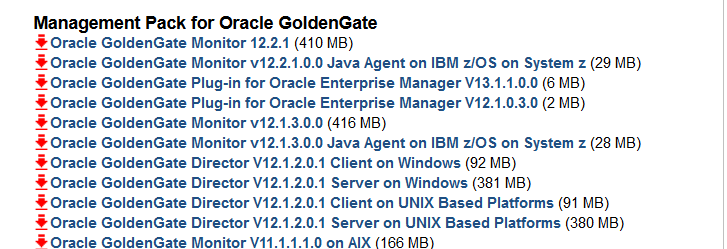
The first step is to download the monitor agent (Oracle GoldenGate Monitor). It is available here.
Installation
The second step is to install the product.
After you have transferred the installer to the server decompress it.
oracle@srvoracle:/tmp/ [DB1] cd monitor/
oracle@srvoracle:/tmp/monitor/ [DB1] ll
total 420092
-rw-r--r-- 1 oracle oinstall 430166267 Feb 29 13:32 fmw_12.2.1.0.0_ogg_Disk1_1of1.zip
oracle@srvoracle:/tmp/monitor/ [DB1] unzip fmw_12.2.1.0.0_ogg_Disk1_1of1.zip
Archive:  fmw_12.2.1.0.0_ogg_Disk1_1of1.zip
  inflating: fmw_12.2.1.0.0_ogg.jar
oracle@srvoracle:/tmp/monitor/ [DB1] ll
total 840392
-rw-r--r-- 1 oracle oinstall 430166267 Feb 29 13:32 fmw_12.2.1.0.0_ogg_Disk1_1of1.zip
-r-xr-xr-x 1 oracle oinstall 430387063 Oct 14 08:33 fmw_12.2.1.0.0_ogg.jar
For launching the installer it is mandatory to have at a minimum Java version 8 (1.8). If this is not available it can be downloaded here.
To start the installation, launch the fmw_12.2.1.0.0_ogg.jar.
oracle@srvoracle:/home/oracle/Downloads/jdk1.8.0_73/bin/ [DB1] ./java -jar /tmp/monitor/fmw_12.2.1.0.0_ogg.jar
Launcher log file is /tmp/OraInstall2016-02-29_01-39-26PM/launcher2016-02-29_01-39-26PM.log.
Extracting files.......
Starting Oracle Universal Installer

Checking if CPU speed is above 300 MHz.   Actual 2494.801 MHz    Passed
Checking monitor: must be configured to display at least 256 colors.   Actual 16777216    Passed
Checking swap space: must be greater than 512 MB.   Actual 4095 MB    Passed
Checking if this platform requires a 64-bit JVM.   Actual 64    Passed (64-bit not required)
Checking temp space: must be greater than 300 MB.   Actual 28817 MB    Passed


Preparing to launch the Oracle Universal Installer from /tmp/OraInstall2016-02-29_01-39-26PM
Log: /tmp/OraInstall2016-02-29_01-39-26PM/install2016-02-29_01-39-26PM.log
Logs successfully copied to /u01/app/oraInventory/logs.
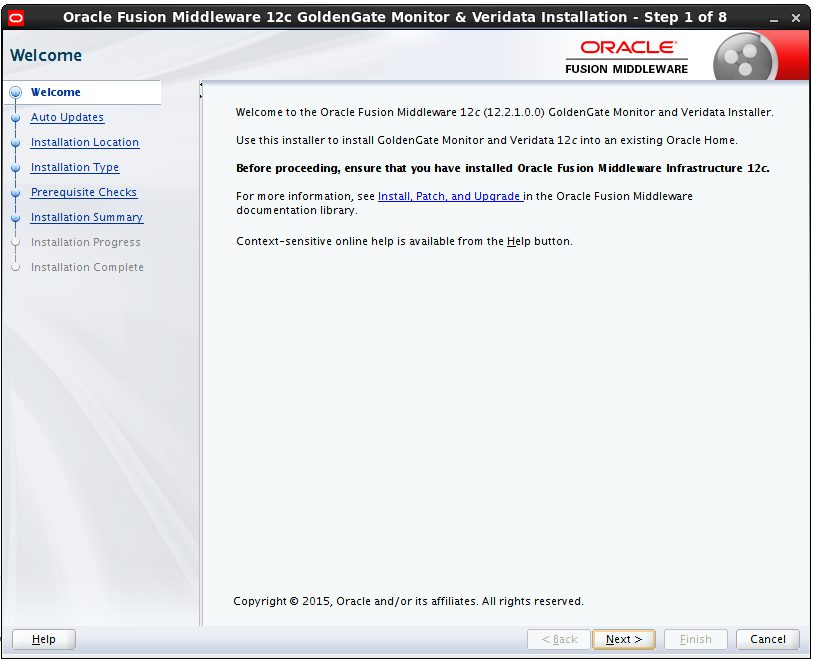
The OUI (Oracle Universal Installer) will start. On the first screen just click on the next button.
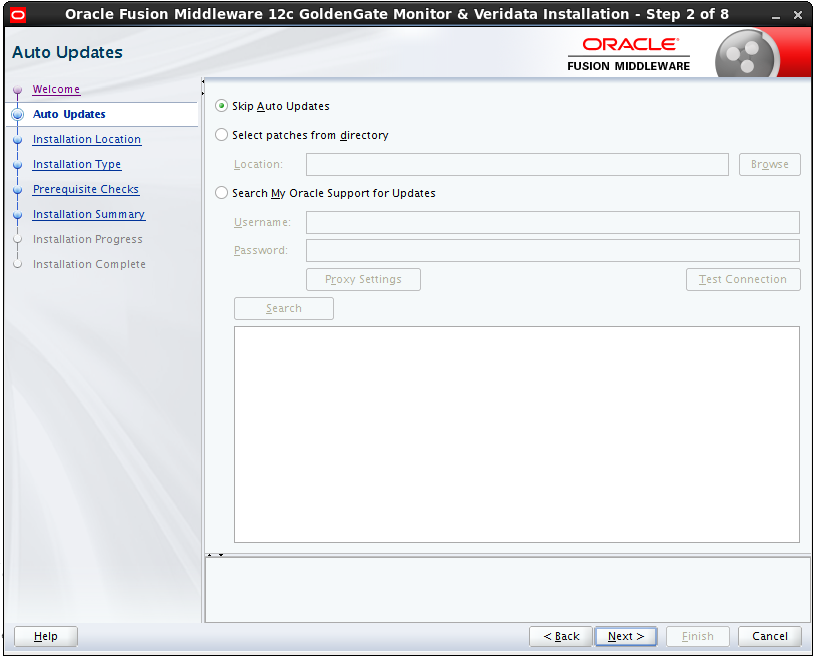
On the next screen, we can choose the option for the updates. In my case, I leave the option to skip the auto updates.
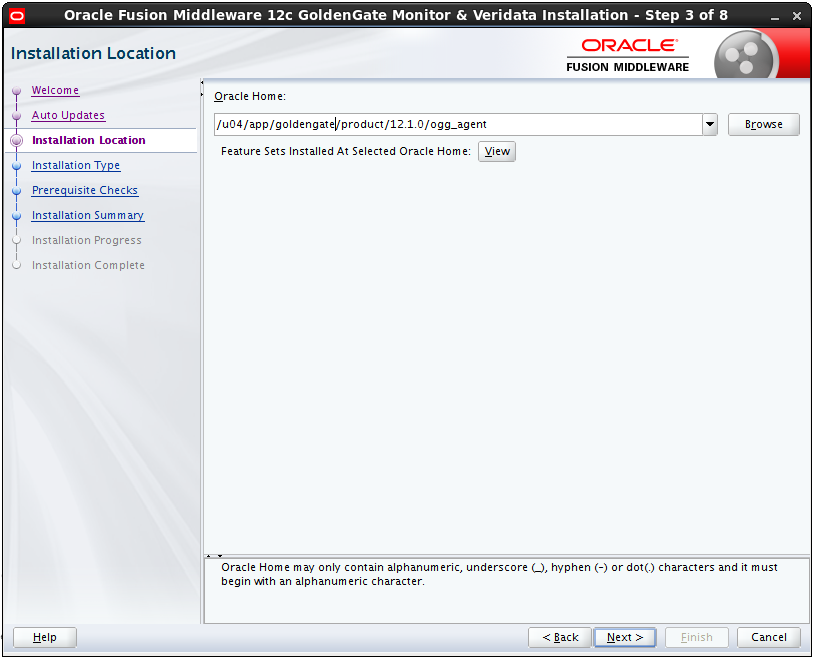
Fill up the software location desired for GoldenGate agent.
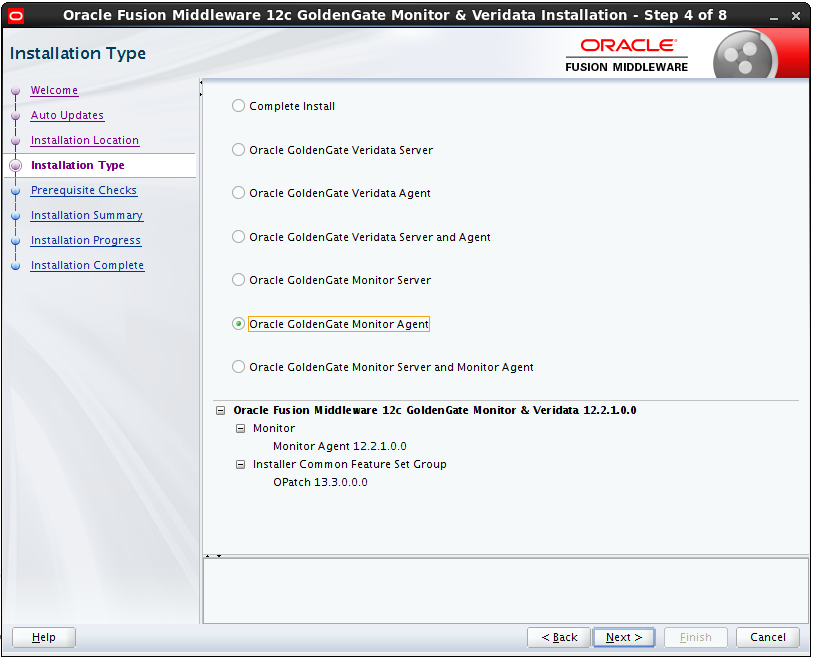
Select the option to install only the agent monitor.
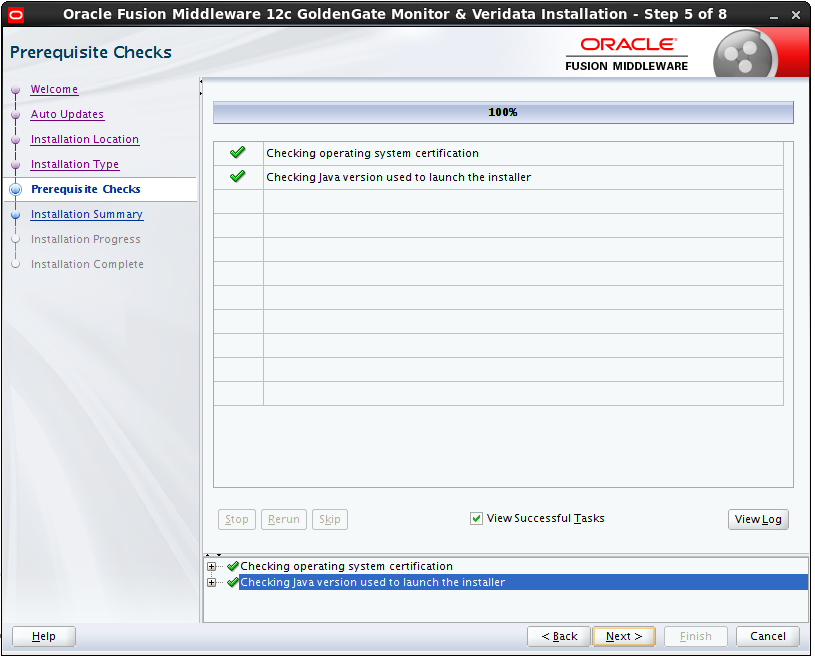
The OUI will test the system configuration and the java version.
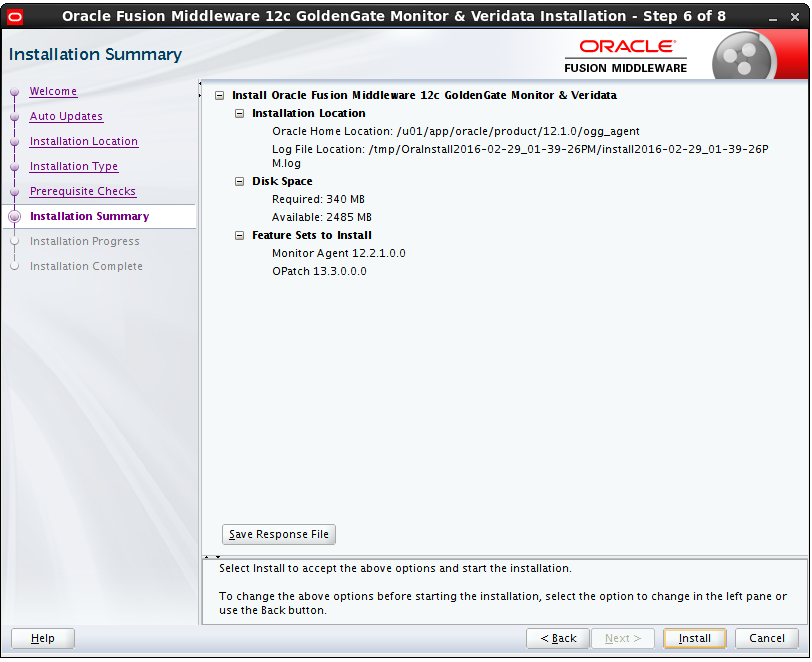
The OUI provides a summary of the configuration. Click on next button, if all is ok.
The installation is done.
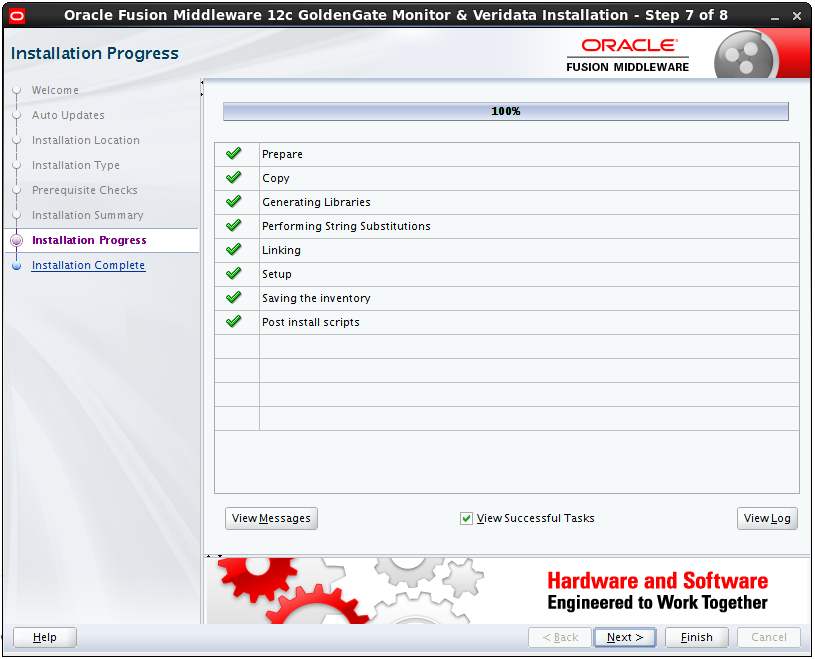
At the end OUI provides a summary of the installation with the location of the logs.
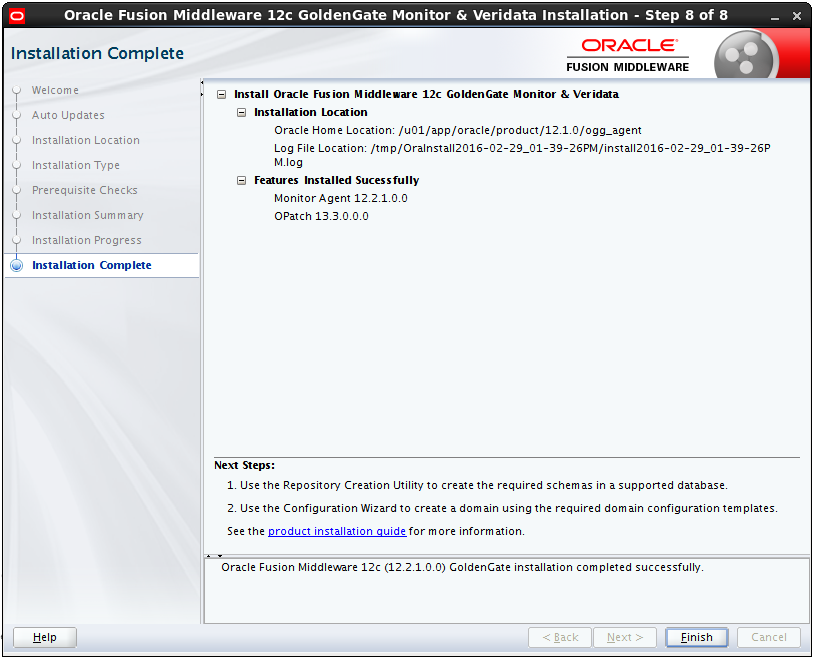
Now GoldenGate agent is installed.
Configuration
Create instance
To create the instance of the agent, go where the binaries have been installed. In this example, it is /u01/app/oracle/product/jagent/oggmon/ogg_agent.
After that, launch the script createMonitorAgentInstance.sh.
oracle@srvoracle:/u01/app/oracle/product/jagent/oggmon/ogg_agent/ [DB1] ./createMonitorAgentInstance.sh
Please enter absolute path of Oracle GoldenGate home directory : /u01/app/oracle/product/12.1.0/gg_1
Please enter absolute path of OGG Agent instance : /u01/app/oracle/product/12.1.3.0/jagent
Please enter unique name to replace timestamp in startMonitorAgent script (startMonitorAgentInstance_20160229140552.sh) : 2
Sucessfully created OGG Agent instance.
Create password
The agent needs a password to work. All the passwords will be stored in a wallet. For this go to the ORACLE_HOME_AGENT/bin. In my case, /u01/app/oracle/product/12.1.3.0/jagent/bin.
Launch the script pw_agent_util.sh.
oracle@srvoracle:/u01/app/oracle/product/12.1.3.0/jagent/bin/ [DB1] ./pw_agent_util.sh -jagentonly
Please create a password for Java Agent:
Please confirm password for Java Agent:
Feb 29, 2016 2:18:55 PM oracle.security.jps.JpsStartup start
INFO: Jps initializing.
Feb 29, 2016 2:18:56 PM oracle.security.jps.JpsStartup start
INFO: Jps started.
Wallet is created successfully.
Enable monitoring
To enable the monitoring, launch ggsci command and edit the GOLBALS parameter file.
oracle@srvoracle:/u01/app/oracle/product/12.1.3.0/jagent/bin/ [DB1] ggi

GGSCI (srvoracle) 2> edit params ./GLOBALS

GGSCI (srvoracle) 4> view params ./GLOBALS

GGSCHEMA ggadmin
CHECKPOINTTABLE ggadmin.checkpoint
ENABLEMONITORING
Now restart the ggsci command and the jagent appears when doing an “info all”.
oracle@srvoracle:/u01/app/oracle/product/12.1.3.0/jagent/bin/ [DB1] ggi

GGSCI (srvoracle) 1> info all

Program     Status      Group       Lag at Chkpt  Time Since Chkpt

MANAGER     STOPPED
JAGENT      STOPPED
To finalize, delete the datastore and recreate one.
oracle@srvoracle:/u01/app/oracle/product/12.1.3.0/jagent/ [DB1] ggi

GGSCI (srvoracle) 1> delete datastore
Are you sure you want to delete the datastore? yes

2016-02-29 14:33:30  INFO    OGG-06492  Datastore deleted.

GGSCI (srvoracle) 2> create datastore
Profile 'Trace' added.

2016-02-29 14:33:55  INFO    OGG-06489  Datastore created.
Now you can start the manager process and the jagent.
Conclusion
Now that the agents have been installed on each instance, all the prerequisite for GoldenGate Studio are met.
In the next blog, I will show you how to use GoldenGate Studio to deploy a solution
![Thumbnail [60x60]](https://www.dbi-services.com/blog/wp-content/uploads/2022/12/oracle-square.png)
![Thumbnail [90x90]](https://www.dbi-services.com/blog/wp-content/uploads/2022/08/DWE_web-min-scaled.jpg)