Oracle provides a monitoring console in the cloud but this console gives not all the information that we need. For example, it is not possible to send an email when a problem appear.
However it is possible to use a Cloud Control on premise for monitoring this database. For that, it is necessary to have an EM12c release 5 and at least one agent installed.
How to configure a local agent
The first step is to configure a local agent to communicate with the cloud. This has to be an existing Agent. You can use any of them.
emcli login -username=sysman
Enter password
Login successful

emcli sync
Synchronized successfully

emcli register_hybridgateway_agent -hybridgateway_agent_list='emcc.example.com:3872'
Successfully registered list of agents as hybridgateways.
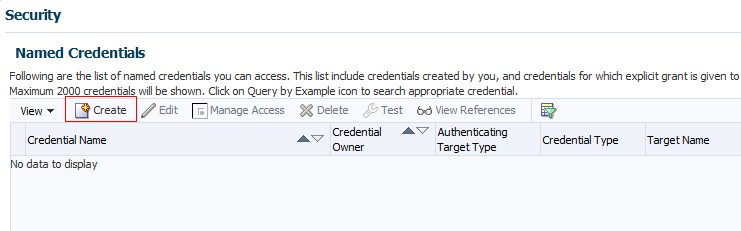
How to create a named credential
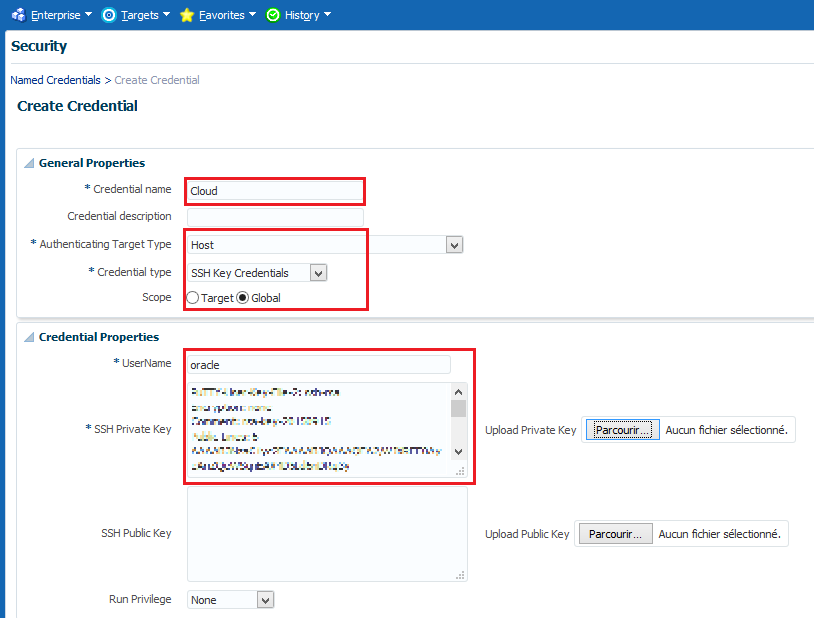
As it is SSH connection, it is necessary to create a named credential in the Cloud Control.
For creating the credential go to the menu Setup -> Security -> Named Credential.
The credential is created for a global scope so that we can reuse it for all the connection.
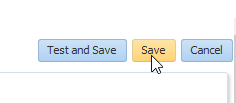
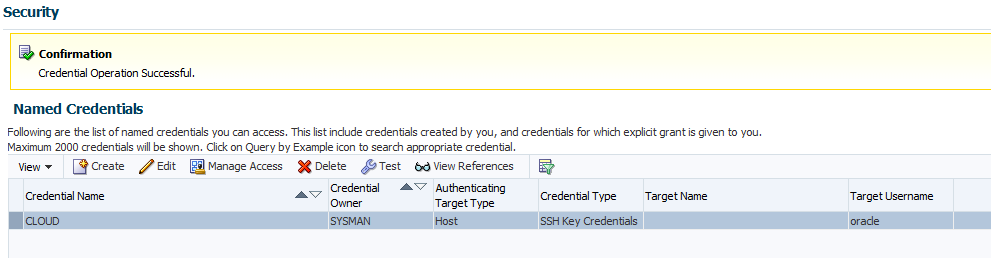
After that, click just on the save button. Do not make a test.
Installation of the agent
The installation of the agent is almost the same as for a normal agent. There are two differences, the first one is the use of an SSH connection and the second one is the use of a Hybrid Cloud Gateway Agent.
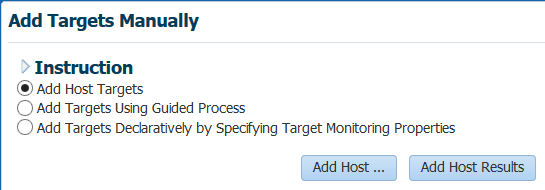
For install the agent, go to the menu Setup -> Add target -> Add Targets Manually
Choose Add Host Targets and click on the Add Host button.
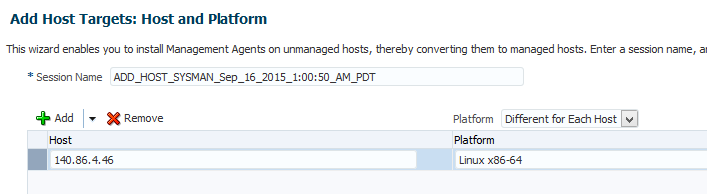
Enter the IP public address of your compute and the platform and click next button.
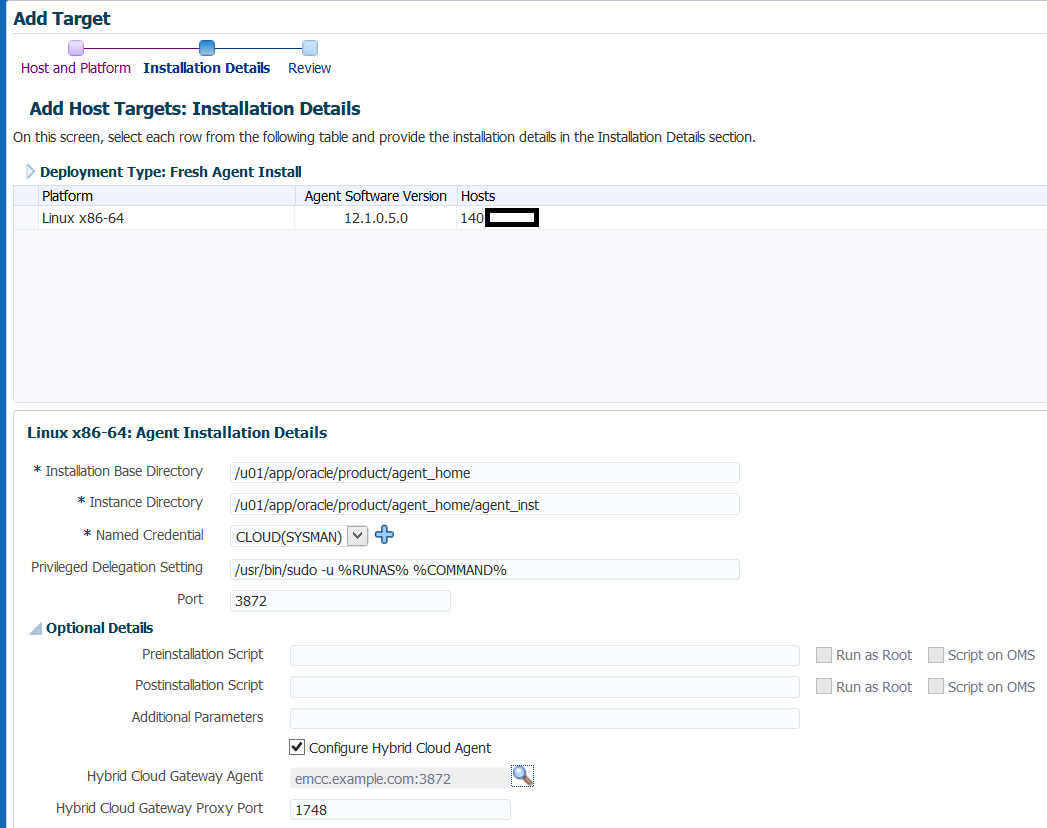
Choose where the agent must be installed, the credential created earlier in this blog.
In the Optional Details, check the Configure Hybrid Cloud Agent, choose the agent set in Hybrid Gateway Agent and click next button.
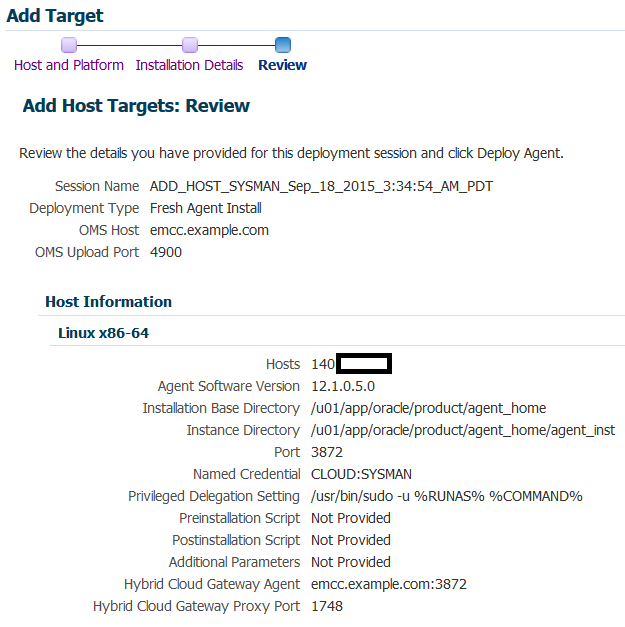
After that, we can see a summary of the configuration. If all is ok, click on the Deploy Agent button.
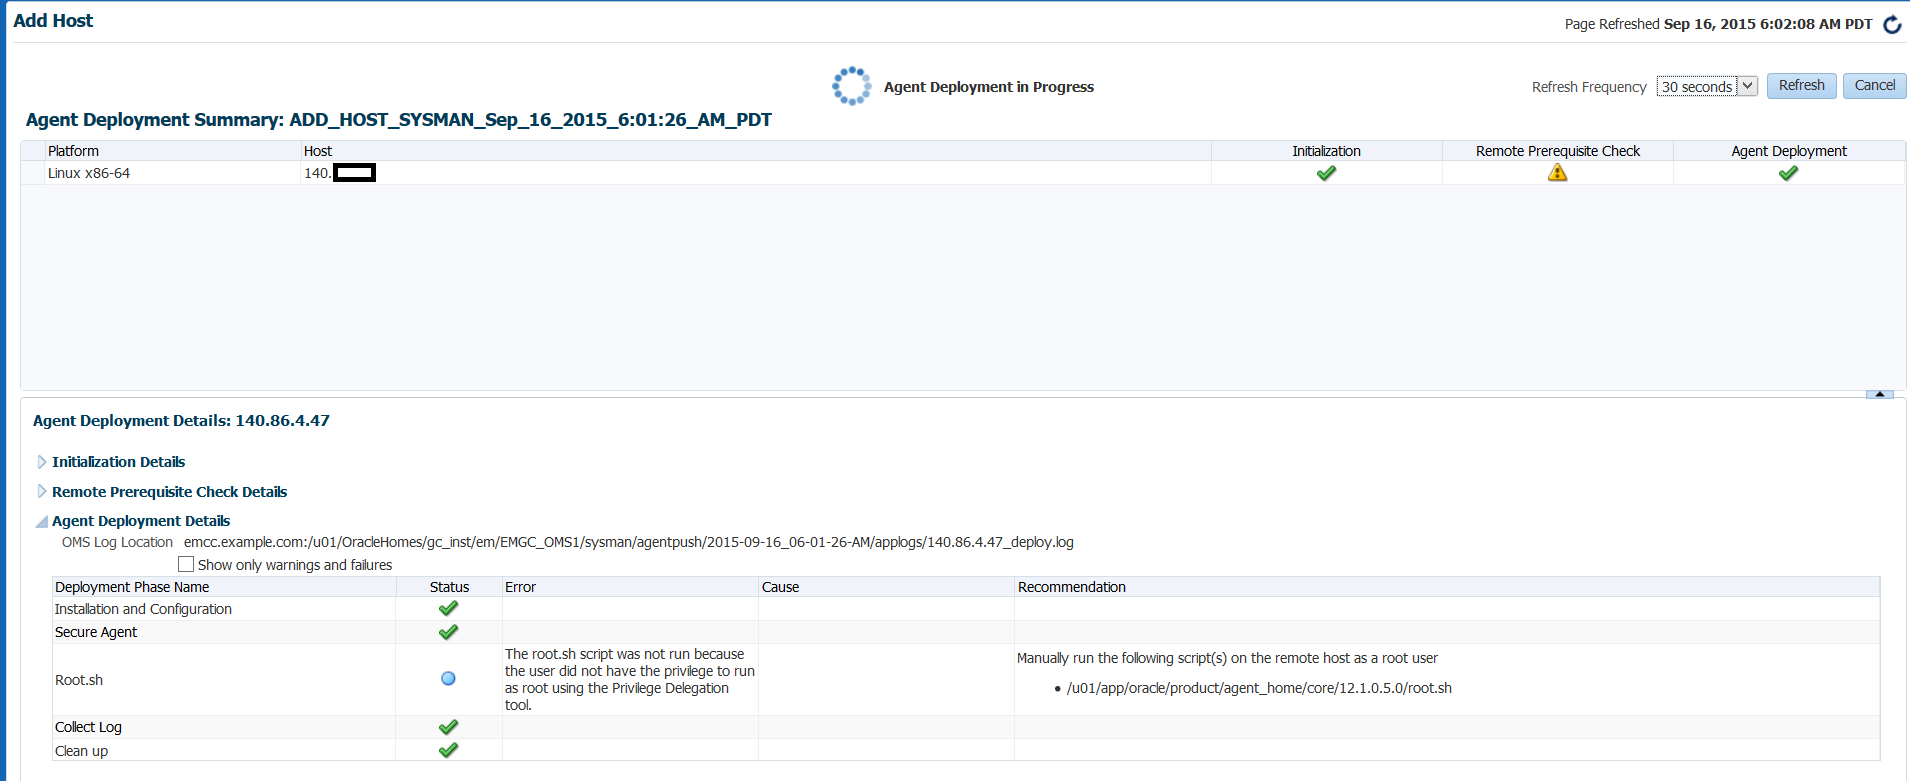
The deployment has three steps. First, Cloud Control will copy the agent on the server.
Second, Cloud Control will do prerequisite tests. A warning is returned but you can continue without further.
Third, Cloud Control will deploy the agent.
Add targets
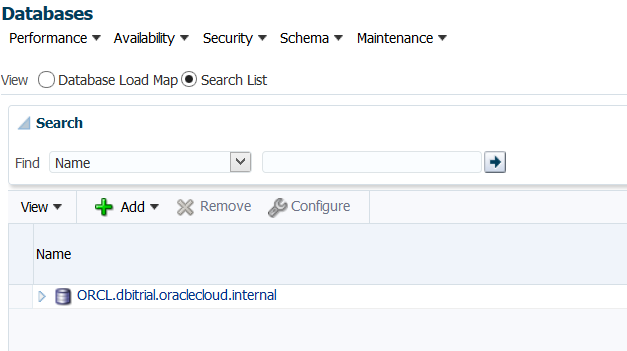
Now that the agent is installed, we can add the targets. For this go to the menu Target -> Databases.
Choose Search List and click on the Add button.
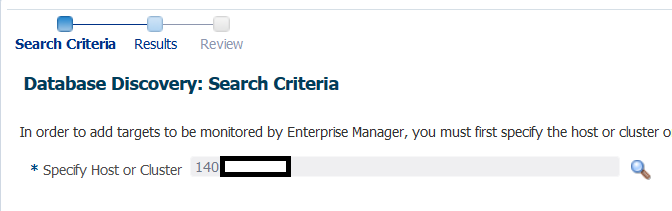
Select the host where the targets are and click on the next button.
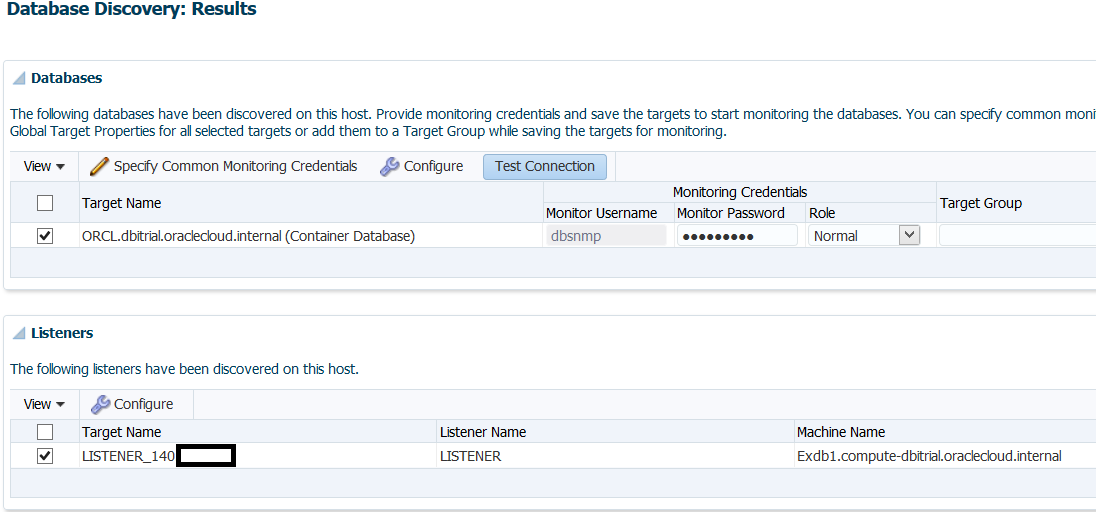
Cloud Control finds the listener and the database. We just need to give the password for the dbsnmp account and select the target.
Click on the next button.
We can see a summary of all targets. Click on the save button.
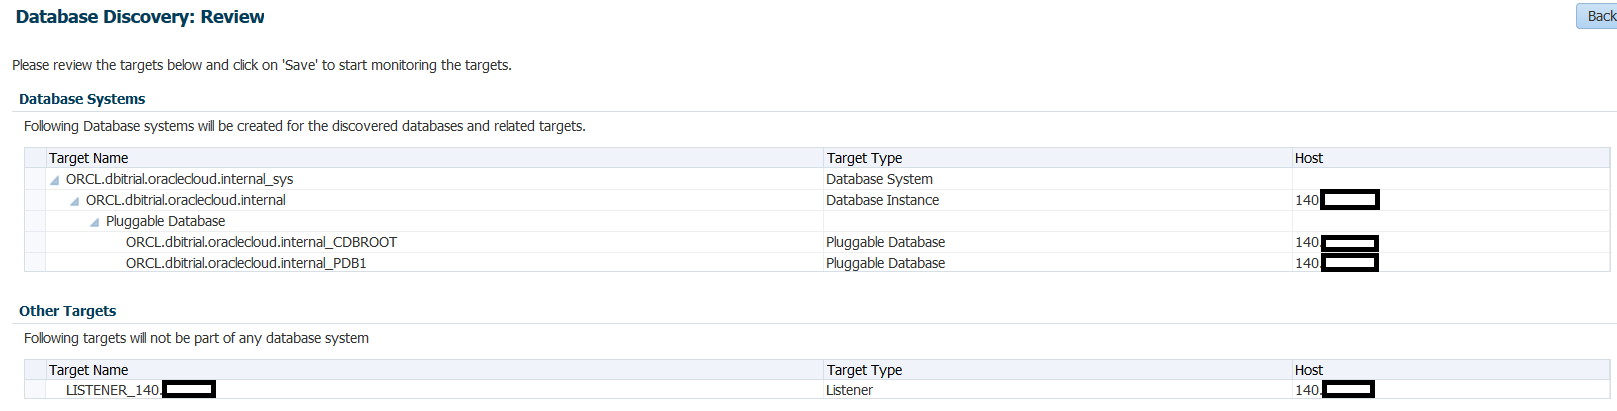
Now the targets were added. We can use the Cloud Control as usual.
![Thumbnail [90x90]](https://www.dbi-services.com/blog/wp-content/uploads/2022/08/DWE_web-min-scaled.jpg)