By Mouhamadou Diaw
Dbvisit is compatible with Amazon Cloud. In this article we are going to talk about installation of Oracle SE2 and Dbvisit Standby 7 between 2 AWS linux instances. We suppose that ssh equivalence is configured for user oracle used for dbvisit installation.
First we have to install oracle software on both servers: primaserver and standserver.
To Install oracle-rdbms-server-12cR1-preinstall.x86_64 package yum can be used to configure the repository
[root@primaserver yum.repos.d]# wget http://public-yum.oracle.com/RPM-GPG-KEY-oracle-ol7 -O /etc/pki/rpm-gpg/RPM-GPG-KEY-oracle

--2016-11-14 03:52:34-- http://public-yum.oracle.com/RPM-GPG-KEY-oracle-ol7

Resolving public-yum.oracle.com (public-yum.oracle.com)... 104.80.89.129, 23.54.8.75

Connecting to public-yum.oracle.com (public-yum.oracle.com)|104.80.89.129|:80...connected.

HTTP request sent, awaiting response... 200 OK

Length: 1011

Saving to: ‘/etc/pki/rpm-gpg/RPM-GPG-KEY-oracle’ 100%[======================================] 1,011 --.-K/s in 0s 2016-11-14 03:52:34 (187 MB/s) - ‘/etc/pki/rpm-gpg/RPM-GPG-KEY-oracle’ saved [1011/1011]
[root@primaserver yum.repos.d]# cd /etc/yum.repos.d/

[root@primaserver yum.repos.d]#

[root@primaserver yum.repos.d]# wget http://public-yum.oracle.com/public-yum-ol7.repo

--2016-11-14 03:53:00-- http://public-yum.oracle.com/public-yum-ol7.repo

Resolving public-yum.oracle.com (public-yum.oracle.com)... 23.54.18.75, 104.80.89.129

Connecting to public-yum.oracle.com (public-yum.oracle.com)|23.54.18.75|:80...

connected. HTTP request sent, awaiting response... 200 OK Length: 5119 (5.0K)

Saving to: ‘public-yum-ol7.repo’

100%[======================================>] 5,119 --.-K/s in 0s

2016-11-14 03:53:00 (478 MB/s) - ‘public-yum-ol7.repo’ saved [5119/5119]
[root@primaserver yum.repos.d]# yum install oracle-rdbms-server-12cR1-preinstall
Then after Oracle installation can be launched. Note a silent method is used. Below an example of the response file I used
[oracle@primaserver response]$ cat db_install.rsp | grep -v ^#

oracle.install.responseFileVersion=/oracle/install/rspfmt_dbinstall_response_schema_v12.1.0

oracle.install.option=INSTALL_DB_SWONLY

ORACLE_HOSTNAME=primaserver.us-west-2.compute.internal

UNIX_GROUP_NAME=oinstall

INVENTORY_LOCATION=/u01/app/oraInventory

SELECTED_LANGUAGES=en

ORACLE_HOME=/u01/app/oracle/product/12.1.0.2/db_1

ORACLE_BASE=/u01/app/oracle

oracle.install.db.InstallEdition=SE2

oracle.install.db.DBA_GROUP=dba

oracle.install.db.OPER_GROUP=dba

oracle.install.db.BACKUPDBA_GROUP=dba

oracle.install.db.DGDBA_GROUP=dba

oracle.install.db.KMDBA_GROUP=dba

SECURITY_UPDATES_VIA_MYORACLESUPPORT=false

DECLINE_SECURITY_UPDATES=true
Launching Oracle Installer
[oracle@primaserver database]$ ./runInstaller -silent -ignoreSysPrereqs -responseFile /home/oracle/db_install.rsp

Starting Oracle Universal Installer...

Checking Temp space: must be greater than 500 MB. Actual 13016 MB Passed

Checking swap space: 0 MB available, 150 MB required. Failed <<<< >>> Ignoring required pre-requisite failures. Continuing...

Preparing to launch Oracle Universal Installer from /tmp/OraInstall2016-11-14_08-26-42AM. Please wait ...[oracle@primaserver database]$ [WARNING] [INS-13014] Target environment does not meet some optional requirements.

CAUSE: Some of the optional prerequisites are not met. See logs for details. /tmp/OraInstall2016-11-14_08-26-42AM/installActions2016-11-14_08-26-42AM.log

ACTION: Identify the list of failed prerequisite checks from the log: /tmp/OraInstall2016-11-14_08-26-42AM/installActions2016-11-14_08-26-42AM.log. Then either from the log file or from installation manual find the appropriate configuration to meet the prerequisites and fix it manually.

You can find the log of this install session at:

/u01/app/oraInventory/logs/installActions2016-11-14_08-26-42AM.log
Once Oracle installed let’s create a database ORCL in the primary server with dbca in a silent method
[oracle@primaserver bin]$./dbca -silent -createDatabase \

-templateName General_Purpose.dbc \

-gdbname ORCL -sid ORCL -responseFile NO_VALUE \

-characterSet AL32UTF8 \

-sysPassword root \

-systemPassword root \

-createAsContainerDatabase false\

-databaseType MULTIPURPOSE \

-automaticMemoryManagement false \

-storageType FS \

-ignorePreReqs

Copying database files

1% complete

3% complete

37% complete

Creating and starting Oracle instance

40% complete

45% complete

50% complete

55% complete

56% complete

60% complete

62% complete

Completing Database Creation

66% complete

70% complete

73% complete

85% complete

96% complete

100% complete

Look at the log file "/u01/app/oracle/cfgtoollogs/dbca/ORCL/ORCL.log" for further details.

[oracle@primaserver bin]$
SQL> select host_name from v$instance;

HOST_NAME

----------------------------------------------------------------

primaserver.us-west-2.compute.internal

SQL>

SQL> select name,open_mode from v$database;

NAME OPEN_MODE

--------- --------------------

ORCL READ WRITE
Now it’s time to install dbvisit standby on both servers. The different steps are unzipping the software and running the installer. Output is truncated. But before don’t forget to edit your Security Groups (see blog ) to allow traffic on the differents involved ports .
[oracle@primaserver dbvisit]$ unzip dbvisit-standby7.0.62-el7.zip

Archive: dbvisit-standby7.0.62-el7.zip

inflating: dbvisit-standby7.0.62-el7.tar

[oracle@primaserver dbvisit]$ ls

dbvisit-standby7.0.62-el7.tar dbvisit-standby7.0.62-el7.zip

[oracle@primaserver dbvisit]$ tar xvf dbvisit-standby7.0.62-el7.tar
[oracle@primaserver installer]$ pwd

/home/oracle/dbvisit/dbvisit/installer

[oracle@primaserver installer]$

[oracle@primaserver installer]$ ./install-dbvisit

-------------------------------------------------------------------------------

Welcome. Your Dbvisit product is going to be installed in a moment.

It will be required by you to enter some configuration parameters

during installation.

-------------------------------------------------------------------------------

It is recommended to make a backup of our current Dbvisit software

location for rollback purposes.

>>> INSTALLATION DIRECTORY

Please specify the Dbvisit main installation directory.

The default directory is "/usr/dbvisit".

Note: the various Dbvisit products and components - such as Standby,

Replicate, Dbvnet, and Dbvserver - will be installed in the appropriate

subdirectories of this path.

Enter a custom value or press ENTER to accept default [/usr/dbvisit]:

> /u01/app/dbvisit

-------------------------------------------------------------------------------

ABOUT TO CONFIGURE: DBVISIT STANDBY

-------------------------------------------------------------------------------

Dbvisit Standby is Dbvisit's disaster recovery software for your

Oracle database.

>>> ORACLE USER NAME

Please specify the Oracle user name on this server.

The default user name is "oracle".

Note: you must be logged in as the Oracle user to run Dbvisit installer.

Custom value or ENTER for default [oracle]:

..........

..........

>>> IMPORTANT - PLEASE NOTE THE FOLLOWING REQUIREMENTS BEFORE CONTINUING:

> The Dbvisit Standby, Dbvnet, and Dbvserver software must be installed

on both the primary and standby servers.

> For network communication between the primary and standby server

via Dbvnet port number 7890 must not be blocked by your firewalls.

> Dbvnet must be up and running on both the primary and standby servers

at all times.

> If you wish to use Dbvserver, the Dbvisit web interface, then please

ensure port 8443 is open on your servers' firewalls, as well.

>>> Thank you for using Dbvisit software!

[oracle@primaserver installer]$
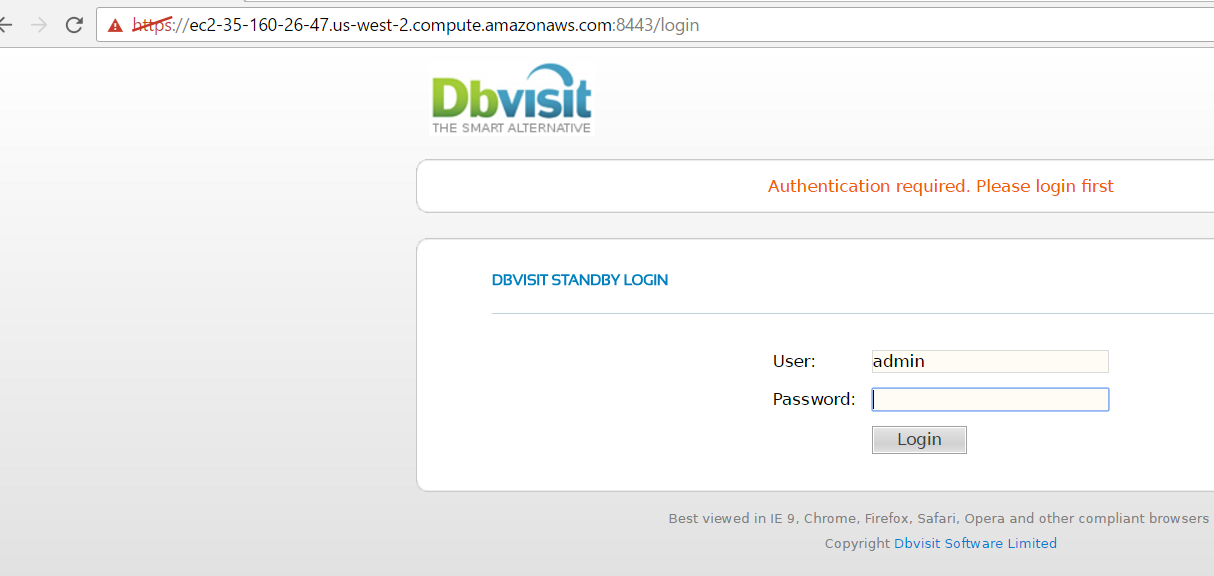
Once dbvisit installed on both node, the graphical administration tool can be lauched using the public DNS.
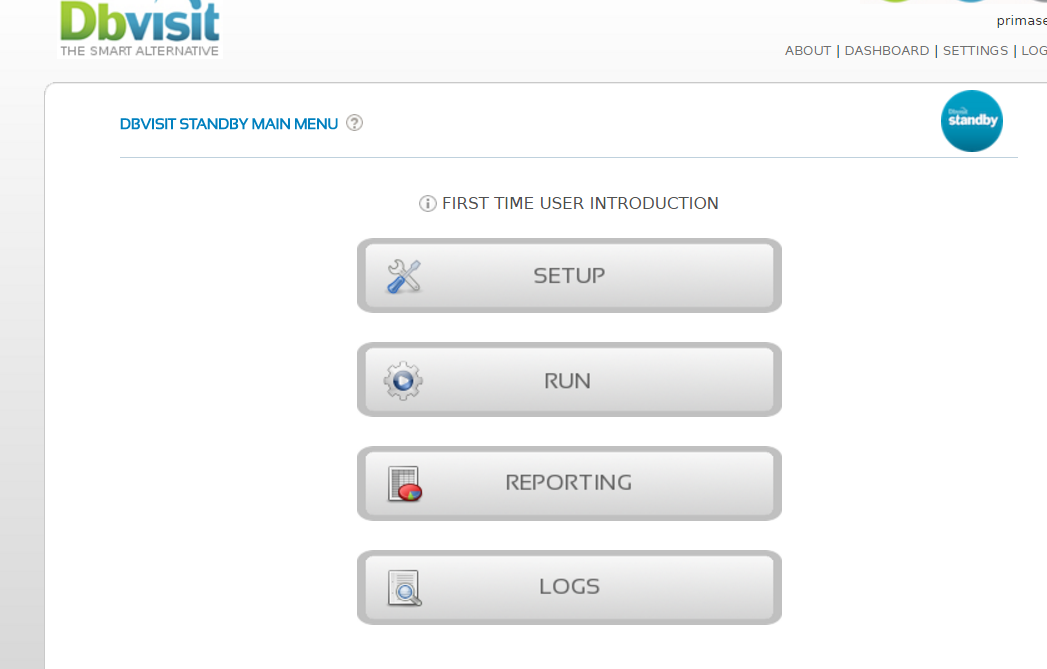
To configure a standby database we can use the GUI or dbvisit_setup executable
[oracle@primaserver dbvisit]$ cd /u01/app/dbvisit/standby/

[oracle@primaserver standby]$ pwd

/u01/app/dbvisit/standby
The first step of the configuration is to create a new dbvisit database setup. Just launch dbvisit_setup, choose option 1 and follow instructions.
[oracle@primaserver standby]$ ./dbvisit_setup

....

....

....

Options:

1) New Dbvisit Database setup (combines options 2,3,4)

1a) New Dbvisit RAC Instance setup (combines options 2,3,4)

2) New Dbvisit Database configuration (DDC) file setup

3) New Dbvisit Archive Management Module (AMM) setup

4) New Dbvisit Database repository (DDR) setup

5) Manage Dbvisit Database repository (DDR)

6) Update Dbvisit Database configuration (DDC) file

7) Create Standby Database (and template)

8) Synchronize Standby Database

9) Uninstall Dbvisit Database repository (DDR)

E) Exit

=========================================================

Please enter choice : 1
And then after we can create standby database by running again dbvisit_setup, choose option 7 and follow instructions.
[oracle@primaserver standby]$ ./dbvisit_setup

=========================================================

Dbvisit Standby Database Technology (7.0.62.16992)

....

....

....

Options:

1) New Dbvisit Database setup (combines options 2,3,4)

1a) New Dbvisit RAC Instance setup (combines options 2,3,4)

2) New Dbvisit Database configuration (DDC) file setup

3) New Dbvisit Archive Management Module (AMM) setup

4) New Dbvisit Database repository (DDR) setup

5) Manage Dbvisit Database repository (DDR)

6) Update Dbvisit Database configuration (DDC) file

7) Create Standby Database (and template)

8) Synchronize Standby Database

9) Uninstall Dbvisit Database repository (DDR)

E) Exit

=========================================================

Please enter choice : 7
![Thumbnail [60x60]](https://www.dbi-services.com/blog/wp-content/uploads/2022/12/oracle-square.png)
![Thumbnail [90x90]](https://www.dbi-services.com/blog/wp-content/uploads/2022/08/ENB_web-min-scaled.jpg)
![Thumbnail [90x90]](https://www.dbi-services.com/blog/wp-content/uploads/2022/08/ADE_WEB-min-scaled.jpg)
![Thumbnail [90x90]](https://www.dbi-services.com/blog/wp-content/uploads/2022/08/MOP_web-min-scaled.jpg)