The cool thing with Amazon AWS is that you can use command line tools on your workstation to bring up and manage your services. In this post I’ll look into how you can launch a Linux VM from the command line and how you can attach a storage volume to it.
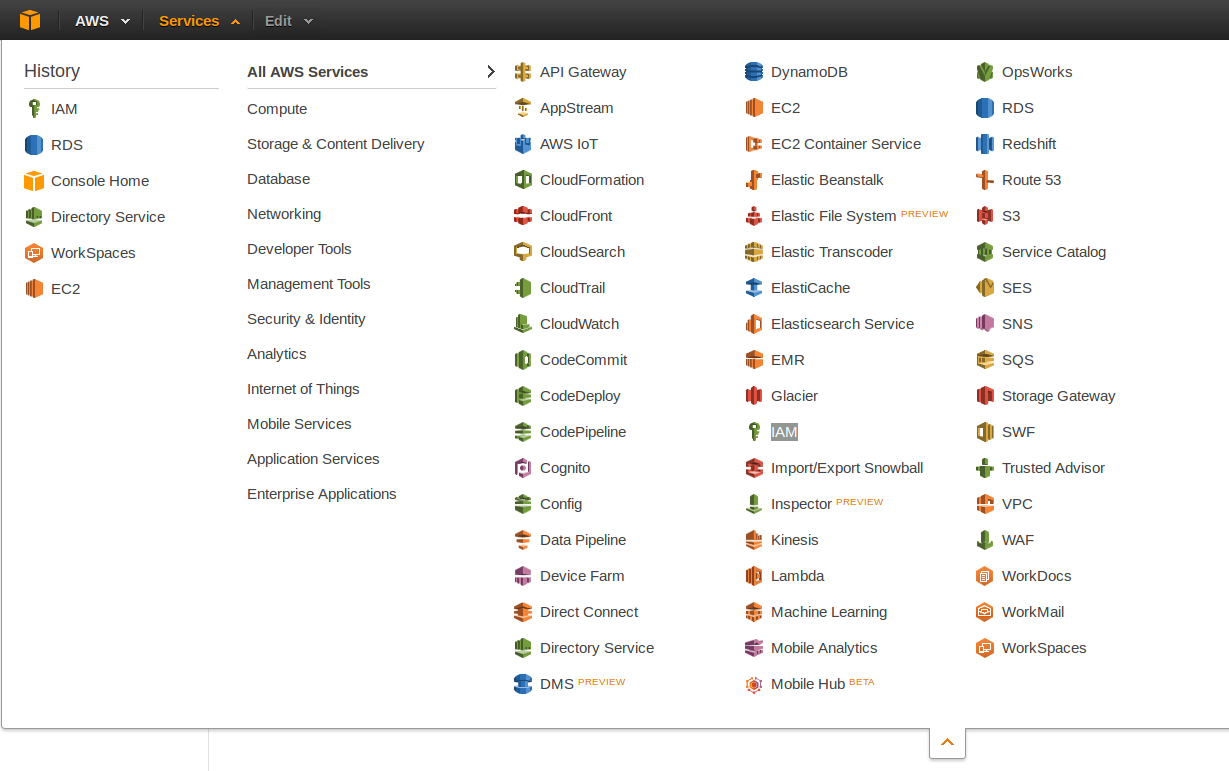
Before you can use the command line tools you’ll need to create a user that has the proper permissions to connect. This must be done in the IAM console:
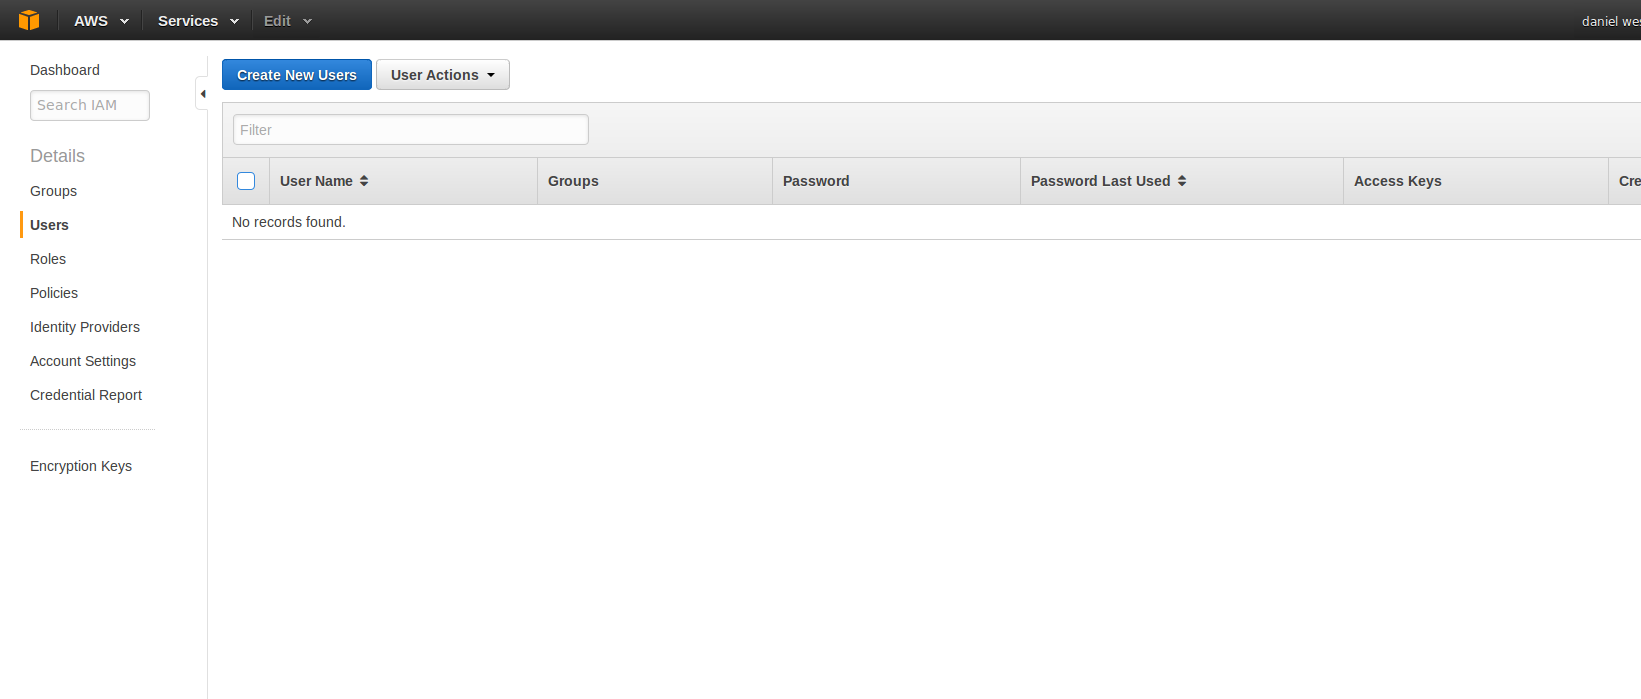
As I have no users available right now I’ll create one:

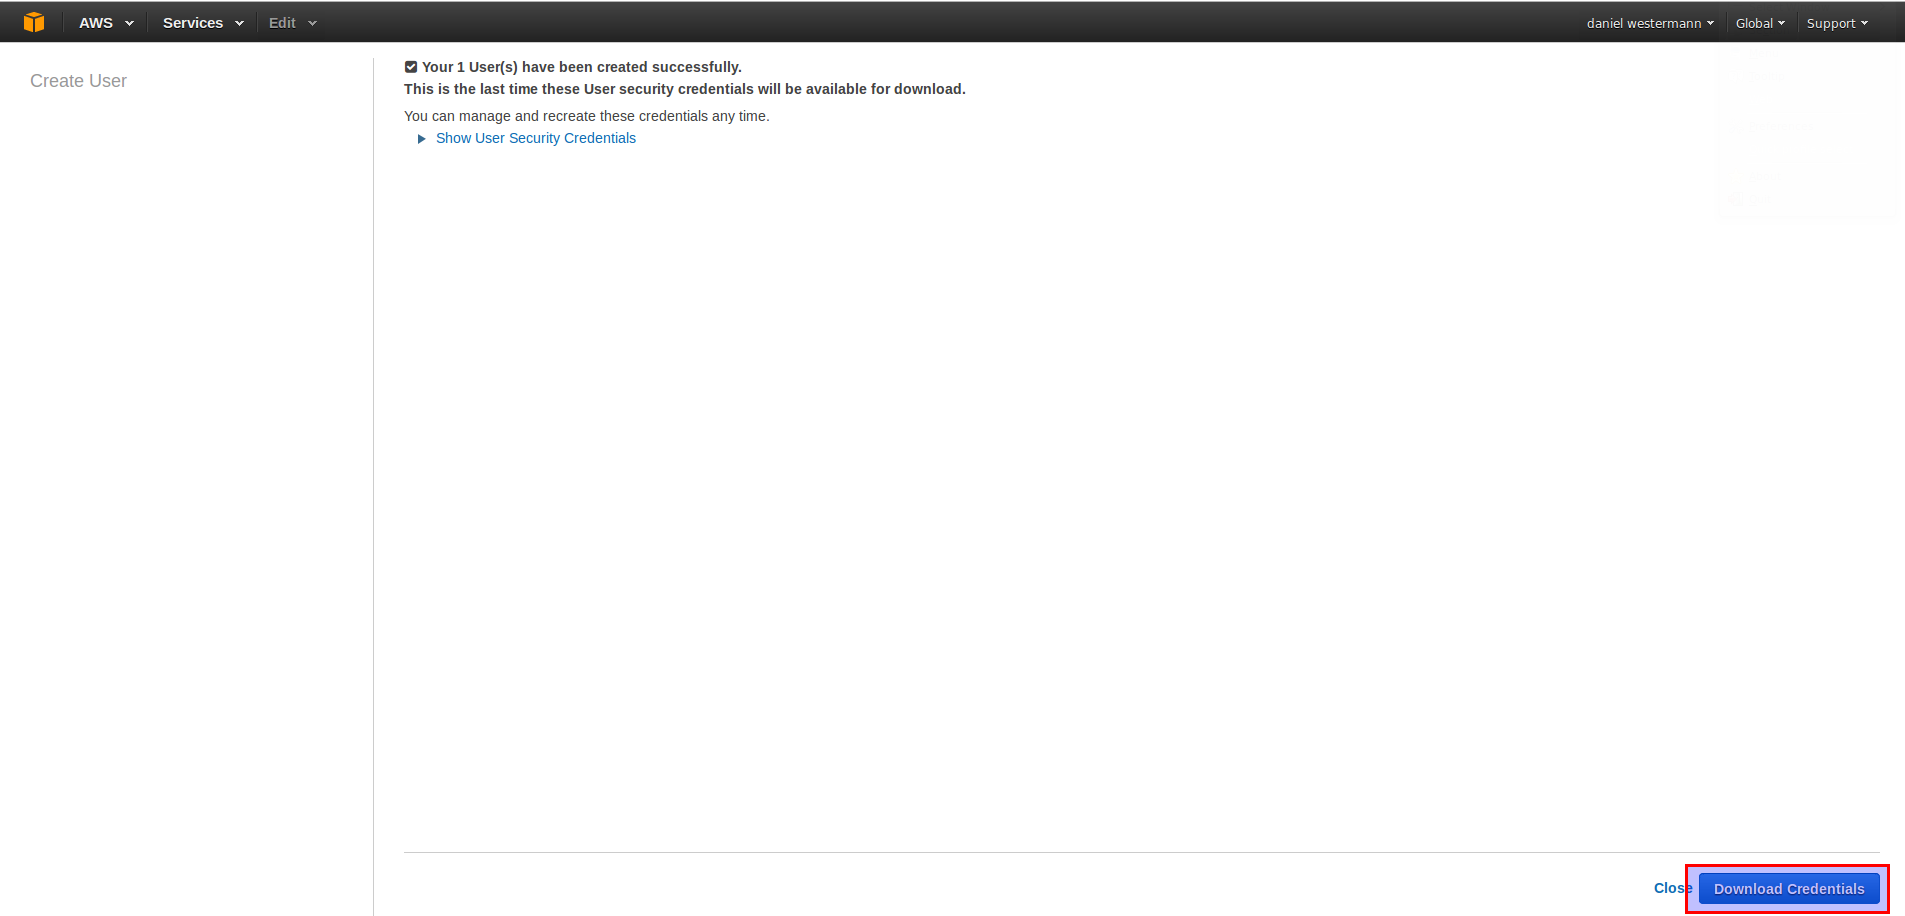
Be sure to download the credentials right now as you’ll not be able to get the “Secret Access Key” later. You’ll need this key when we configure the command line tools later.
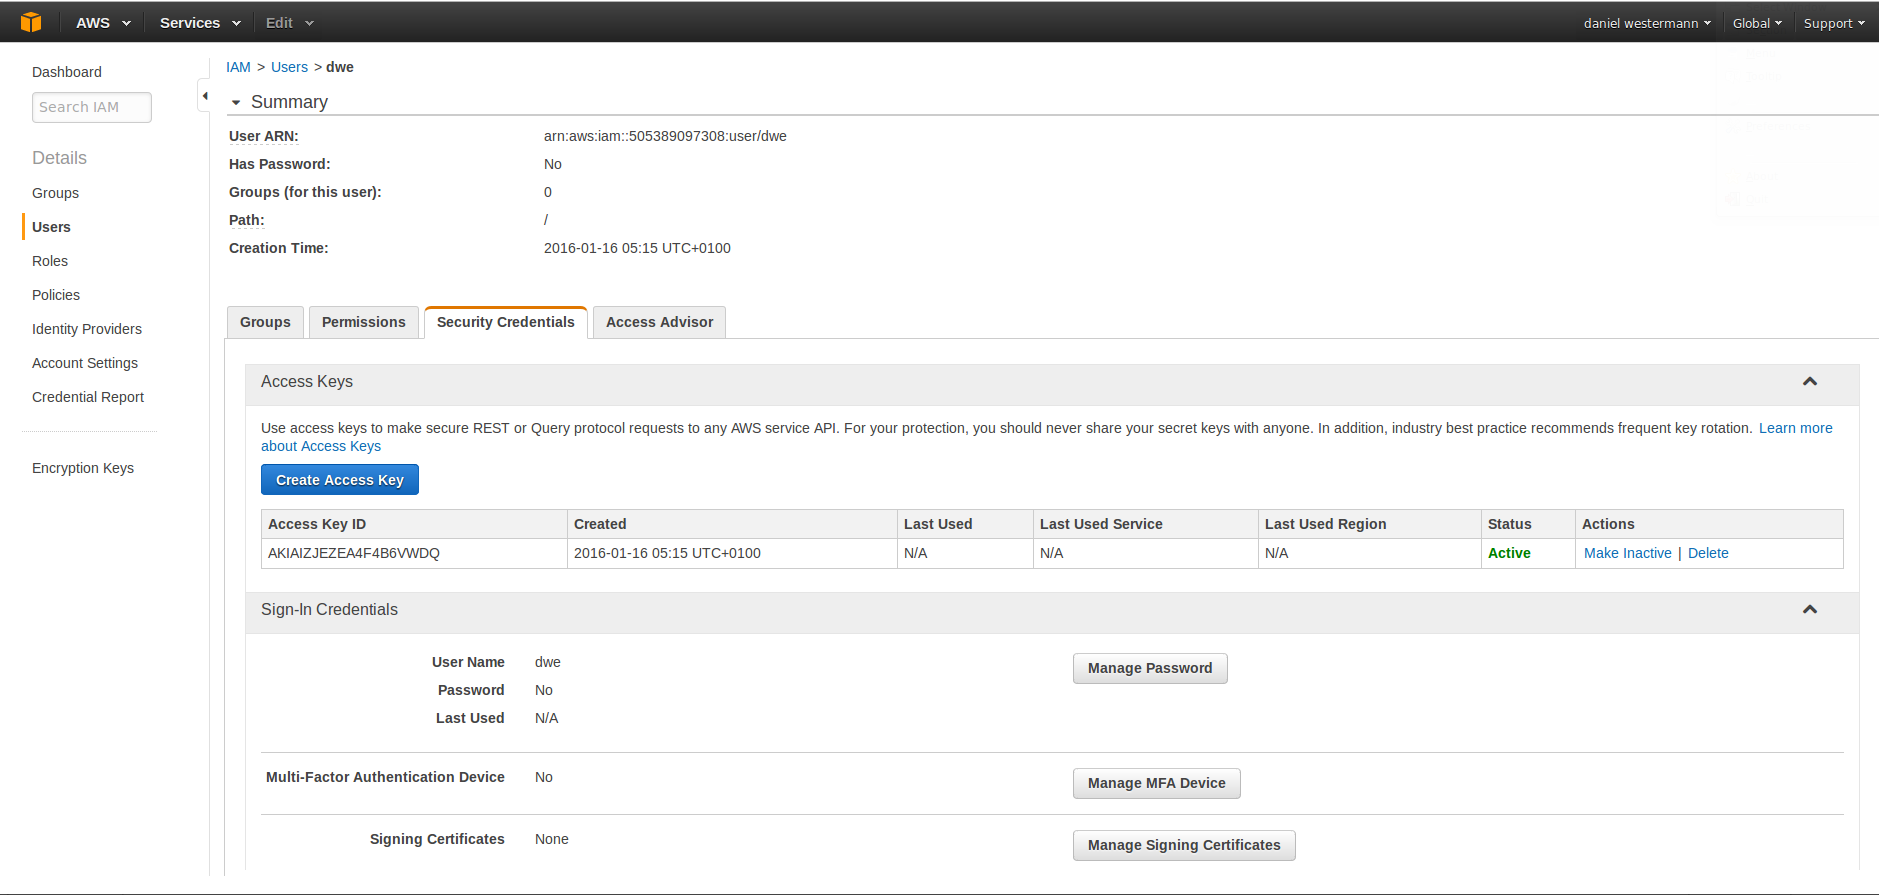
Once the user is created all the details are listed:
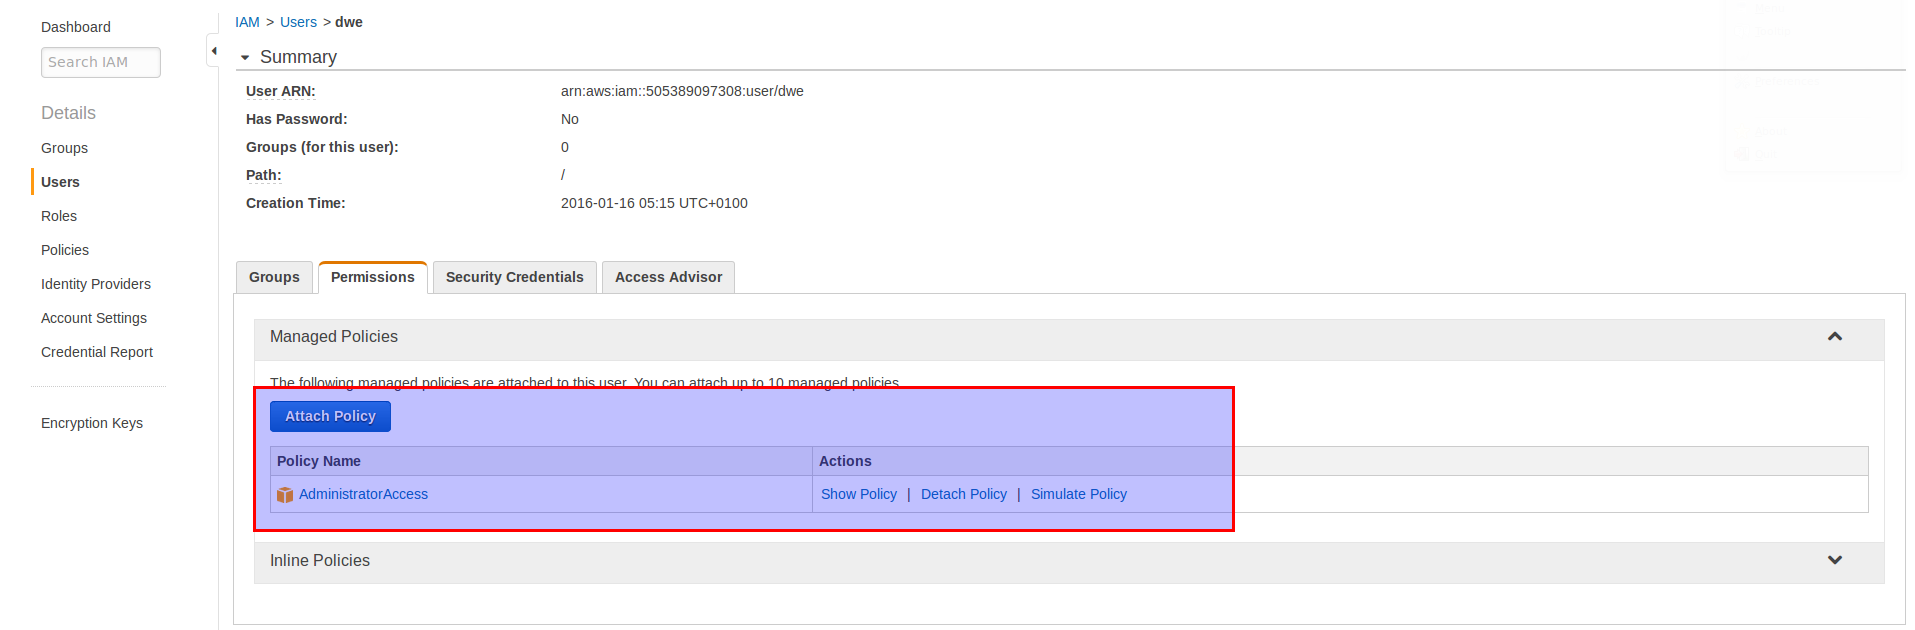
To be sure I can do everything I want I attached the “Administrator Access” policy to the user just created:
Having the user available we can now proceed and install the command line tools. You’ll need to have python available for that:
dwe@dwe:~/Downloads$ python --version
Python 2.7.6
The installation is quite easy:
dwe@dwe:~/Downloads$ curl "https://s3.amazonaws.com/aws-cli/awscli-bundle.zip" -o "awscli-bundle.zip"
dwe@dwe:~/Downloads$ unzip awscli-bundle.zip
dwe@dwe:~/Downloads$ sudo ./awscli-bundle/install -i /usr/local/aws -b /usr/local/bin/aws
Running cmd: /usr/bin/python virtualenv.py --python /usr/bin/python /usr/local/aws
Running cmd: /usr/local/aws/bin/pip install --no-index --find-links file:///home/dwe/Downloads/awscli-bundle/packages awscli-1.9.20.tar.gz
You can now run: /usr/local/bin/aws --version
dwe@dwe:~/Downloads$ /usr/local/bin/aws --version
aws-cli/1.9.20 Python/2.7.6 Linux/4.2.0-23-generic botocore/1.3.20
dwe@dwe:~/Downloads
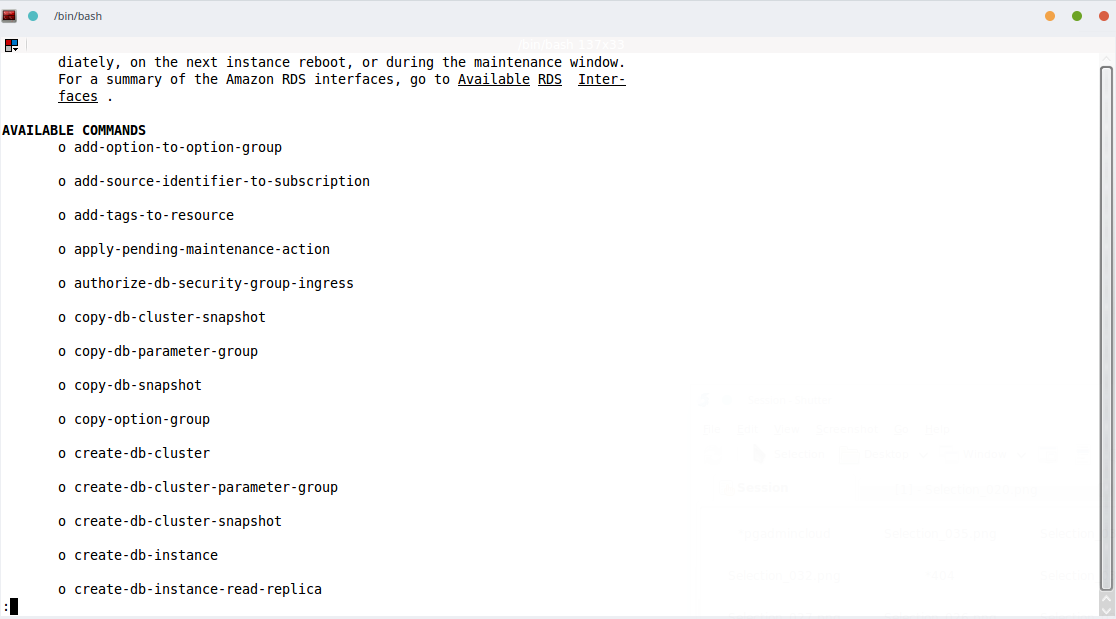
You can get help by issuing:
dwe@dwe:~/Downloads$ /usr/local/bin/aws rds help
This brings up the manual similar to the Linux man pages:
Now it is the time to configure the command line tools. You’ll need the contents of the credentials file you downloaded above:
dwe@dwe:~/Downloads$ /usr/local/bin/aws configure
AWS Access Key ID [None]: AKIAIZJEZEA4F4B6VWDQ
AWS Secret Access Key [None]: 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
Default region name [None]: eu-west-1
Default output format [None]: json
A list of Regions and endpoints can be found here.
For being able to launch a VM the next step is to create the ssh keys:
dwe@dwe:~/Downloads$ aws ec2 create-key-pair --key-name MyKeyPair --query 'KeyMaterial' --output text > MyKeyPair.pem
dwe@dwe:~/Downloads$ cat MyKeyPair.pem
-----BEGIN RSA PRIVATE KEY-----
MIIEpAIBAAKCAQEAiwnxikaNFmlgDB1v0lQhlmmWvT1bfVpCjfa0tjOw6enp5q5B6eahN36q+eCT
W9jf6UTOakQxXxeNAXrbt/SWmVmjZzOOx1SyvqpU+dFk8eBI7MCuEoQyGfxAau6XyFB9v+Juzyy2
V2Z6kMtfwGSUST9uy9uoVmvH9J+aefJv6R5jQcv8c6AUIGPvOuO3LmHRT2IEuaLgC4bD332NuawB
y5ZIpDpiDojU6ENrk0Q6Z8fClbD+smWISx/cTV1Pj0zOpjNZDtnEnqxpZyhSmHdqX/BbN4lVECzJ
VypA0kbuHVu9tcYz+T7lsK3/Itlm8hdtVeFQBd6S/w5v3G/j2uNaRwIDAQABAoIBAAc2lNlfn6Iy
BVGblVmME9IB2Fgo/r4aGKnUyrtJIzx/bisRj0nbNTHz2FruU7bIIZWwhCTvNMCCMEaLYSrB/a4n
AFsySY39zuglXhM30czane3qcR10zkSa2ZyylB1IT73MuYL2Bt+x6VnpsyYAEdFbARyCYNFa9hyy
ywjYkwW9AbTxKewEwTN4DOfmfEXaP5t/slXm1afq3cRFPUnoClFhXwK8TSPX6Dz521UUn+JUq/xM
0B36yBtG1HtKJEvcf+cUAPQ8/+oyQgXI0RliKQQKUNg6g5Nmb/RoWbO6zmS/bGdbX5Ckz1IQ+UtM
J6oCdgCSQCXrc6l550TcFx+5l8ECgYEA79IdoWcLkrTuIjRuoDwA7Jit9SnbLkfaQwEBnjizO5j/
IzUSi9GectrkL7WvIt/ylfjneiAa3wx8U2pGDPA2cI0QjZi/u5amSf9a7EsU4m6LFLcH5CkgdDvW
mOIKkMdYku2FW9UGNmc1m5wLiESp47m0tB59cvLefb+K/WklYb0CgYEAlGs/m7aLE8ZSO9yjwkpu
8FP4SiuzjIMuyTdn8MXXU6TCfHdW1GuE4WIlYn8EJ0U7GUOULZ9TPPekJ7+n2yrF+KItonutTI4v
XgwH6XMWdDNnUScawSwqzMLCB2fDu/BhDCdxHRwPujbGcQ8gxYRO0Q/OlnhGgKfHFIpE+gjg8lMC
gYEA6HgdEN/6b/PDApUgx2Ji4vX9arFwLaSpBlprXxxHYXYlm9NObwp7NYrJtxW+92dul8H3YILO
iXho69MQpGoV23Rin196PDUEbKaDVJpTXEsbtrDVjW3wb7uxgfFbnIwgaAymQSZ2JzZU2Mqiwy0M
IhtZ91+26z5SPkL2UD8kZWECgYEAhSFWozQwuIIyjWOyuLrPnF+V3eIpYibhtrguUfkE1xB5K/BY
QJ5ZSVoiMqHAdgFRq63Eos/BeHSiGM1/ocZSYl4HFTJfFsaLko60IiGLyJu7Vz3+b7xQf+9K4B2h
o1lRk/dlLTlYmi47/noVaVbu4/SL2Mj2ZL0ahEAq8yU3seUCgYBnd8mJIBuWqKOPGWp5MSkco1OX
iIS2//BEaJiOHXxqow6uS/0TlTXk/qZavEoEiUZ91bhLM4ThH9q/yywBD2nu+YxUfbH2Lz9PeIeL
SiOrK6HBKmU3P2sVUxCLO/vQZN32rIK8U8Hv6h77ViUZyXRTvSxULduJsjRpHxIzVoWFmw==
-----END RSA PRIVATE KEY-----
dwe@dwe:~/Downloads$
Be sure to modify the permission of the generated key:
dwe@dwe:~/Downloads$ chmod 400 MyKeyPair.pem
What type of instance do we want to create? You can get the full list of available images by using the “describe-images” sub command:
dwe@dwe:~/.aws$ aws ec2 describe-images > /var/tmp/aws-images.json
As I wanted to know what “Amazon Linux” is based on I took this one:
"ImageId": "ami-025e5676"
"Description": "Amazon Linux AMI x86_64 EBS"
Knowing what we want to launch we can now bring up the instance:
dwe@dwe:~/Downloads$ aws ec2 run-instances --image-id ami-025e5676 --count 1 --instance-type t1.micro --key-name MyKeyPair
{
    "OwnerId": "505389097308",
    "ReservationId": "r-1abaa1a3",
    "Groups": [],
    "Instances": [
        {
            "Monitoring": {
                "State": "disabled"
            },
            "PublicDnsName": "",
            "KernelId": "aki-71665e05",
            "State": {
                "Code": 0,
                "Name": "pending"
            },
            "EbsOptimized": false,
            "LaunchTime": "2016-01-16T04:57:30.000Z",
            "PrivateIpAddress": "172.31.43.22",
            "ProductCodes": [],
            "VpcId": "vpc-6c634009",
            "StateTransitionReason": "",
            "InstanceId": "i-07560b8a",
            "ImageId": "ami-025e5676",
            "PrivateDnsName": "ip-172-31-43-22.eu-west-1.compute.internal",
            "KeyName": "MyKeyPair",
            "SecurityGroups": [
                {
                    "GroupName": "default",
                    "GroupId": "sg-ee31498a"
                }
            ],
            "ClientToken": "",
            "SubnetId": "subnet-dffbb186",
            "InstanceType": "t1.micro",
            "NetworkInterfaces": [
                {
                    "Status": "in-use",
                    "MacAddress": "0a:32:b2:89:70:67",
                    "SourceDestCheck": true,
                    "VpcId": "vpc-6c634009",
                    "Description": "",
                    "NetworkInterfaceId": "eni-0fa82155",
                    "PrivateIpAddresses": [
                        {
                            "PrivateDnsName": "ip-172-31-43-22.eu-west-1.compute.internal",
                            "Primary": true,
                            "PrivateIpAddress": "172.31.43.22"
                        }
                    ],
                    "PrivateDnsName": "ip-172-31-43-22.eu-west-1.compute.internal",
                    "Attachment": {
                        "Status": "attaching",
                        "DeviceIndex": 0,
                        "DeleteOnTermination": true,
                        "AttachmentId": "eni-attach-21ce50c7",
                        "AttachTime": "2016-01-16T04:57:30.000Z"
                    },
                    "Groups": [
                        {
                            "GroupName": "default",
                            "GroupId": "sg-ee31498a"
                        }
                    ],
                    "SubnetId": "subnet-dffbb186",
                    "OwnerId": "505389097308",
                    "PrivateIpAddress": "172.31.43.22"
                }
            ],
            "SourceDestCheck": true,
            "Placement": {
                "Tenancy": "default",
                "GroupName": "",
                "AvailabilityZone": "eu-west-1a"
            },
            "Hypervisor": "xen",
            "BlockDeviceMappings": [],
            "Architecture": "x86_64",
            "StateReason": {
                "Message": "pending",
                "Code": "pending"
            },
            "RootDeviceName": "/dev/sda1",
            "VirtualizationType": "paravirtual",
            "RootDeviceType": "ebs",
            "AmiLaunchIndex": 0
        }
    ]
}
A lot of json ouput 🙂 You can pass json files to command line utilities as well. The output fully describes your instance.
Having a look at the AWS EC2 console we can see that the instance in deed was created and is being initialized currently:

While the instance is set up it is good idea to give the instance a name:
dwe@dwe:~/Downloads$ aws ec2 create-tags --resources i-07560b8a --tags Key=Name,Value=MyFirstInstance
Going back to the console the name is set and the instance is ready:

Time to connect:
dwe@dwe:~/Downloads$ ssh -i /home/dwe/Downloads/MyKeyPair.pem [email protected]

       __|  __|_  )
       _|  (     /   Amazon Linux AMI
      ___|\___|___|

https://aws.amazon.com/amazon-linux-ami/2012.09-release-notes/
Amazon Linux version 2015.09 is available.
Lets check if this instance is redhat based and we can use yum:
[ec2-user@ip-172-31-43-22 ~]$ yum search postgresql94-server
Loaded plugins: priorities, update-motd, upgrade-helper
=================================================== N/S matched: postgresql94-server ====================================================
postgresql94-server.x86_64 : The programs needed to create and run a PostgreSQL server

  Name and summary matches only, use "search all" for everything.
Cool. What devices do I have available?
[ec2-user@ip-172-31-43-22 ~]$ df -h
Filesystem            Size  Used Avail Use% Mounted on
/dev/xvda1            2.0G  686M  1.3G  35% /
tmpfs                 298M     0  298M   0% /dev/shm
Only the root volume was created. Not much if we want to some real work on the instance. So lets create a new volume (10gb):
dwe@dwe:~/Downloads$ aws ec2 create-volume --size 10 --availability-zone eu-west-1a
{
    "AvailabilityZone": "eu-west-1a",
    "Encrypted": false,
    "VolumeType": "standard",
    "VolumeId": "vol-fcb06c32",
    "State": "creating",
    "SnapshotId": "",
    "CreateTime": "2016-01-16T05:17:33.615Z",
    "Size": 10
}
Providing the name of the new volume it can be attached to the instance:
dwe@dwe:~/Downloads$ aws ec2 attach-volume --volume-id vol-fcb06c32 --instance-id i-07560b8a --device /dev/sdb
{
    "AttachTime": "2016-01-16T05:19:51.640Z",
    "InstanceId": "i-07560b8a",
    "VolumeId": "vol-fcb06c32",
    "State": "attaching",
    "Device": "/dev/sdb"
}
Seems this operation is online, lets check:
dwe@dwe:~/Downloads$ ssh -i /home/dwe/Downloads/MyKeyPair.pem [email protected]
Last login: Sat Jan 16 05:19:35 2016 from hsi-kbw-078-043-043-105.hsi4.kabel-badenwuerttemberg.de

       __|  __|_  )
       _|  (     /   Amazon Linux AMI
      ___|\___|___|

https://aws.amazon.com/amazon-linux-ami/2012.09-release-notes/
Amazon Linux version 2015.09 is available.
[ec2-user@ip-172-31-43-22 ~]$ ls /dev/sd*
/dev/sda1  /dev/sdb
Really, really cool. Do I have root access to create a partition on my new device?
[ec2-user@ip-172-31-43-22 ~]$ sudo su -
[root@ip-172-31-43-22 ~]# fdisk /dev/sdb
Device contains neither a valid DOS partition table, nor Sun, SGI or OSF disklabel
Building a new DOS disklabel with disk identifier 0x85f44e7c.
Changes will remain in memory only, until you decide to write them.
After that, of course, the previous content won't be recoverable.

Warning: invalid flag 0x0000 of partition table 4 will be corrected by w(rite)

WARNING: DOS-compatible mode is deprecated. It's strongly recommended to
         switch off the mode (command 'c') and change display units to
         sectors (command 'u').

Command (m for help): p

Disk /dev/sdb: 10.7 GB, 10737418240 bytes
255 heads, 63 sectors/track, 1305 cylinders
Units = cylinders of 16065 * 512 = 8225280 bytes
Sector size (logical/physical): 512 bytes / 512 bytes
I/O size (minimum/optimal): 512 bytes / 512 bytes
Disk identifier: 0x85f44e7c

   Device Boot      Start         End      Blocks   Id  System

Command (m for help): n
Command action
   e   extended
   p   primary partition (1-4)
p
Partition number (1-4): 1
First cylinder (1-1305, default 1):
Using default value 1
Last cylinder, +cylinders or +size{K,M,G} (1-1305, default 1305):
Using default value 1305

Command (m for help): w
The partition table has been altered!

Calling ioctl() to re-read partition table.
Syncing disks.

[root@ip-172-31-43-22 ~]# ls -la /dev/sd*
lrwxrwxrwx 1 root root 5 Jan 16 04:58 /dev/sda1 -> xvda1
lrwxrwxrwx 1 root root 4 Jan 16 05:21 /dev/sdb -> xvdb
lrwxrwxrwx 1 root root 5 Jan 16 05:21 /dev/sdb1 -> xvdb1
Yes, I do. So creating a file system should be possible, too:
[root@ip-172-31-43-22 ~]# mkfs.ext4 /dev/sdb1
mke2fs 1.42.3 (14-May-2012)
Filesystem label=
OS type: Linux
Block size=4096 (log=2)
Fragment size=4096 (log=2)
Stride=0 blocks, Stripe width=0 blocks
655360 inodes, 2620595 blocks
131029 blocks (5.00%) reserved for the super user
First data block=0
Maximum filesystem blocks=2684354560
80 block groups
32768 blocks per group, 32768 fragments per group
8192 inodes per group
Superblock backups stored on blocks:
	32768, 98304, 163840, 229376, 294912, 819200, 884736, 1605632

Allocating group tables: done
Writing inode tables: done
Creating journal (32768 blocks): done
Writing superblocks and filesystem accounting information: done
Can I mount it?
[root@ip-172-31-43-22 ~]# mkdir /opt/PostgreSQL
[root@ip-172-31-43-22 ~]# mount /dev/sdb1 /opt/PostgreSQL
[root@ip-172-31-43-22 ~]# df -h
Filesystem            Size  Used Avail Use% Mounted on
/dev/xvda1            2.0G  686M  1.3G  35% /
tmpfs                 298M     0  298M   0% /dev/shm
/dev/xvdb1            9.9G  151M  9.2G   2% /opt/PostgreSQL
Yes, I have full control. So I could do whatever I want with this VM. Imagine how easy it becomes to bring up test systems this way. Create a little script which wraps all the commands and you’re done in a few minutes.
As a lot of sensitive information was displayed here lets terminate the instance:
dwe@dwe:~/.aws$ aws ec2 terminate-instances --instance-ids i-07560b8a
{
    "TerminatingInstances": [
        {
            "InstanceId": "i-07560b8a",
            "CurrentState": {
                "Code": 32,
                "Name": "shutting-down"
            },
            "PreviousState": {
                "Code": 16,
                "Name": "running"
            }
        }
    ]
}
Easy as well. Have fun with command line tools …
![Thumbnail [60x60]](https://www.dbi-services.com/blog/wp-content/uploads/2022/08/DWE_web-min-scaled.jpg)