The last blog ended up with a successful installation of the Fuel Master.
In this blog, I will deploy Openstack on the three Fuel slave nodes.
The first node will be the controller node and all these components run on it:
- a MySQL database
- RabbitMQ : which is the message broker that OpenStack uses for inter-communication (asynchronous) between the OpenStack components
- Keystone
- Glance
- OpenStack API’s
- Neutron agents
There are several other components but not used in this lab.
The second node will be the hypervisor node one named compute node in Mirantis, it will create and host the virtual instances created within the OpenStack cloud.
The third one will be the storage node and will provide persistent storage (LVMs) to the virtual instances.
Now let’s connect to the Fuel Master node and see what’s going on.. the password by default is : r00tme (two zeros)
$ ssh [email protected] The authenticity of host '10.20.0.2 (10.20.0.2)' can't be established.
ECDSA key fingerprint is 20:56:7b:99:c4:2e:c4:f9:79:a8:d2:ff:4d:06:57:4d.
Are you sure you want to continue connecting (yes/no)? yes
Warning: Permanently added '10.20.0.2' (ECDSA) to the list of known hosts.
[email protected]'s password:
Last login: Mon Oct 10 14:46:20 2016 from 10.20.0.1
[root@fuel ~]#
Let’s check if all service are ready and running on the Fuel Master :
[root@fuel ~]# fuel-utils check_all | grep 'ready'
nailgun is ready.
ostf is ready.
cobbler is ready.
rabbitmq is ready.
postgres is ready.
astute is ready.
mcollective is ready.
nginx is ready.
keystone is ready.
rsyslog is ready.
rsync is ready.
[root@fuel ~]#
So all the services are running, let’s continue..
Where are the Fuel slave nodes ?
[root@fuel ~]# fuel2 node list
+----+------------------+----------+-------------+-------+-----------+-------------------+---------+---------------+--------+
| id | name | status | os_platform | roles | ip | mac | cluster | platform_name | online |
+----+------------------+----------+-------------+-------+-----------+-------------------+---------+---------------+--------+
| 2 | Untitled (85:69) | discover | ubuntu | [] | 10.20.0.4 | 08:00:27:cc:85:69 | None | None | True |
| 3 | Untitled (b0:77) | discover | ubuntu | [] | 10.20.0.3 | 08:00:27:35:b0:77 | None | None | True |
| 1 | Untitled (04:e8) | discover | ubuntu | [] | 10.20.0.5 | 08:00:27:80:04:e8 | None | None | True |
+----+------------------+----------+-------------+-------+-----------+-------------------+---------+---------------+--------+
Here they are! All of the Fuel slave nodes will run on an Ubuntu (14.04). The Fuel slave nodes received an IP address (attributed by the Fuel Master) from the 10.20.0.0/24 range which is the PXE network (see last blog)
Now I want to access the Fuel Web Interface which listens to the 8443 port (https) and the 8000 one (http). Let’s see if the Fuel Master is listening to these ports:
[root@fuel ~]# netstat -plan | grep '8000\|8443'
tcp        0      0 0.0.0.0:8443            0.0.0.0:*               LISTEN      868/nginx: master p
tcp        0      0 0.0.0.0:8000            0.0.0.0:*               LISTEN      868/nginx: master p
[root@fuel ~]#
Type https://10.20.0.2:8443 in your browser. The username & password is : admin
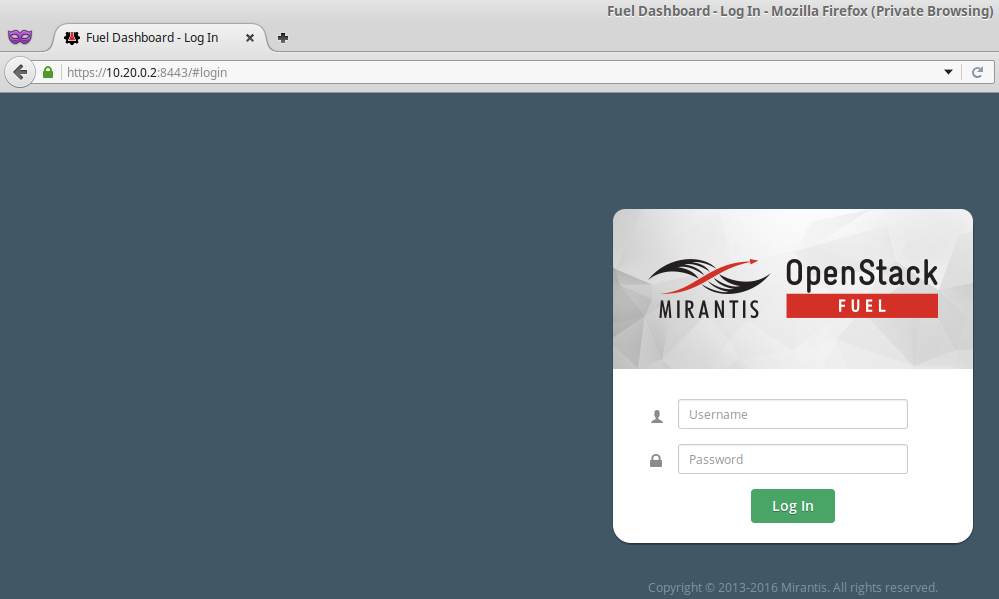
Then click on Start Using Fuel. You can have a look at this Web Interface but I am going to use the Command Line Interface
Let’s change the name of the nodes in order to not confuse them
[root@fuel ~]# fuel2 node update --name Controller 3
numa_nodes is not found in the supplied data.
[root@fuel ~]# fuel2 node list
+----+------------------+----------+-------------+-------+-----------+-------------------+---------+---------------+--------+
| id | name             | status   | os_platform | roles | ip        | mac               | cluster | platform_name | online |
+----+------------------+----------+-------------+-------+-----------+-------------------+---------+---------------+--------+
|  3 | Controller       | discover | ubuntu      | []    | 10.20.0.3 | 08:00:27:35:b0:77 | None    | None          | True   |
|  1 | Untitled (04:e8) | discover | ubuntu      | []    | 10.20.0.5 | 08:00:27:80:04:e8 | None    | None          | True   |
|  2 | Untitled (85:69) | discover | ubuntu      | []    | 10.20.0.4 | 08:00:27:cc:85:69 | None    | None          | True   |
+----+------------------+----------+-------------+-------+-----------+-------------------+---------+---------------+--------+
[root@fuel ~]# fuel2 node update --name Compute 2
numa_nodes is not found in the supplied data.
[root@fuel ~]# fuel2 node update --name Storage 1
numa_nodes is not found in the supplied data.
[root@fuel ~]# fuel2 node list
+----+------------+----------+-------------+-------+-----------+-------------------+---------+---------------+--------+
| id | name       | status   | os_platform | roles | ip        | mac               | cluster | platform_name | online |
+----+------------+----------+-------------+-------+-----------+-------------------+---------+---------------+--------+
|  2 | Compute    | discover | ubuntu      | []    | 10.20.0.4 | 08:00:27:cc:85:69 | None    | None          | True   |
|  3 | Controller | discover | ubuntu      | []    | 10.20.0.3 | 08:00:27:35:b0:77 | None    | None          | True   |
|  1 | Storage    | discover | ubuntu      | []    | 10.20.0.5 | 08:00:27:80:04:e8 | None    | None          | True   |
+----+------------+----------+-------------+-------+-----------+-------------------+---------+---------------+--------+
The slave nodes are not member to any environment, so let’s create one
[root@fuel ~]# fuel2 env create -r 2 -nst vlan Mirantis_Test_Lab
+---------------+-------------------------------------------------------------------------------------------------------------------------------------------+
| Field | Value |
+---------------+-------------------------------------------------------------------------------------------------------------------------------------------+
| id | 1 |
| status | new |
| fuel_version | 9.0 |
| name | Mirantis_Test_Lab |
| release_id | 2 |
| is_customized | False |
| changes | [{u'node_id': None, u'name': u'attributes'}, {u'node_id': None, u'name': u'networks'}, {u'node_id': None, u'name': u'vmware_attributes'}] |
+---------------+-------------------------------------------------------------------------------------------------------------------------------------------+
You can check in the Fuel Web Interface that one environment was created
The next step is to attribute one role to each nodes. I want :
- 1 controller node
- 1 compute node
- 1 storage node
Let’s list all the available roles in this release :
[root@fuel ~]# fuel role --release 2
name
-------------------
compute-vmware
compute
cinder-vmware
virt
base-os
controller
ceph-osd
ironic
cinder
cinder-block-device
mongo
We set a role to each slave nodes
[root@fuel ~]# fuel node
id | status   | name       | cluster | ip        | mac               | roles | pending_roles | online | group_id
---+----------+------------+---------+-----------+-------------------+-------+---------------+--------+---------
 1 | discover | Storage    |         | 10.20.0.5 | 08:00:27:80:04:e8 |       |               |      1 |
 3 | discover | Controller |         | 10.20.0.3 | 08:00:27:35:b0:77 |       |               |      1 |
 2 | discover | Compute    |         | 10.20.0.4 | 08:00:27:cc:85:69 |       |               |      1 |
[root@fuel ~]#
[root@fuel ~]# fuel node set --node 1 --role cinder  --env 1
Nodes [1] with roles ['cinder'] were added to environment 1
[root@fuel ~]# fuel node set --node 2 --role compute  --env 1
Nodes [2] with roles ['compute'] were added to environment 1
[root@fuel ~]# fuel node set --node 3 --role controller  --env 1
Nodes [3] with roles ['controller'] were added to environment 1
[root@fuel ~]#
[root@fuel ~]# fuel node
id | status   | name       | cluster | ip        | mac               | roles | pending_roles | online | group_id
---+----------+------------+---------+-----------+-------------------+-------+---------------+--------+---------
 1 | discover | Storage    |       1 | 10.20.0.5 | 08:00:27:80:04:e8 |       | cinder        |      1 |        1
 2 | discover | Compute    |       1 | 10.20.0.4 | 08:00:27:cc:85:69 |       | compute       |      1 |        1
 3 | discover | Controller |       1 | 10.20.0.3 | 08:00:27:35:b0:77 |       | controller    |      1 |        1
[root@fuel ~]#
Mirantis (via Fuel) provides the ability to check the network configuration.. Go to the Environement tab / Networks / Connectivity Check and click Verify Networks
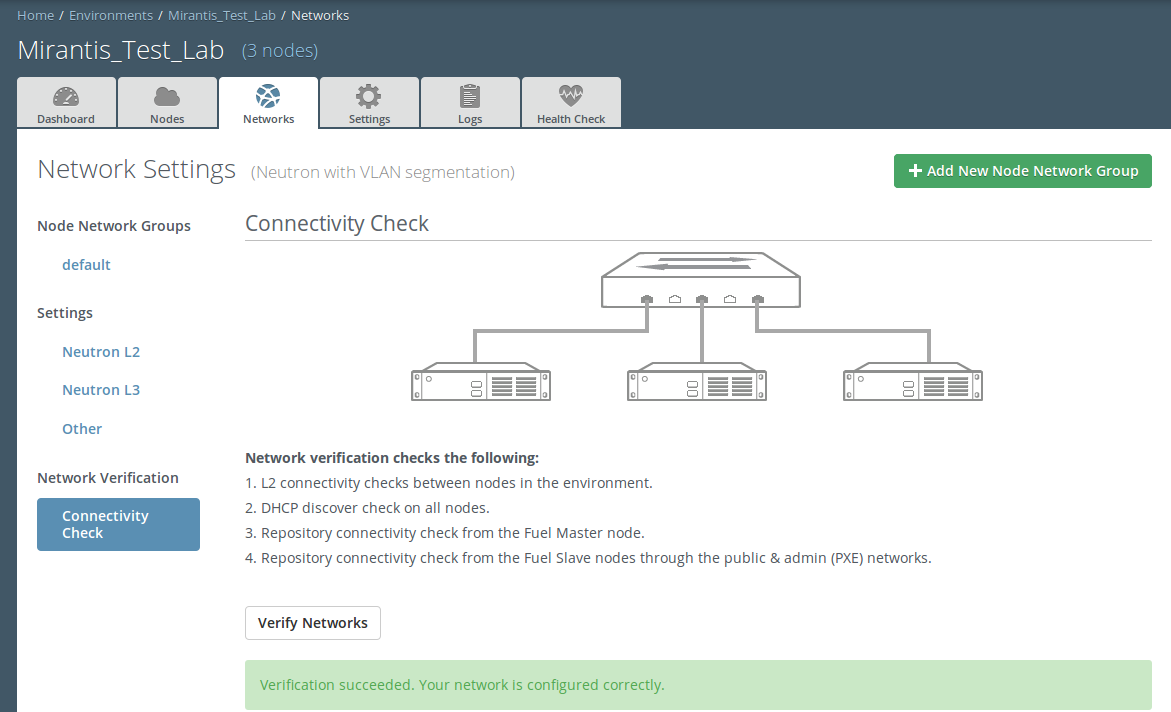
All seems good, the deployment can be started
[root@fuel ~]# fuel2 env deploy 1
Deployment task with id 5 for the environment 1 has been started.
Now it is time to wait because the deployment gonna take some time. Indeed, the Fuel master node will install Ubuntu on the Fuel slave nodes and install the right OpenStak packages to the right node via Puppet. The installation can be follow via the log tab
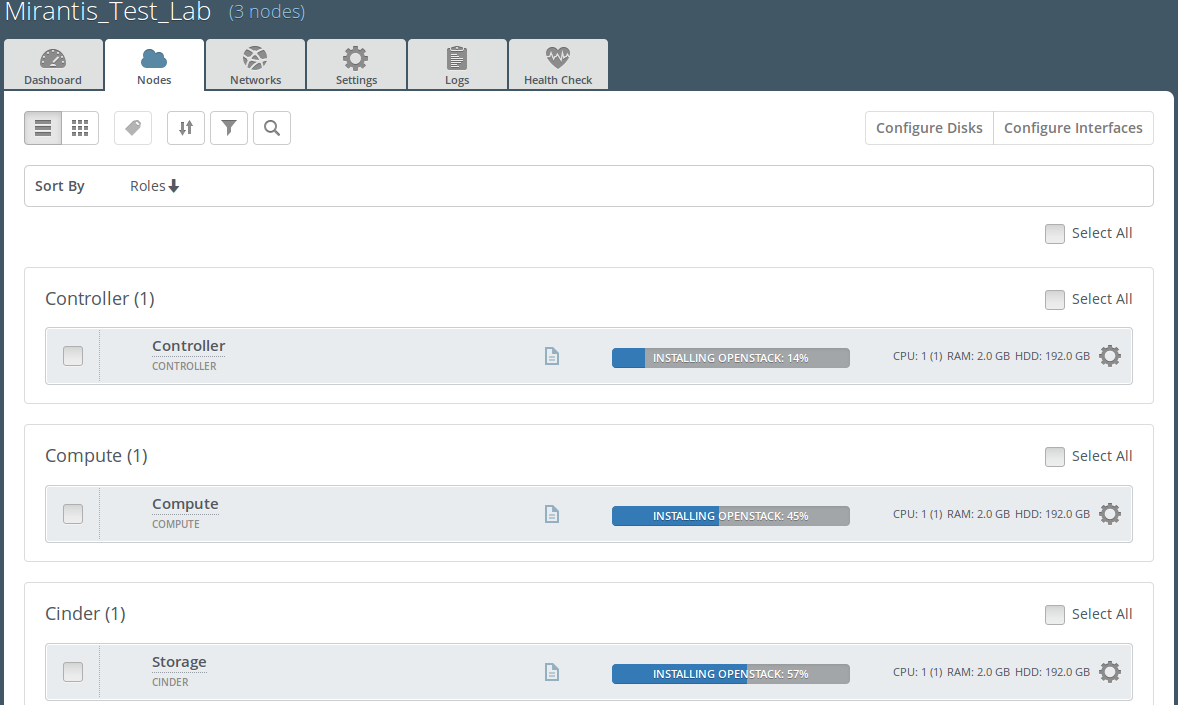
You can follow the installation via the Fuel Dashboard or via CLI
[root@fuel ~]# fuel task list
id | status  | name                               | cluster | progress | uuid
---+---------+------------------------------------+---------+----------+-------------------------------------
1  | ready   | verify_networks                    | 1       | 100      | 4fcff1ad-6b1e-4b00-bfae-b7bf904d15e6
2  | ready   | check_dhcp                         | 1       | 100      | 2c580b79-62e8-4de1-a8be-a265a26aa2a9
3  | ready   | check_repo_availability            | 1       | 100      | b8414b26-5173-4f0c-b387-255491dc6bf9
4  | ready   | check_repo_availability_with_setup | 1       | 100      | fac884ee-9d56-410e-8198-8499561ccbad
9  | running | deployment                         | 1       | 0        | e12c0dec-b5a5-48b4-a70c-3fb105f41096
5  | running | deploy                             | 1       | 3        | 4631113c-05e9-411f-a337-9910c9388477
8  | running | provision                          | 1       | 12       | c96a2952-c764-4928-bac0-ccbe50f6c
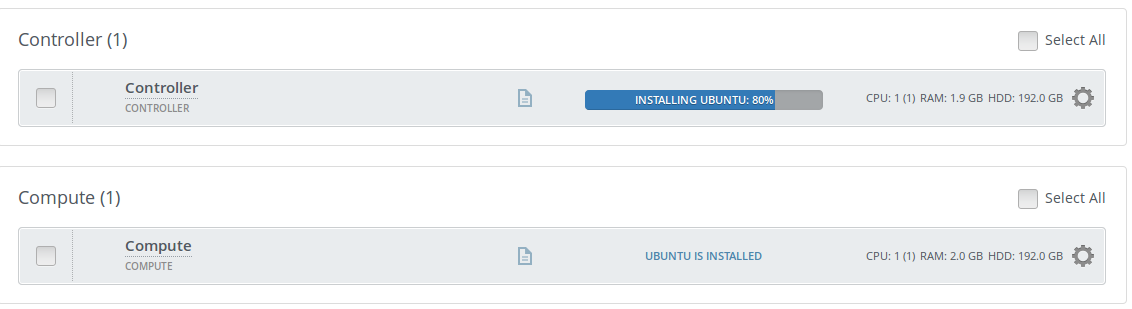
Fuel is installing OpenStack on the nodes :
PS : If the deployment fails (thing that could happen), do not hesitate to redeploy it
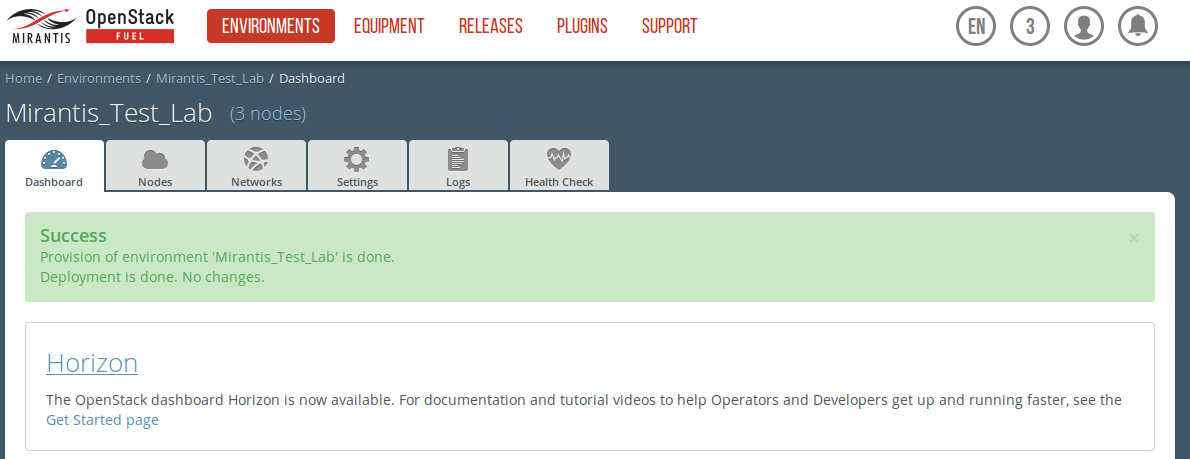
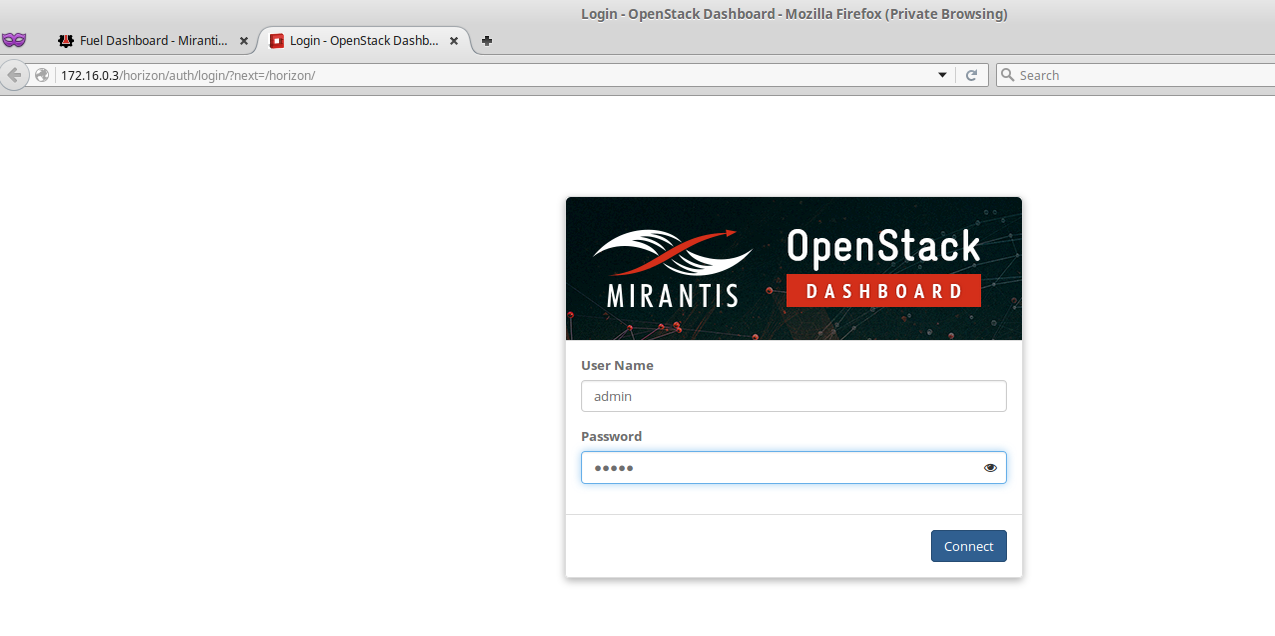
And welcome to OpenStack
This ended the second part of this blog. For the next one, I will show how to create an instance and get into more details in OpenStack.
![Thumbnail [60x60]](https://www.dbi-services.com/blog/wp-content/uploads/2022/05/open-source-author.png)
![Thumbnail [90x90]](https://www.dbi-services.com/blog/wp-content/uploads/2022/08/ENB_web-min-scaled.jpg)
![Thumbnail [90x90]](https://www.dbi-services.com/blog/wp-content/uploads/2022/08/ADE_WEB-min-scaled.jpg)
![Thumbnail [90x90]](https://www.dbi-services.com/blog/wp-content/uploads/2022/08/MOP_web-min-scaled.jpg)