By Mouhamadou Diaw
In a previous blog we installed Dbvisit Standby 7 on two AWS linux instances. In this article we are just upgrading to Dbvisit Standby 8. The first thing is to stop on both nodes dbvnet and dbvserver on both servers
[oracle@primaserver dbvnet]$ ps -ef|grep dbv|grep -v grep

oracle 2062 1 0 04:53 ? 00:00:02 /u01/app/dbvisit/dbvserver/dbvserverd

oracle 2064 2062 0 04:53 ? 00:00:00 /u01/app/dbvisit/dbvserver/dbvserverd

oracle 2131 1 0 04:54 ? 00:00:00 /u01/app/dbvisit/dbvnet/dbvnetd

oracle 2132 2131 0 04:54 ? 00:00:00 /u01/app/dbvisit/dbvnet/dbvnetd

oracle 2142 2131 0 04:54 ? 00:00:00 /u01/app/dbvisit/dbvnet/dbvnetd

oracle 2143 2131 0 04:54 ? 00:00:00 /u01/app/dbvisit/dbvnet/dbvnetd

oracle 2144 2131 0 04:54 ? 00:00:00 /u01/app/dbvisit/dbvnet/dbvnetd

oracle 4036 2062 0 08:03 ? 00:00:01 /u01/app/dbvisit/dbvserver/dbvserverd

oracle 4037 2062 0 08:03 ? 00:00:02 /u01/app/dbvisit/dbvserver/dbvserverd
[oracle@primaserver dbvnet]$ pwd

/u01/app/dbvisit/dbvnet

[oracle@primaserver dbvnet]$ ./dbvnetd stop

[oracle@primaserver dbvnet]$ cd ../dbvserver/

[oracle@primaserver dbvserver]$ ./dbvserverd stop

[oracle@primaserver dbvserver]$
The upgrade is done by launching dbvisit installer and must be done on both servers. The upgrade process consist out of two steps:
1-Upgrade (install) the new version 8 software
2- Upgrade the version 7 DDC files
It is important to take into account that Dbvisit Standby version 8 makes use of a central web based user interface (GUI). The GUI is no longer installed on each of the Database Servers being managed.So during the upgrade we will remove the current Dbvserver installation and will Install the Dbvisit Standby Core Components – Dbvagent, Dbvnet and Dbvisit Standby CLI
Let’s launch install-dbvisit executable
[oracle@primaserver installer]$ ./install-dbvisit

-----------------------------------------------------------

Welcome to the Dbvisit software installer.

-----------------------------------------------------------

It is recommended to make a backup of our current Dbvisit software

location (Dbvisit Base location) for rollback purposes.

Installer Directory /home/oracle/dbvisit/dbvisit8/dbvisit

>>> Please specify the Dbvisit installation directory (Dbvisit Base).

The various Dbvisit products and components - such as Dbvisit Standby,

Dbvisit Dbvnet will be installed in the appropriate subdirectories of

this path.

Enter a custom value or press ENTER to accept default [/usr/dbvisit]:

> /u01/app/dbvisit

DBVISIT_BASE = /u01/app/dbvisit

-----------------------------------------------------------

Component Installer Version Installed Version

-----------------------------------------------------------

standby 8.0.04.18184 7.0.62.16992

dbvnet 2.0.04.18184 7

dbvagent 2.0.04.18184 not installed

dbvserver 2.0.04.18184 7

-----------------------------------------------------------

What action would you like to perform?

1 - Install component(s)

2 - Uninstall component(s)

3 - Terminate

Your choice: 2

Which component do you want to install?

1 - Core Components (Dbvisit Standby Cli, Dbvnet, Dbvagent)

2 - Dbvisit Standby Core (Command Line Interface)

3 - Dbvnet (Dbvisit Network Communication)

4 - Dbvagent (Dbvisit Agent)

5 - Dbvserver (Dbvisit Central Console)

6 - Exit Installer

Your choice: 5

Component dbvserver uninstalled.

-----------------------------------------------------------

Component Installer Version Installed Version

-----------------------------------------------------------

standby 8.0.04.18184 7.0.62.16992

dbvnet 2.0.04.18184 7

dbvagent 2.0.04.18184 not installed

dbvserver 2.0.04.18184 not installed

-----------------------------------------------------------

What action would you like to perform?

1 - Install component(s)

2 - Uninstall component(s)

3 - Terminate

Your choice: 1

Which component do you want to install?

1 - Core Components (Dbvisit Standby Cli, Dbvnet, Dbvagent)

2 - Dbvisit Standby Core (Command Line Interface)

3 - Dbvnet (Dbvisit Network Communication)

4 - Dbvagent (Dbvisit Agent)

5 - Dbvserver (Dbvisit Central Console)

6 - Exit Installer

Your choice: 1

-----------------------------------------------------------

Summary of the Dbvisit STANDBY configuration

-----------------------------------------------------------

DBVISIT_BASE /u01/app/dbvisit

Press ENTER to continue

-----------------------------------------------------------

About to configure DBVISIT DBVNET

-----------------------------------------------------------

>>> Please specify the Local host name to be used by Dbvnet on this server.

Dbvnet will be listening on the local IP Address on this server which

resolve to the host name specified here.

If using a cluster or virtual IP make sure the host name or alias

specified here resolve to the IP address local to where dbvnet is

installed.

Enter a custom value or press ENTER to accept default [primaserver]:

>

>>> Please specify the Local Dbvnet PORT to be used.

Dbvnet will be listening on the specified port for incoming connections

from remote dbvnet connections. Please make sure that this port is not

already in use or blocked by any firewall. You may choose any value

between 1024 and 65535, however the default of 7890 is recommended.

Enter a custom value or press ENTER to accept default [7890]:

>

>>> Please specify the Remote host name to be used by Dbvnet.

By default Dbvnet will use this remote hostname for any remote

connections. Dbvnet must be installed and configured on the specified

remote host. If using a cluster or virtual IP make sure the host name

or alias specified here resolve to the IP address local to where dbvnet

is installed.

If you are unsure about the remote host name during installation, use

the default value which will be the current local hostname.

Enter a custom value or press ENTER to accept default [primaserver]:

> standserver

>>> Please specify the Remote Dbvnet PORT to be used.

Dbvnet will connect to the remote server on this specified port.

On the remote host Dbvnet will be listening on the specified port for

incoming connections. Please make sure that this port is not already in

use or blocked by any firewall. You may choose any value between 1024

and 65535, however the default of 7890 is recommended.

Enter a custom value or press ENTER to accept default [7890]:

>

>>> Please specify the Dbvnet Passphrase to be used for secure connections.

The passphrase provided must be the same in both the local and remote

Dbvnet installations. It is used to establish a secure (encrypted)

Dbvnet connections

Enter a custom value:

> root

-----------------------------------------------------------

Summary of the Dbvisit DBVNET configuration

-----------------------------------------------------------

DBVISIT_BASE /u01/app/dbvisit

DBVNET_LOCAL_HOST primaserver

DBVNET_LOCAL_PORT 7890

DBVNET_REMOTE_HOST standserver

DBVNET_REMOTE_PORT 7890

DBVNET_PASSPHRASE root

Press ENTER to continue

About to configure DBVISIT DBVAGENT

-----------------------------------------------------------

>>> Please specify the host name to be used for the Dbvisit Agent.

The Dbvisit Agent (Dbvagent) will be listening on this local address.

If you are using the Dbvserver (GUI) - connections from the GUI will be

established to the Dbvisit Agent. The Dbvisit Agent address must be

visible from the Dbvserver (GUI) installation.

If using a cluster or virtual IP make sure the host name or alias

specified here resolve to the IP address local to where dbvnet is

installed.

Enter a custom value or press ENTER to accept default [primaserver]:

>

>>> Please specify the listening PORT number for Dbvagent.

The Dbvisit Agent (Dbvagent) will listening on the specified port for

incoming requests from the GUI (Dbvserver). Please make sure that this

port is not already in use or blocked by any firewall. You may choose

any value between 1024 and 65535, however the default of 7891 is

recommended.

Enter a custom value or press ENTER to accept default [7891]:

>

>>> Please specify passphrase for Dbvagent

Each Dbvisit Agent must have a passpharse specified. This passphrase

does not have to match between all the servers. It will be used to

establish a secure connection between the GUI (Dbvserver) and the

Dbvisit Agent.

Enter a custom value:

> root

-----------------------------------------------------------

Summary of the Dbvisit DBVAGENT configuration

-----------------------------------------------------------

DBVISIT_BASE /u01/app/dbvisit

DBVAGENT_LOCAL_HOST primaserver

DBVAGENT_LOCAL_PORT 7891

DBVAGENT_PASSPHRASE root

Press ENTER to continue

-----------------------------------------------------------

About to install Dbvisit STANDBY

-----------------------------------------------------------

Component standby installed.

Press ENTER to continue

-----------------------------------------------------------

About to install Dbvisit DBVNET

-----------------------------------------------------------

Component dbvnet installed.

Press ENTER to continue

-----------------------------------------------------------

About to install Dbvisit DBVAGENT

-----------------------------------------------------------

Component dbvagent installed.

Press ENTER to continue

-----------------------------------------------------------

Component Installer Version Installed Version

-----------------------------------------------------------

standby 8.0.04.18184 8.0.04.18184

dbvnet 2.0.04.18184 2.0.04.18184

dbvagent 2.0.04.18184 2.0.04.18184

dbvserver 2.0.04.18184 not installed

-----------------------------------------------------------

What action would you like to perform?

1 - Install component(s)

2 - Uninstall component(s)

3 - Terminate

Your choice: 3

>>> Install log /tmp/dbvisit_install.log.201611180900

[oracle@primaserver installer]$
After software installation, we can now update Dbvisit Standby Configuration Files (DDC). Just note that dbvnet and dbvagent must be started on both servers. dbvctl is used for upgrading DDC file. In our case we have only one DDC file for our instance ORCL.
[oracle@primaserver dbvnet]$ ./dbvnet -d start

[oracle@primaserver dbvagent]$ ./dbvagent -d start
[oracle@primaserver dbvisit8]$ cd /u01/app/dbvisit/standby/

[oracle@primaserver standby]$ pwd

/u01/app/dbvisit/standby

[oracle@primaserver standby]$ ls

conf dbvctl doc gs lib log pid tmp trace

[oracle@primaserver standby]$ ./dbvctl -d ORCL –o upgrade
The last step is to upgrade the central console dbvserver only on the primary server.
[oracle@primaserver installer]$ ./install-dbvisit

-----------------------------------------------------------

Welcome to the Dbvisit software installer.

-----------------------------------------------------------

It is recommended to make a backup of our current Dbvisit software

location (Dbvisit Base location) for rollback purposes.

Installer Directory /home/oracle/dbvisit/dbvisit8/dbvisit

>>> Please specify the Dbvisit installation directory (Dbvisit Base).

The various Dbvisit products and components - such as Dbvisit Standby,

Dbvisit Dbvnet will be installed in the appropriate subdirectories of

this path.

Enter a custom value or press ENTER to accept default [/usr/dbvisit]:

> /u01/app/dbvisit

DBVISIT_BASE = /u01/app/dbvisit

-----------------------------------------------------------

Component Installer Version Installed Version

-----------------------------------------------------------

standby 8.0.04.18184 8.0.04.18184

dbvnet 2.0.04.18184 2.0.04.18184

dbvagent 2.0.04.18184 2.0.04.18184

dbvserver 2.0.04.18184 not installed

-----------------------------------------------------------

What action would you like to perform?

1 - Install component(s)

2 - Uninstall component(s)

3 - Terminate

Your choice: 1

Which component do you want to install?

1 - Core Components (Dbvisit Standby Cli, Dbvnet, Dbvagent)

2 - Dbvisit Standby Core (Command Line Interface)

3 - Dbvnet (Dbvisit Network Communication)

4 - Dbvagent (Dbvisit Agent)

5 - Dbvserver (Dbvisit Central Console)

6 - Exit Installer

Your choice: 5

-----------------------------------------------------------

About to configure DBVISIT DBVSERVER

-----------------------------------------------------------

>>> Please specify the host name to be used for Dbvserver

The Dbvisit Web Server (Dbvserver) will be listening on this local

address. If using a cluster or virtual IP make sure the host name or

alias specified here resolve to the IP address local to where Dbvserver

is installed.

If you are unsure about the remote host name during installation, use

the default value which will be the current local hostname.

Enter a custom value or press ENTER to accept default [primaserver]:

>

>>> Please specify the listening port number for Dbvserver on the local server

You may choose any value between 1024 and 65535. The default recommended

value is 4433.

Note: if you can not access this port after the installation has

finished, then please double-check your server firewall settings

to ensure the selected port is open.

Enter a custom value or press ENTER to accept default [4433]:

>

-----------------------------------------------------------

Summary of the Dbvisit DBVSERVER configuration

-----------------------------------------------------------

DBVISIT_BASE /u01/app/dbvisit

DBVSERVER_LOCAL_HOST primaserver

DBVSERVER_LOCAL_PORT 4433

Press ENTER to continue

-----------------------------------------------------------

About to install Dbvisit DBVSERVER

-----------------------------------------------------------

Component dbvserver installed.

Press ENTER to continue

-----------------------------------------------------------

Component Installer Version Installed Version

-----------------------------------------------------------

standby 8.0.04.18184 8.0.04.18184

dbvnet 2.0.04.18184 2.0.04.18184

dbvagent 2.0.04.18184 2.0.04.18184

dbvserver 2.0.04.18184 2.0.04.18184

-----------------------------------------------------------

What action would you like to perform?

1 - Install component(s)

2 - Uninstall component(s)

3 - Terminate

Your choice: 3

>>> Install log /tmp/dbvisit_install.log.201611180956
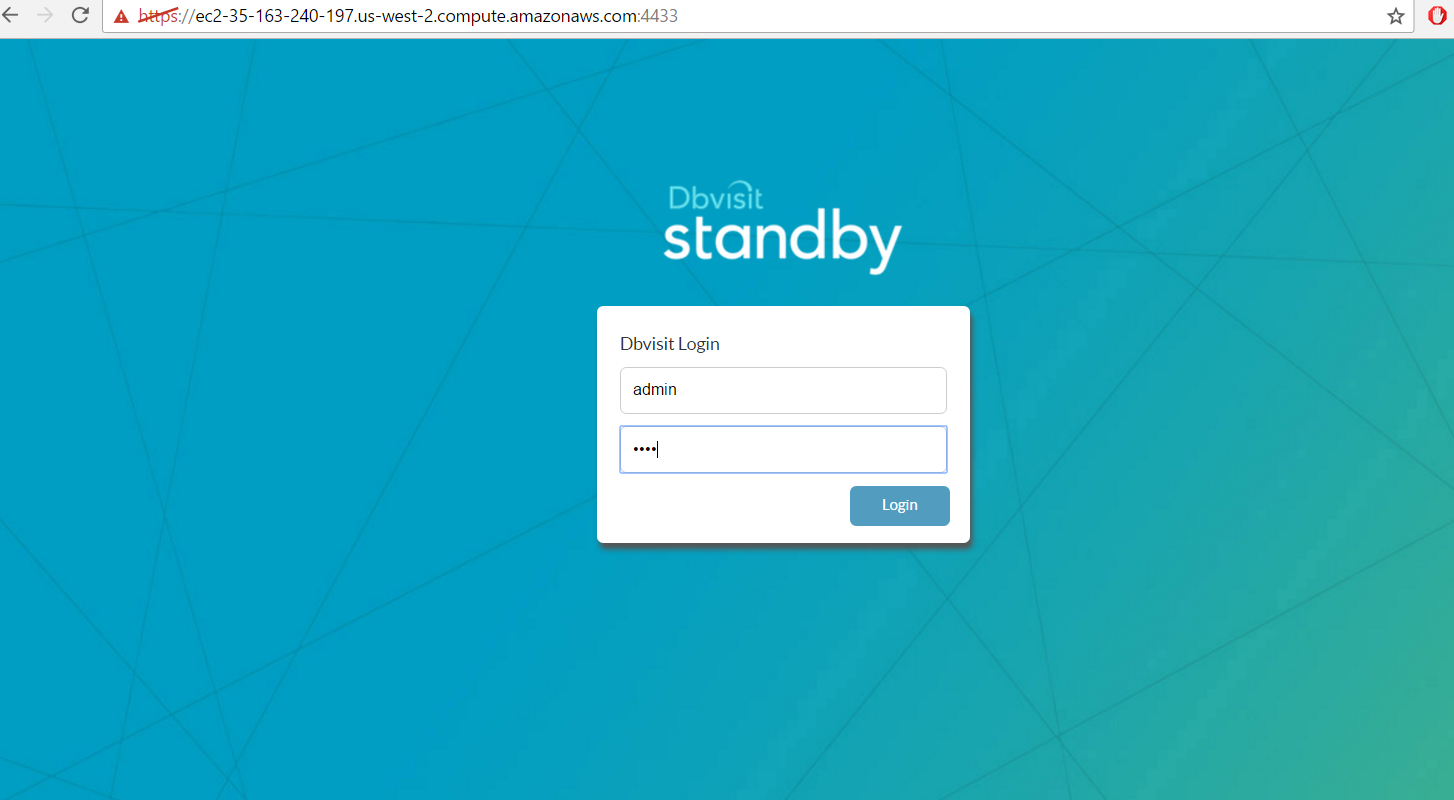
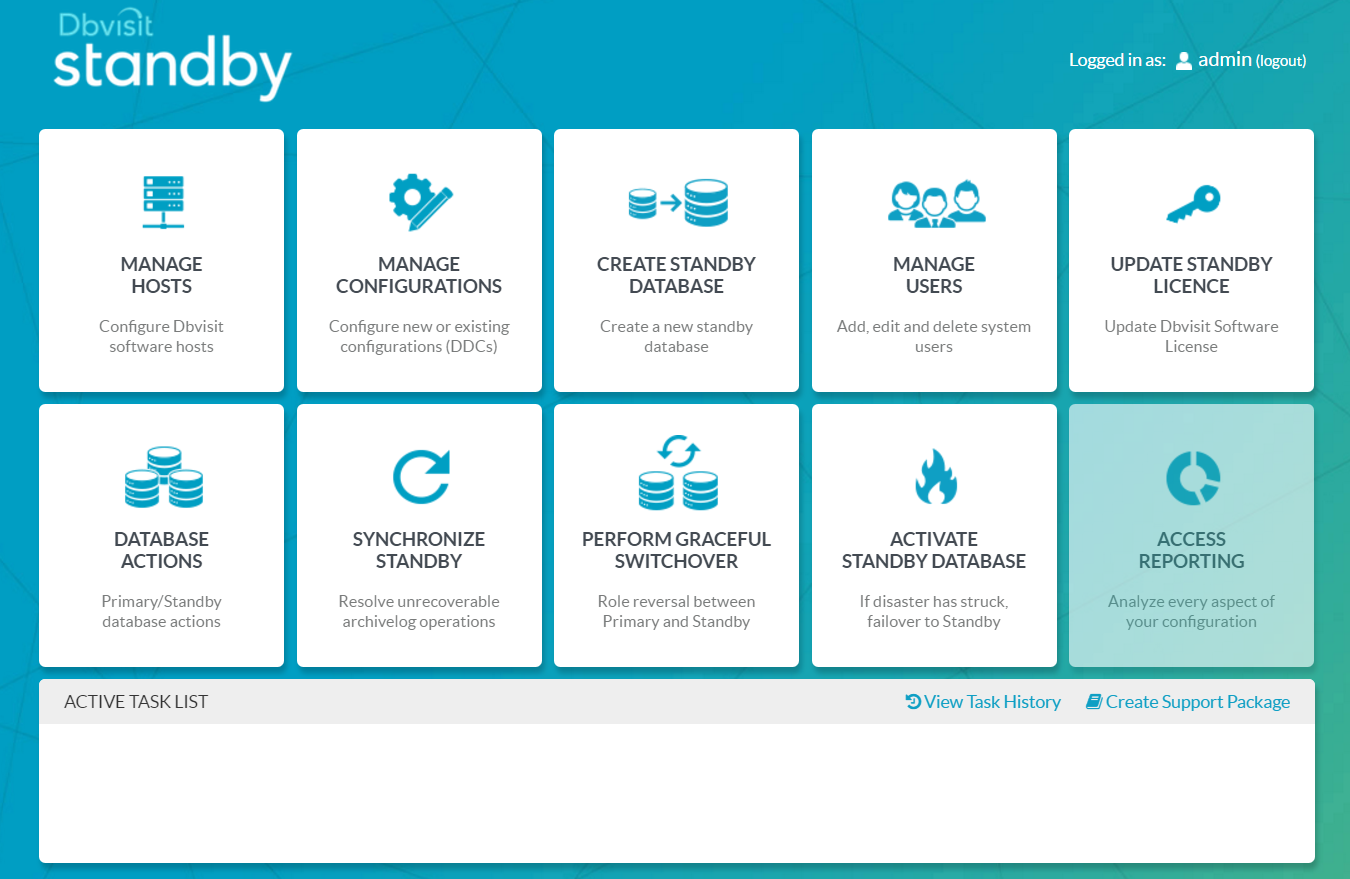
Our upgrade is now finished, let’s connect to the administration GUI
And after logging we can import our previous configurations by using MANAGE CONFIGURATIONS
Ref : https://dbvisit.atlassian.net/wiki/display/DS8QSG/Upgrade+Dbvisit+Standby
![Thumbnail [60x60]](https://www.dbi-services.com/blog/wp-content/uploads/2022/12/oracle-square.png)
![Thumbnail [90x90]](https://www.dbi-services.com/blog/wp-content/uploads/2022/08/ENB_web-min-scaled.jpg)
![Thumbnail [90x90]](https://www.dbi-services.com/blog/wp-content/uploads/2022/08/ADE_WEB-min-scaled.jpg)
![Thumbnail [90x90]](https://www.dbi-services.com/blog/wp-content/uploads/2022/08/MOP_web-min-scaled.jpg)