In this part of the blog posts series, we will show how ansible helps us to configure our cluster and install all pre-requisite needed for Cloudera Manager. Ansible is one of the most important automation tools currently.
Ansible will help us to configure all nodes for a manual installation using Cloudera Manager. Our playbook will contain the following roles:
- cm_repo: add the same C.M repo into all nodes.
- os_config: Adjust all OS parameter for installing a Cloudera cluster.
- java: Java JDK 1.7.80 installation.
- cm_agents: Installation of the C.M agent’s packages
- MariaDB: Installation of a MariaDB. C.M needs an Oracle, MySQL (MariaDB) or PostgreSQL database for Cloudera Manager meta-data storage and Hive meta-store.
- mysql_connector: Installation of the MySQL connector for connecting to MariaDB.
- scm: Install and start the Cloudera Manager Server.
In a Big Data cluster, we split the node into roles.
- Manager: dedicated node for all Cloudera Manager daemons
- Master: NameNode daemon + Secondary NameNode daemon
- Workers: DataNode daemons
The first step is to define the Ansible hosts inventory file. Below my inventory file.
[db_server]
manager ansible_host=<manager_ip> id=6

[cdh_manager]
manager  ansible_host=<manager_ip> id=6

[cdh_master]
master ansible_host=<master_ip>  id=5

[cdh_worker]
worker1 ansible_host=<worker1>  id=2
worker2 ansible_host=<worker2>  id=3
worker3 ansible_host=<worker3>  id=4

[cdh_servers:children]
cdh_worker
cdh_master
cdh_manager


[all:vars]
ansible_user=centos
ansible_ssh_pass=<YOUR_PASSWORD>
ansible_sudo_pass=<YOUR_PASSWORD>
We will now, define all variable needed for our roles. Variables are split into roles:
Below the example of variables definition for CDH server instances: cdh_servers.yml
---

db_hostname: "{{ hostvars[groups['db_server'][0]]['inventory_hostname'] }}"
scm_hostname: "{{ hostvars[groups['cdh_manager'][0]]['inventory_hostname'] }}"

cdh_version: 5.14.2
cluster_display_name: cluster_1

# Users and Groups
group:
  - dbi
user:
  - dbi

# Java variables
java_download_url: http://ftp.osuosl.org/pub/funtoo/distfiles/oracle-java/jdk-7u80-linux-x64.tar.gz
java_download_folder: /usr/java
java_name: "{{java_download_folder}}/jdk1.7_80"
java_archive: "{{java_download_folder}}/jdk-7u80-linux-x64.tar.gz"

# Mysql Java connector
mysql_java: mysql-connector-java-5.1.46
mysql_java_download_url: https://dev.mysql.com/get/Downloads/Connector-J/"{{mysql_java_archive}}"
mysql_java_download_folder: /usr/share/mysql-java/
mysql_java_archive: "{{ mysql_java_download_folder }}/{{ mysql_java }}.tar.gz"

mysql_java_jar: /usr/share/java/mysql-connector-java.jar
Same files will created for database server variable (db_server.yml) and Cloudera Manager server variables (scm_server.yml).
After the variables definition, we can start creating the different roles and their associated tasks.
Cloudera Manager repo
The goal of this role is to add the same C.M repo in all cluster hosts. We will use a template of the repository file.
cloudera-manager.repo.j2
[cloudera-manager]
# Packages for Cloudera Manager, Version 5, on RedHat or CentOS 7 x86_64
name=Cloudera Manager
baseurl=https://archive.cloudera.com/cm5/redhat/7/x86_64/cm/{{cdh_version}}/
gpgkey=https://archive.cloudera.com/cm5/redhat/7/x86_64/cm/RPM-GPG-KEY-cloudera
gpgcheck = 1
cm_repo:
---
- name: Add Cloudera repo
  template:
    src: ../templates/cloudera-manager.repo.j2
    dest: "/etc/yum.repos.d/cloudera-manager{{cdh_version}}.repo"
The definition of the Cloudera Manager version has previously done in the cdh_servers.yml variable file.
OS Configuration
Some requirements are needed before installing a Cloudera cluster. This role will configure all hosts with Cloudera requirements: https://www.cloudera.com/documentation/enterprise/release-notes/topics/rn_consolidated_pcm.html#cmig_topic_4 .
---
- name: Create groups
  group:
    name: "{{item}}"
    state: present
  with_items: "{{group}}"

- name: Create user
  user:
    name: "{{item}}"
    shell: /bin/bash
    uid: 1050
    groups: "{{group}}"
  with_items: "{{user}}"

- name: "Build hosts file"
  lineinfile:
    dest: /etc/hosts
    regexp: '.*{{ item }}$'
    line: "{{ hostvars[item]['ansible_default_ipv4']['address'] }} {{item}}"
    state: present
  when: hostvars[item]['ansible_default_ipv4']['address'] is defined
  with_items: '{{groups.all}}'


- name: Disable transparent huge page - defrag
  shell: echo "never" > /sys/kernel/mm/transparent_hugepage/defrag

- name: Disable transparent huge page - enabled
  shell: echo "never" > /sys/kernel/mm/transparent_hugepage/enabled

- name: VM swappiness - 1
  shell: echo "1" > /proc/sys/vm/swappiness

- name: Set VM swappiness - 2
  sysctl:
    name: vm.swappiness
    value: 1
    state: present

- name: Create /data dir
  file:
    path: /data
    state: directory
    mode: 0775
    owner: dbi
    group: dbi

- name: Create file system on volume
  filesystem:
    fstype: ext4
    dev: /dev/xvdb

- name: Mount volume as /data
  mount:
    name: /data
    src: /dev/xvdb
    fstype: ext4
    opts: defaults,noatime
    state: mounted

- name: install the latest version of ntp
  yum:
    name: ntp
    state: latest

- name: install the latest version of nscd
  yum:
    name: nscd
    state: latest

- name: install wget
  yum:
    name: wget
    state: latest

- name: Disable SELinux
  selinux:
    state: disabled

- name: Reboot for SELinux if needed
  command: /sbin/shutdown -r +1
  async: 0
  poll: 0
Java installation
The Java installation is one of the most complex parts of the installation. First, we need to choose a supported version of JDK. Then we need to be sure that Java has been installed properly in all hosts. The installation tasks is split into the following part:
- Create installation directories: /usr/share/java and /usr/java
- Download Java JDK 1.7.80 which is a supported version for Cloudera Manager
- Unarchive Java JDK
- Fix ownership
- Make Java available for the system with alternatives
- Clean up installation download folder
- Add Java home path by exporting $JAVA_HOME variable
Below the java install tasks.
---
- name: Create directories
  file:
    path: "{{ item }}"
    state: directory
  with_items:
    - "{{ java_download_folder }}"
    - "/usr/share/java"

- name: Creates directory
  file:
    path:  "{{ java_download_folder }}"
    state: directory


- name: Download Java
  get_url:
    url: "{{ java_download_url }}"
    dest: "{{ java_archive }}"
    headers: "Cookie:' gpw_e24=http%3A%2F%2Fwww.oracle.com%2F; oraclelicense=accept-securebackup-cookie'"
    validate_certs: no

- name: Unarchive Java archive
  unarchive:
    src: "{{ java_archive }}"
    dest: "{{ java_download_folder }}"
    copy: no

- name: Fix ownership
  file:
    state: directory
    path: "{{ java_name }}"
    owner: root
    group: root
    recurse: yes

- name: Make Java available for system with alternatives
  command: 'alternatives --install "/usr/bin/java" "java" "{{java_name}}/bin/java" 2'

- name: Clean up Java download
  file:
    state: absent
    path: "{{java_archive}}"

- name: Add java home path
  blockinfile:
    dest: /etc/profile
    block: |
      export JAVA_HOME=/usr/java/jdk1.7.0_80
      export PATH=$JAVA_HOME/bin:$PATH
      regexp: "JAVA_HOME"
    state: present
MariaDB installation
After installing Java, we can start the installation and configuration of MariaDB database. You can find the entire role for MariaDB installation here.
MySQL connector
MySQL connector installation steps will follow approximatively the same steps as Java installation. All details here.
Cloudera Manager Server installation
The last role of this playbook is the installation of Cloudera Manager server. This role will simply install the Cloudera Manager server package in the cdh_manager host and start the 2 following deamons:
- cloudera-manager-daemons
- cloudera-manager-server
---
- include_vars: ../../../group_vars/db_server.yml

- name: Install the Cloudera Manager Server Packages
  yum:
    name: "{{ item }}"
    state: installed
  with_items:
    - cloudera-manager-daemons
    - cloudera-manager-server

# - name: Prepare Cloudera Manager Server External Database
#   command: /usr/share/cmf/schema/scm_prepare_database.sh
#              -f
#              --host {{ hostvars[db_hostname]['inventory_hostname'] }}
#              mysql {{ databases.scm.name }} {{ databases.scm.user }} {{ databases.scm.pass }}
#   changed_when: False

- name: Start the Cloudera Manager Server
  service:
    name: "{{ item }}"
    state: restarted
    enabled: yes
  notify:
    - wait cloudera-scm-server
  with_items:
    - cloudera-scm-server
    - cloudera-scm-agent

# Trigger handler to wait for SCM to startup
- meta: flush_handlers
site.yml
After creating all roles, we need to define our site.yml in order to execute all tasks in the desired order.
---
# Cloudera playbook

- name: Configure Cloudera Manager Repository
  become: ansible_become
  hosts: cdh_servers
  roles:
    - cm_repo
  tags: cm_repo

- name: Configure Epel repository
  become: ansible_become
  hosts: cdh_servers
  roles:
    - epel
  tags: epel_repo

- name: OS Configuration
  become: ansible_become
  hosts: cdh_servers
  roles:
      - os_config
  tags: os_config

- name: Install Java JDK 7
  become: ansible_become
  hosts: cdh_servers
  roles:
    - java
  tags: java

- name: Install MySQL Java Connector
  become: ansible_become
  hosts: cdh_servers
  roles:
    - mysql_connector
  tags: mysql_java_connector

- name: Install MariaDB and create databases
  hosts: db_server
  roles:
    - mariadb
  tags: mysql

# ##############
- name: Install Cloudera Manager Agents
  hosts: cdh_servers
  roles:
    - cm_agents
  tags: cm_agents

- name: Install Cloudera Manager Server
  hosts: cdh_manager
  roles:
    - scm
  tags: cluster_template
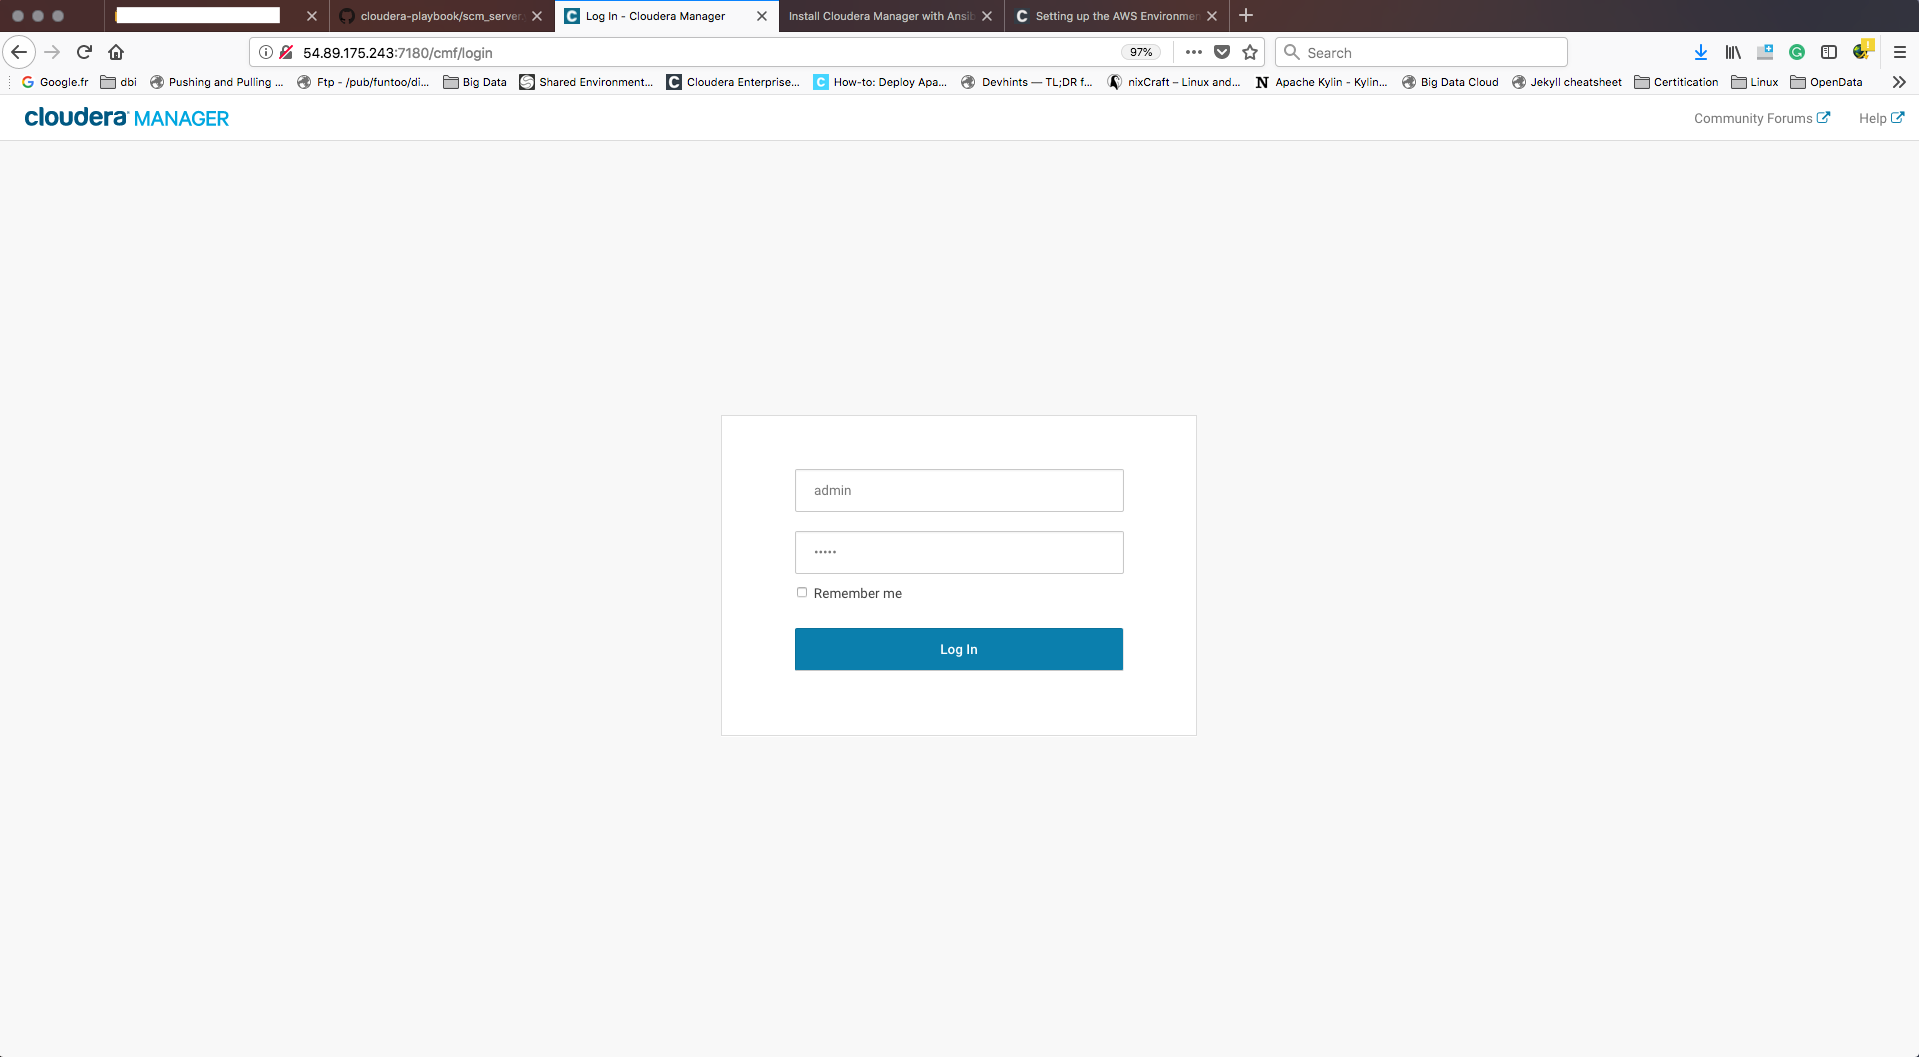
When all steps will finish, you can access to Cloudera Manager web interface by the following:
http://<cdh_manager_ip>:7180
Be sure, your network configuration is well configured to allow access to Cloudera Manager webUI through the default 7180 port.
The entire project with all files is available here.
![Thumbnail [90x90]](https://www.dbi-services.com/blog/wp-content/uploads/2022/08/ENB_web-min-scaled.jpg)
![Thumbnail [90x90]](https://www.dbi-services.com/blog/wp-content/uploads/2022/08/NME_web-min-scaled.jpg)
![Thumbnail [90x90]](https://www.dbi-services.com/blog/wp-content/uploads/2024/01/HME_web.jpg)