As of now, all the previous posts worked with the Community Edition of Exasol. While that is great for getting started quickly (the Community Edition comes with all the features, except multi node support and a limit of 200GB of data) there are some limitations: Can you not really test how data is distributed across cluster nodes because there is only one. You do not have a real access to the operating system as the password for the root user is not given out. My hope is to have more control over Exasol on AWS on the one hand, and being able to test the advanced features of Exasol in a real multi node cluster on the other hand. This post will mainly explain how the setup on AWS works, and the following posts will dig into the advanced features afterwards.
When it comes to Exasol on AWS there are two deployment options:
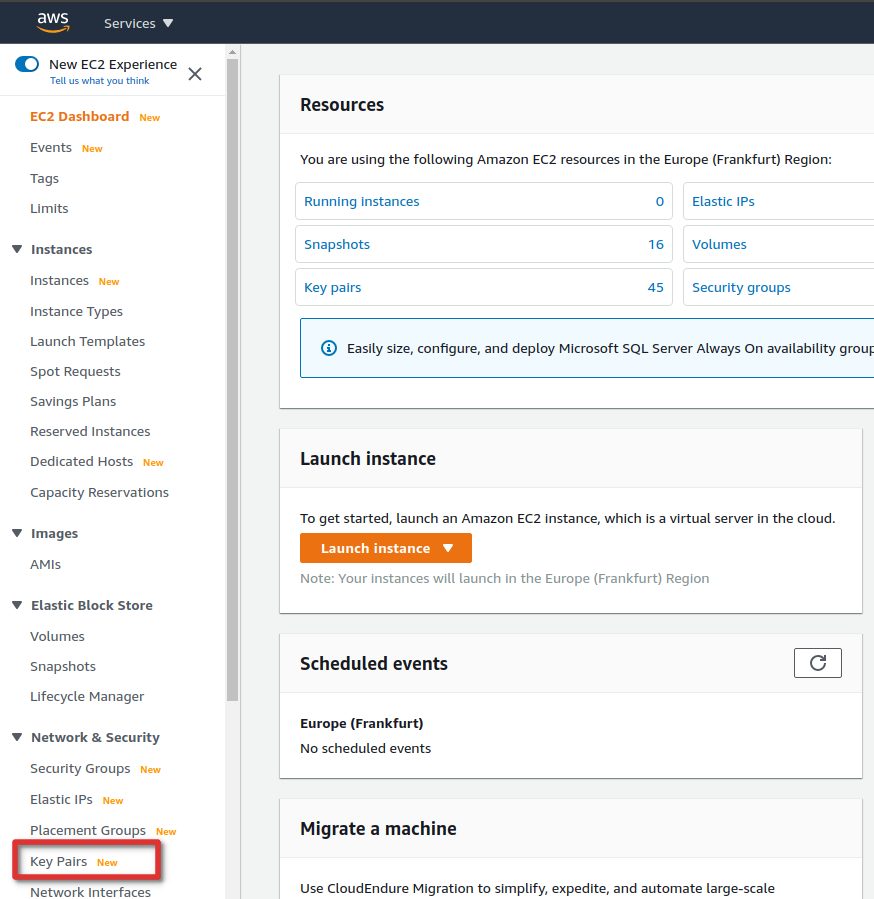
We’ll be using Exasol’s Cloud Deployment Wizard for the scope of this post, as CloudFormation templates require a bit more knowledge. Before we head over to the deployment we need to create SSH-Keys in AWS, that will be used during the deployment and you will need them to connect to the nodes after everything is setup (very much the same as you know it from standard EC2 instances). As key pairs belong to EC2, the option to create new ones is in the EC2 homepage:

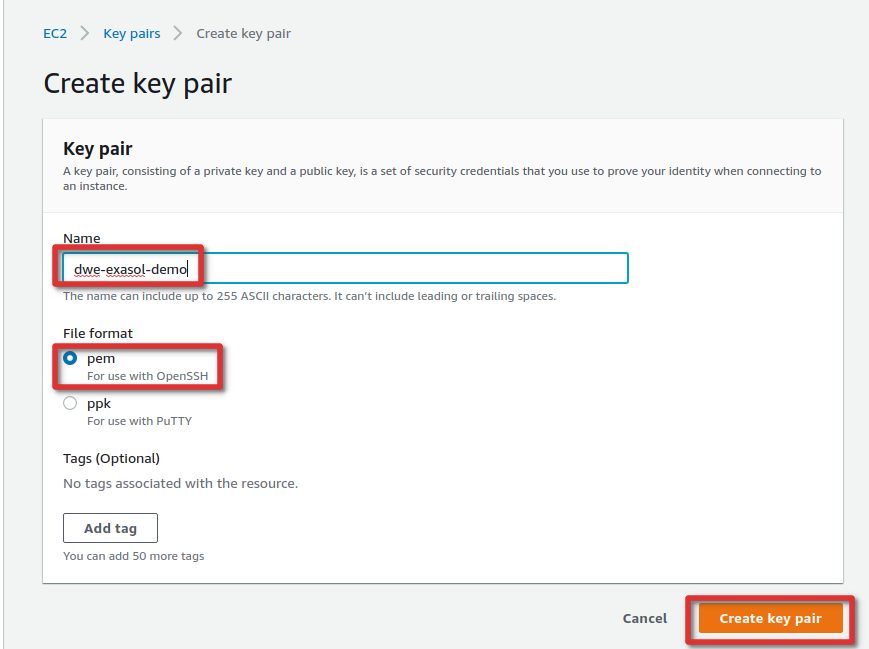
If you are on Windows and use Putty, switch the format to ppk, otherwise pem is fine:
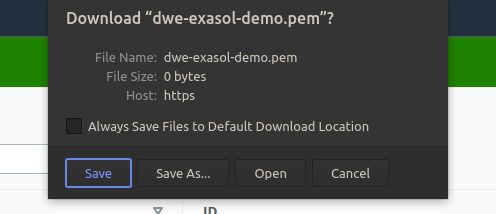
Make sure that you download the private key, if you lose that you will have no option to connect and you will need to start from scratch:
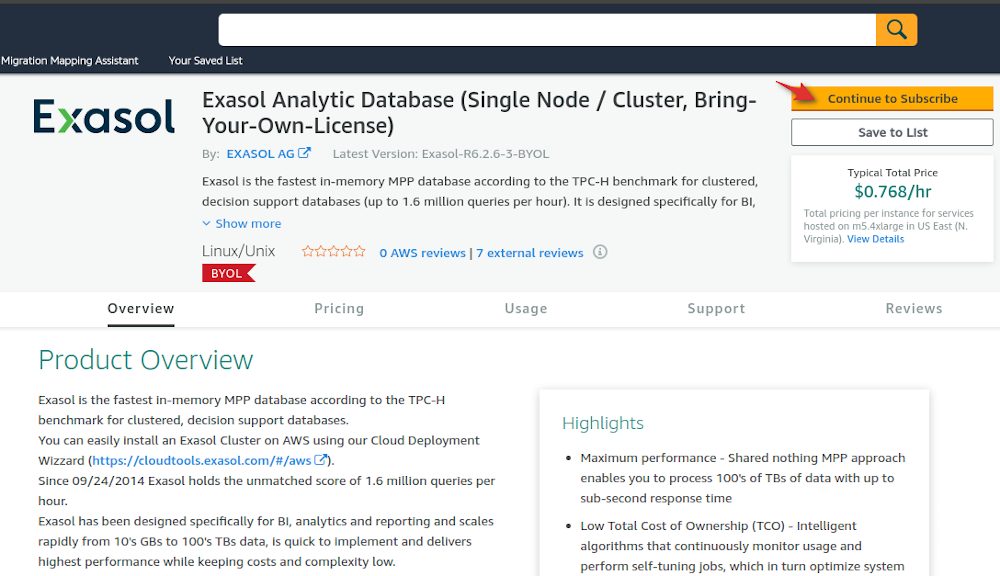
Important: Before you try to deploy Exasol on AWS you need to subscribe to the Exasol offering in the AWS market place. If you don’t do this, your deployment will fail:
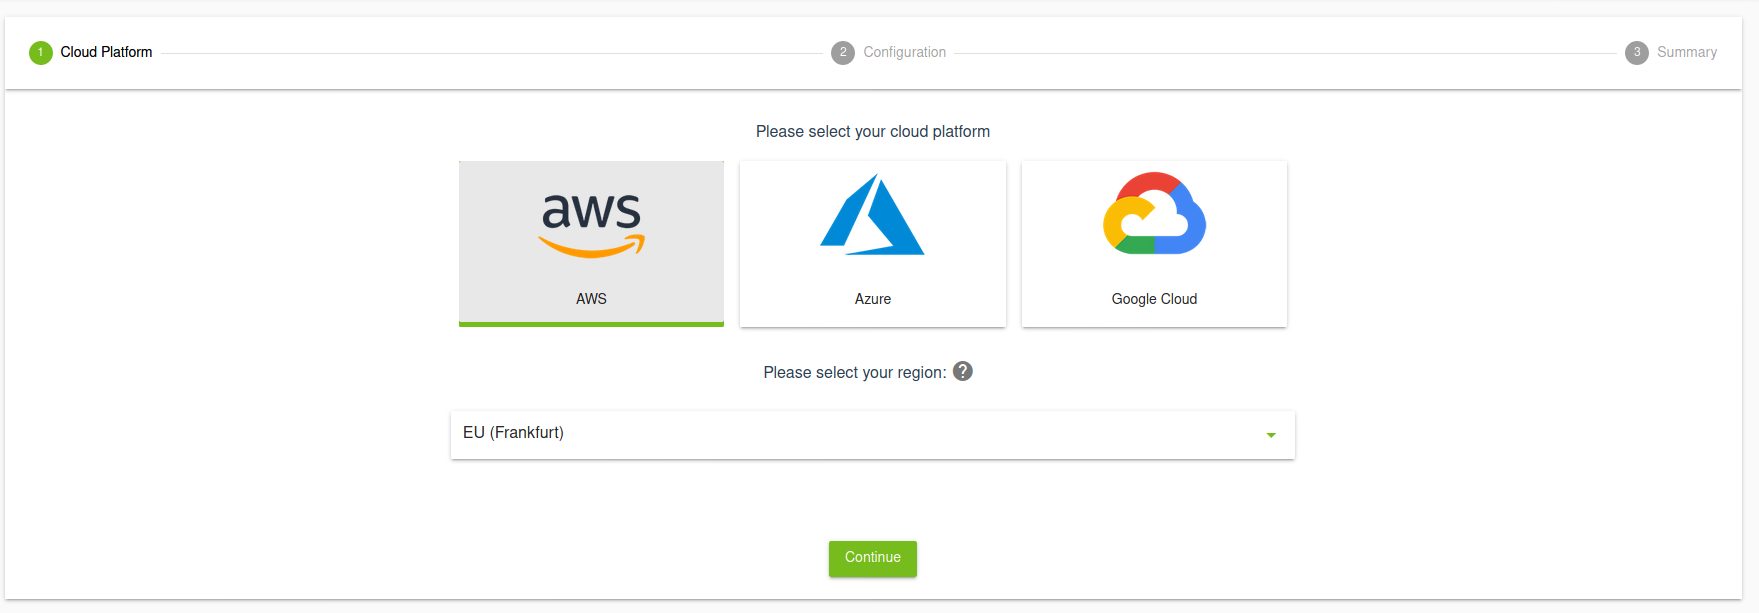
Having the key pair ready, head over to the Exasol Coud Deployment Wizard, select AWS and choose your preferred AWS region:
We’ll go with the minimal configuration which is 1TB of raw data size and the basic settings.
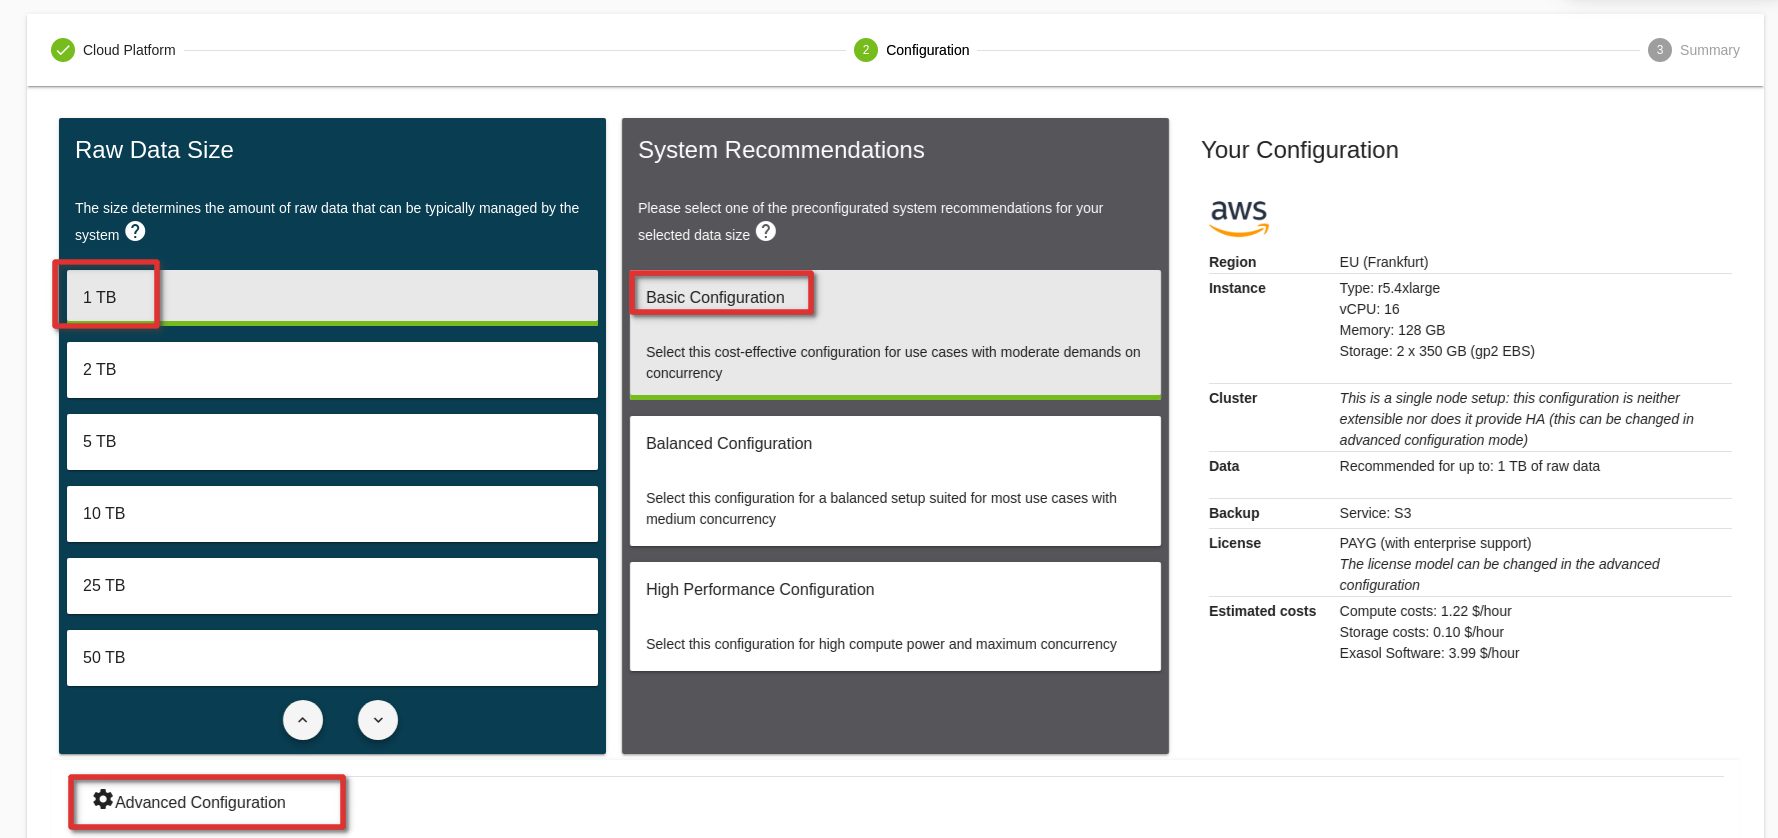
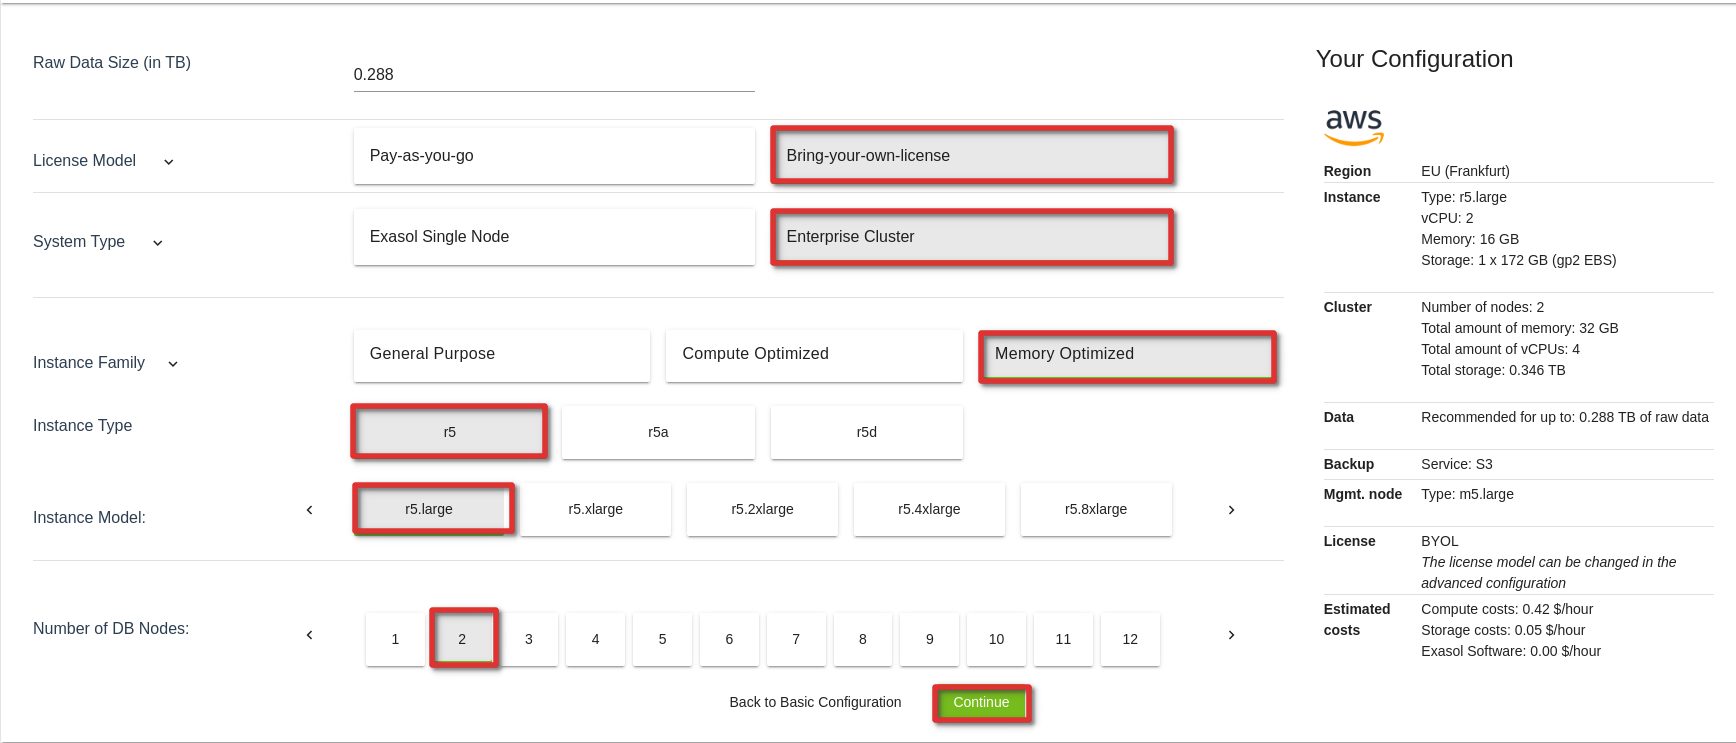
In the advanced configuration section we chabge a few settings:
- License Model: Bring your own license, otherwise you’ll pay for the Exasol software. This will automatically give you a 20GB memory license by default. If you go for multiple nodes (in our case two) this will break down to the amount of nodes. If you go with 2 nodes, you will 10GB memory for the databases per node.
- System type: Enterprise Cluster, as we want to have multiple nodes- The amount of data is not limited.
- Instance family: Memory Optimized, this is what you should use for Exasol
- Instance model, Instance type: r5/r5.large, the smallest one is sufficient for testing
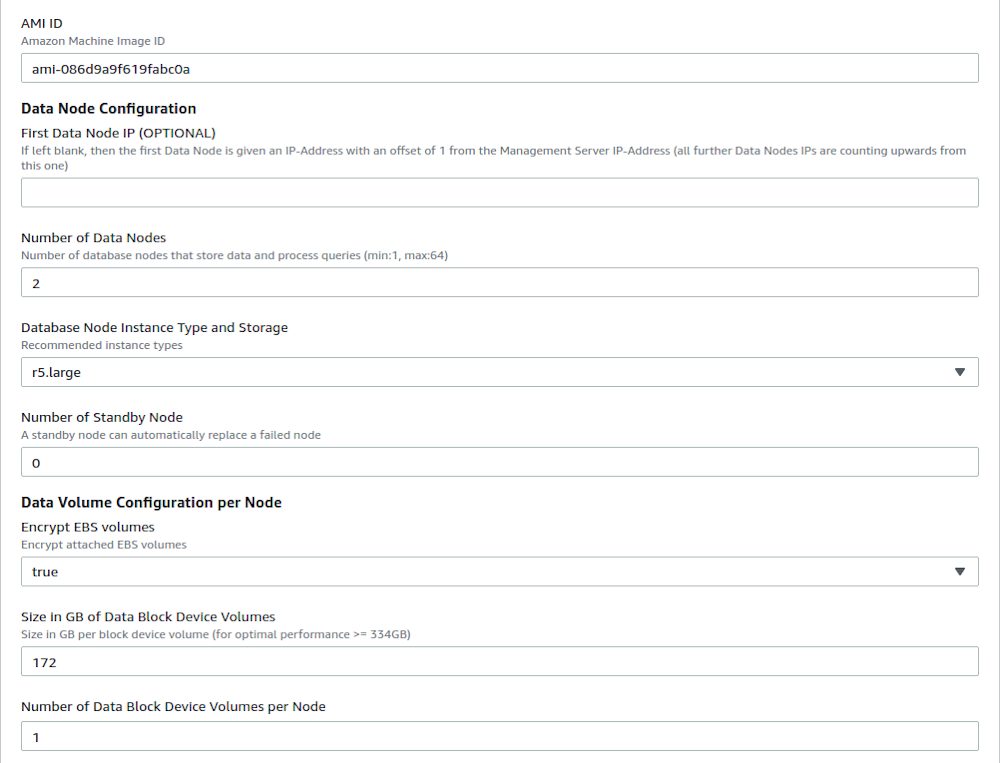
- Number of DB nodes: 2, we start small
The next screen will show you a summary of your configuration. As I already have a VPC I will use my existing one:
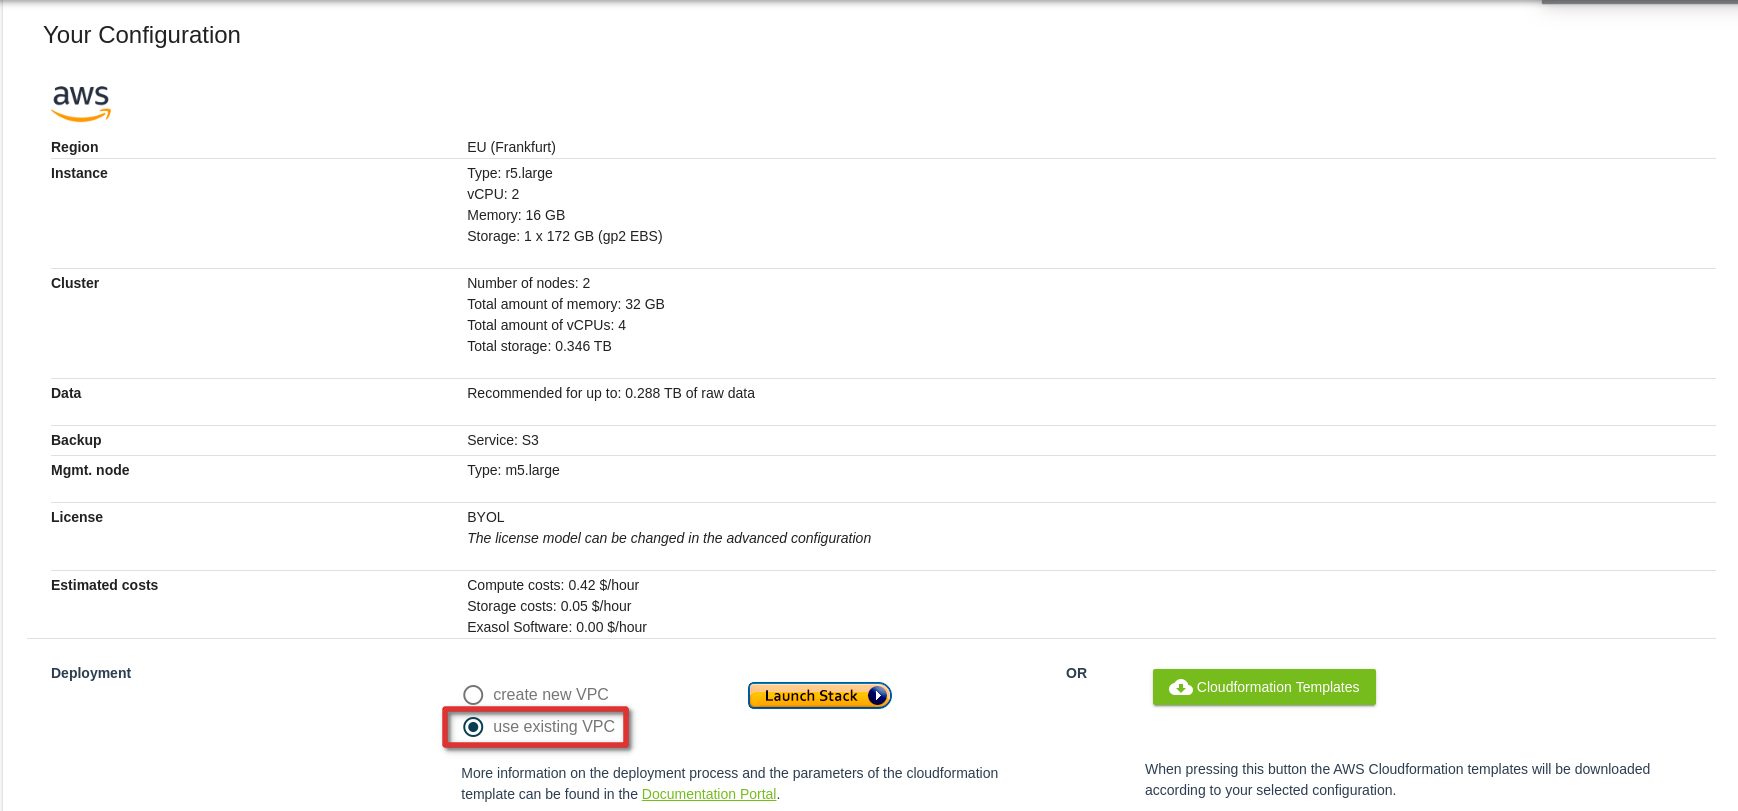
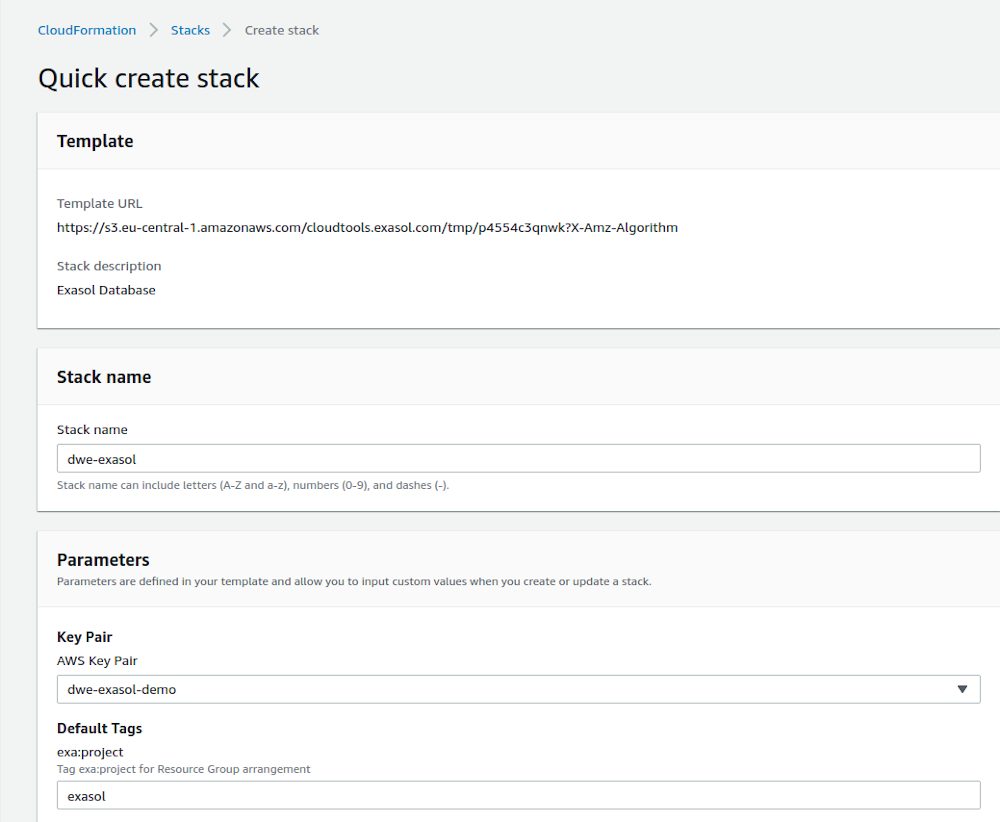
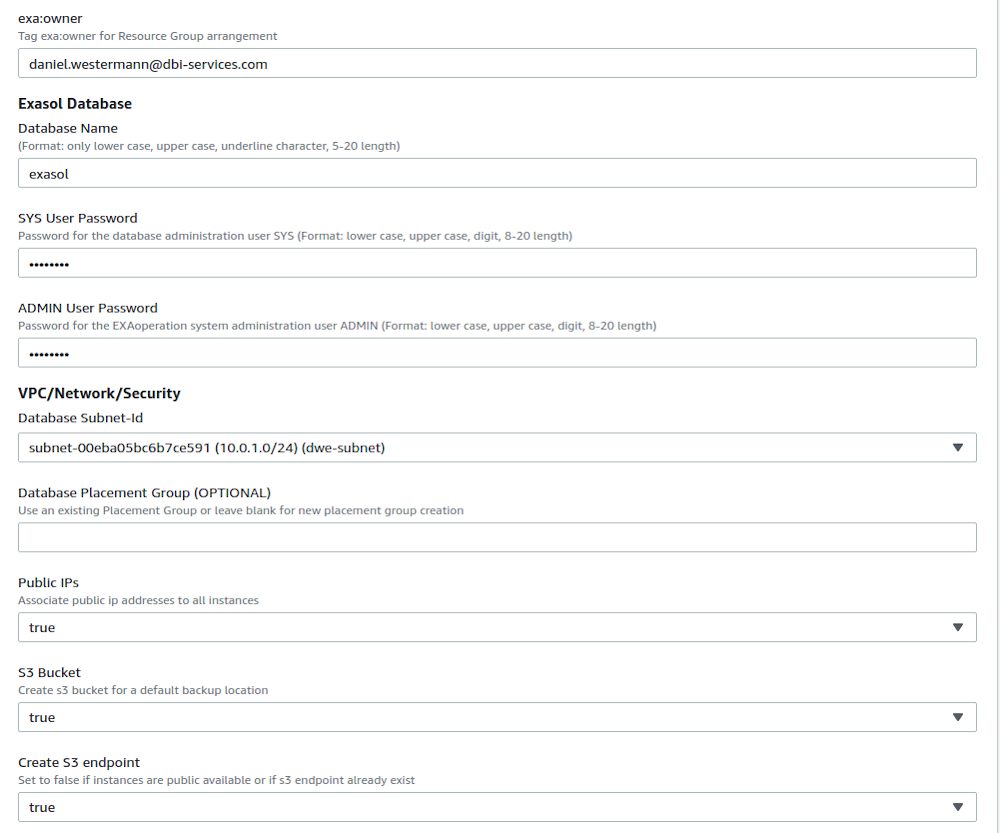
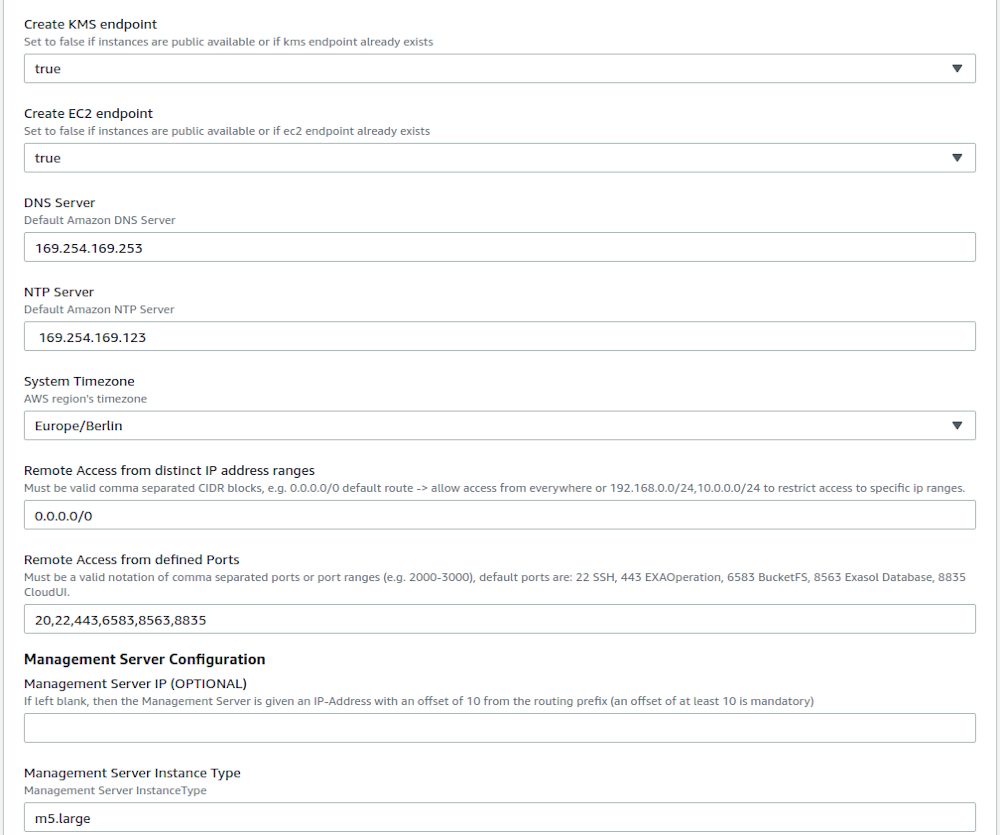
This will launch CloudFormation and you need to specify further details, such as the subnet to use, passwords and so on:

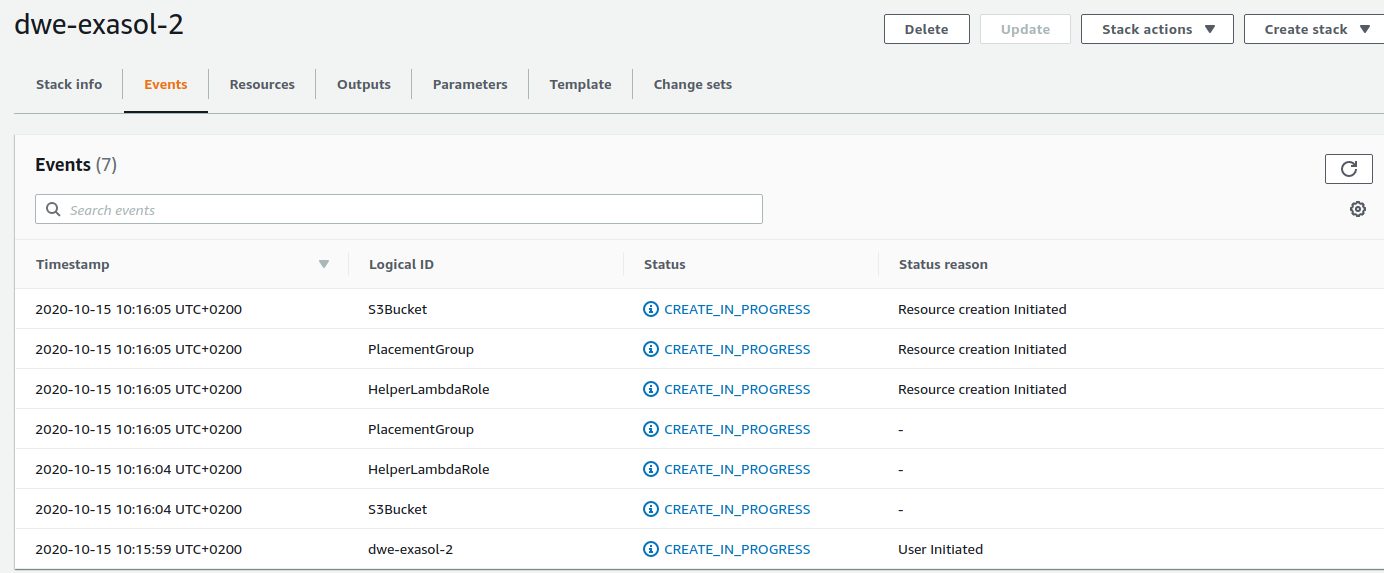
The creation of all the resources will take some time, so just wait until all the tasks have completed:
You can also monitor the creation of the EC2 instances in the EC2 dashboard:

Once the management node is ready you can connect to the public IP-Address of that node with your preferred browser:
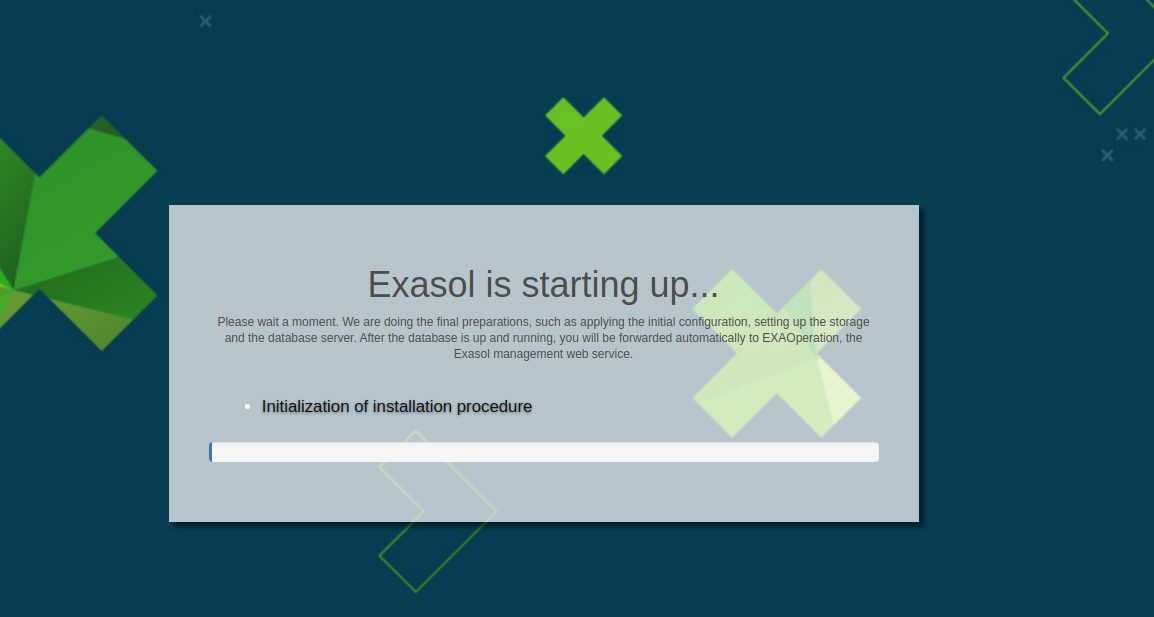
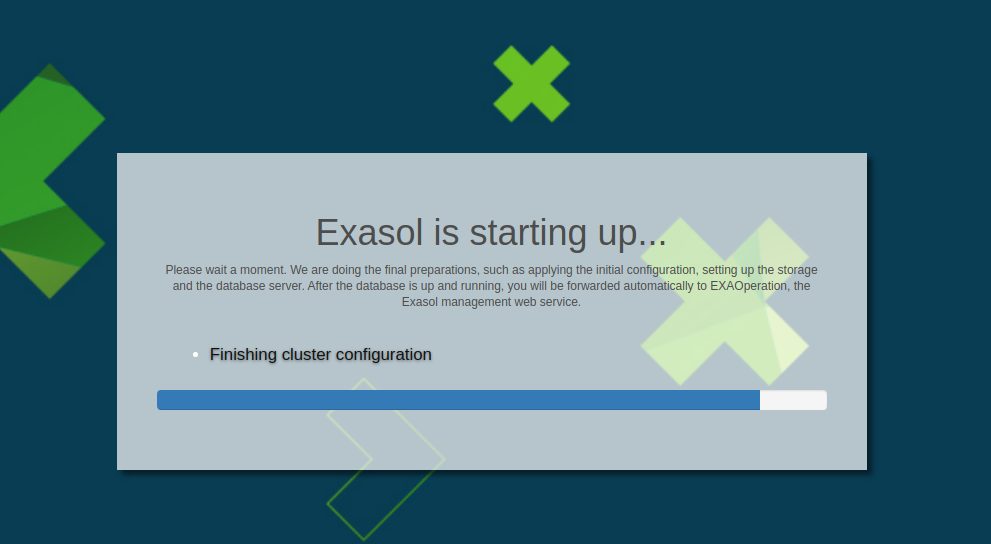
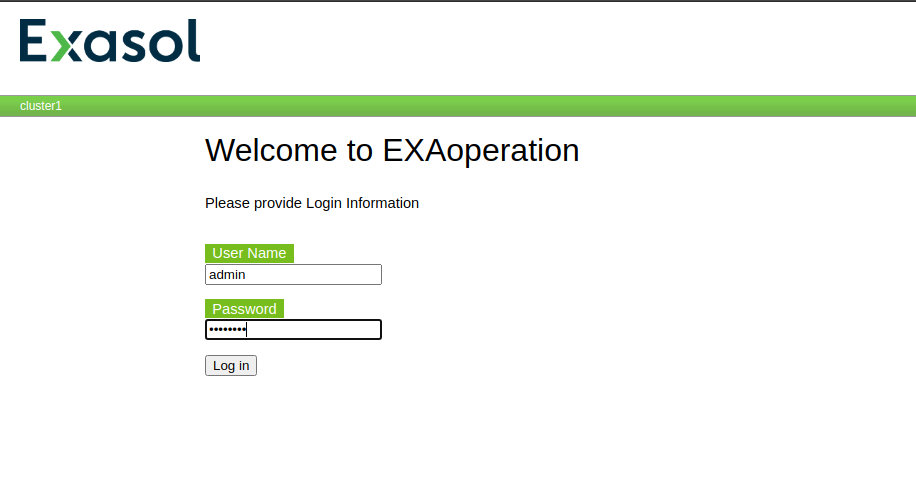
Give that some time (takes around 30 minutes) and when it is ready, you’ll see the usual EXASolution login screen:
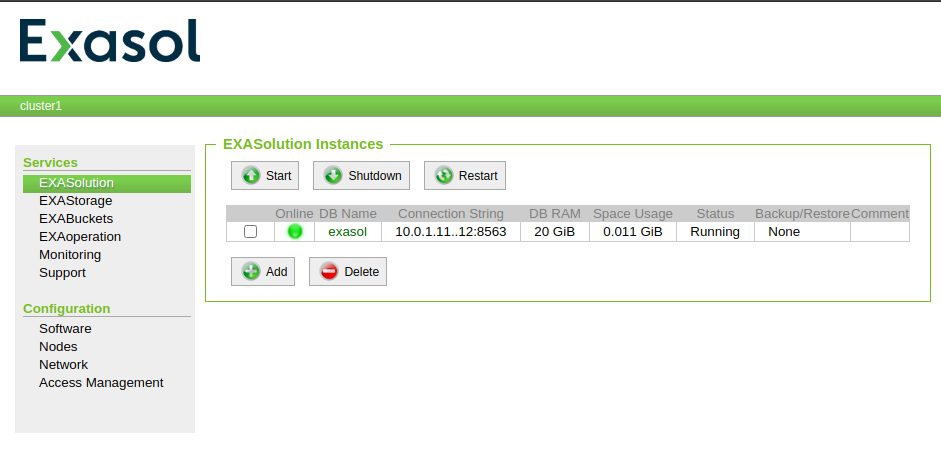
We have one database which is already running:
A S3 bucket for the backups was automatically created (you need to add your AWS credentials, then the connecting problem will be gone):

Connecting via SSH to the management node using the key we created before:
dwe@dwe:~$ ssh -i Documents/aws/dwe-exasol-demo.pem [email protected]
[ec2-user@ip-10-0-1-10 ~]$ cat /etc/centos-release
CentOS Linux release 7.5.1804 (Core)
Conclusion: The Exasol deployment process on AWS is quite easy. We now have two data nodes one mangement node. Having more than one cluster nodes, we can have a look at how data is distributed to the nodes and how that affects performance.
![Thumbnail [60x60]](https://www.dbi-services.com/blog/wp-content/uploads/2022/08/DWE_web-min-scaled.jpg)