Hi Team,
Sometimes I was struggling with my VM to install and test my favorite software.
Many problem can occur, VM can crash , need to install again, select the correct image computer , manage resources allocation and consumption can be sometime a nightmare.
But as I am lucky, one of my dbi colleague advised me to use public cloud,so …..thanks a lot @Kevin BAUDE !!!
Let’s see how to create a public cloud and install Jenkins on it.
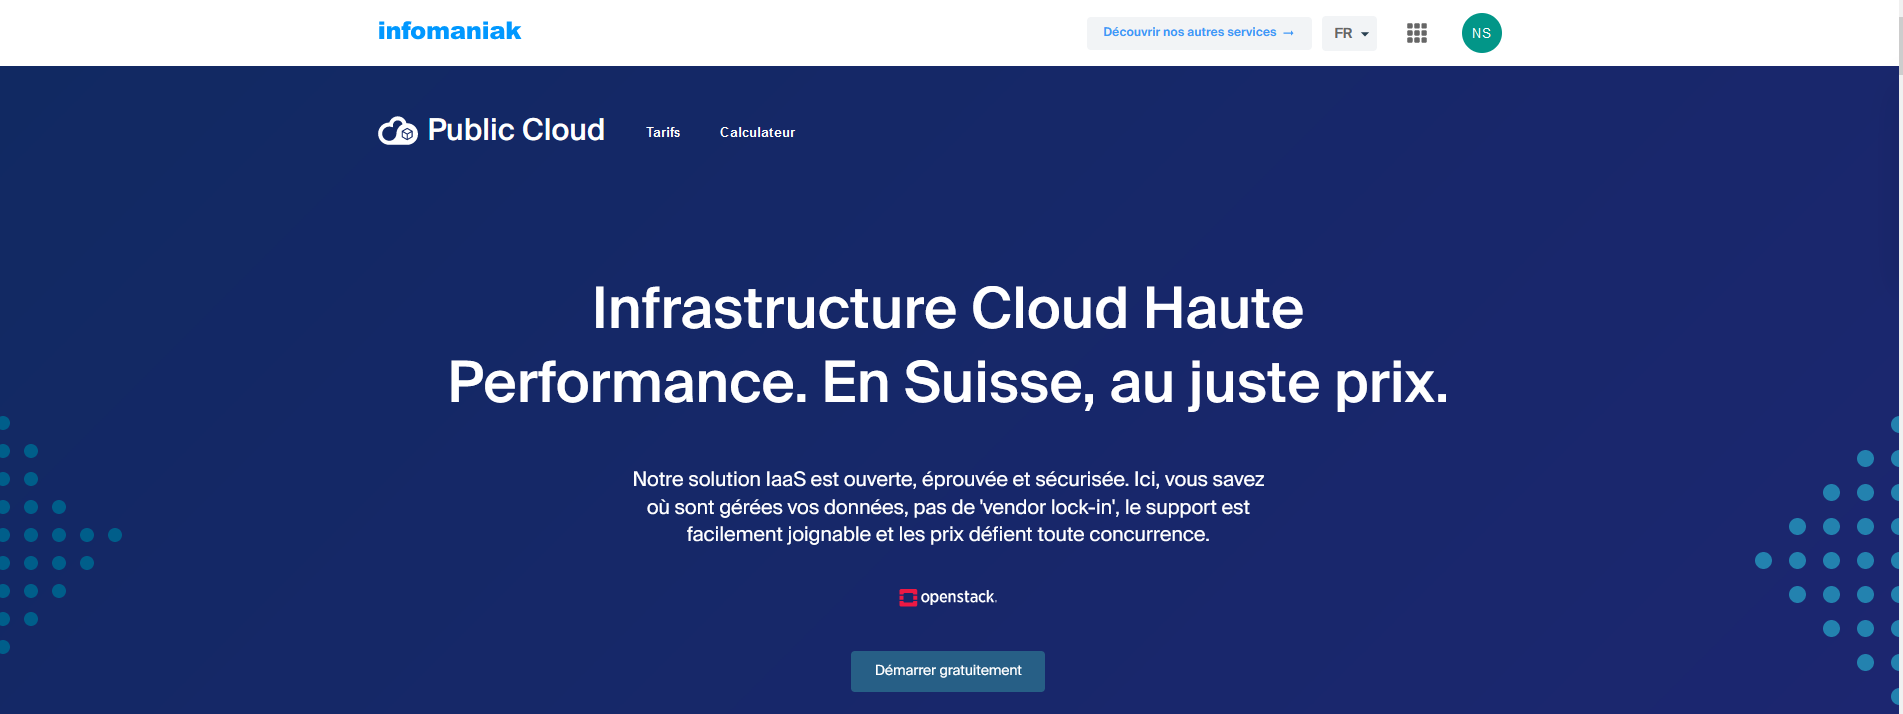
Connect to the Public cloud site
Go to https://www.infomaniak.com/fr/hebergement/public-cloud
- Subscribe to the site (you can have 3 month for free in order to test feature of this site)
- Create an account
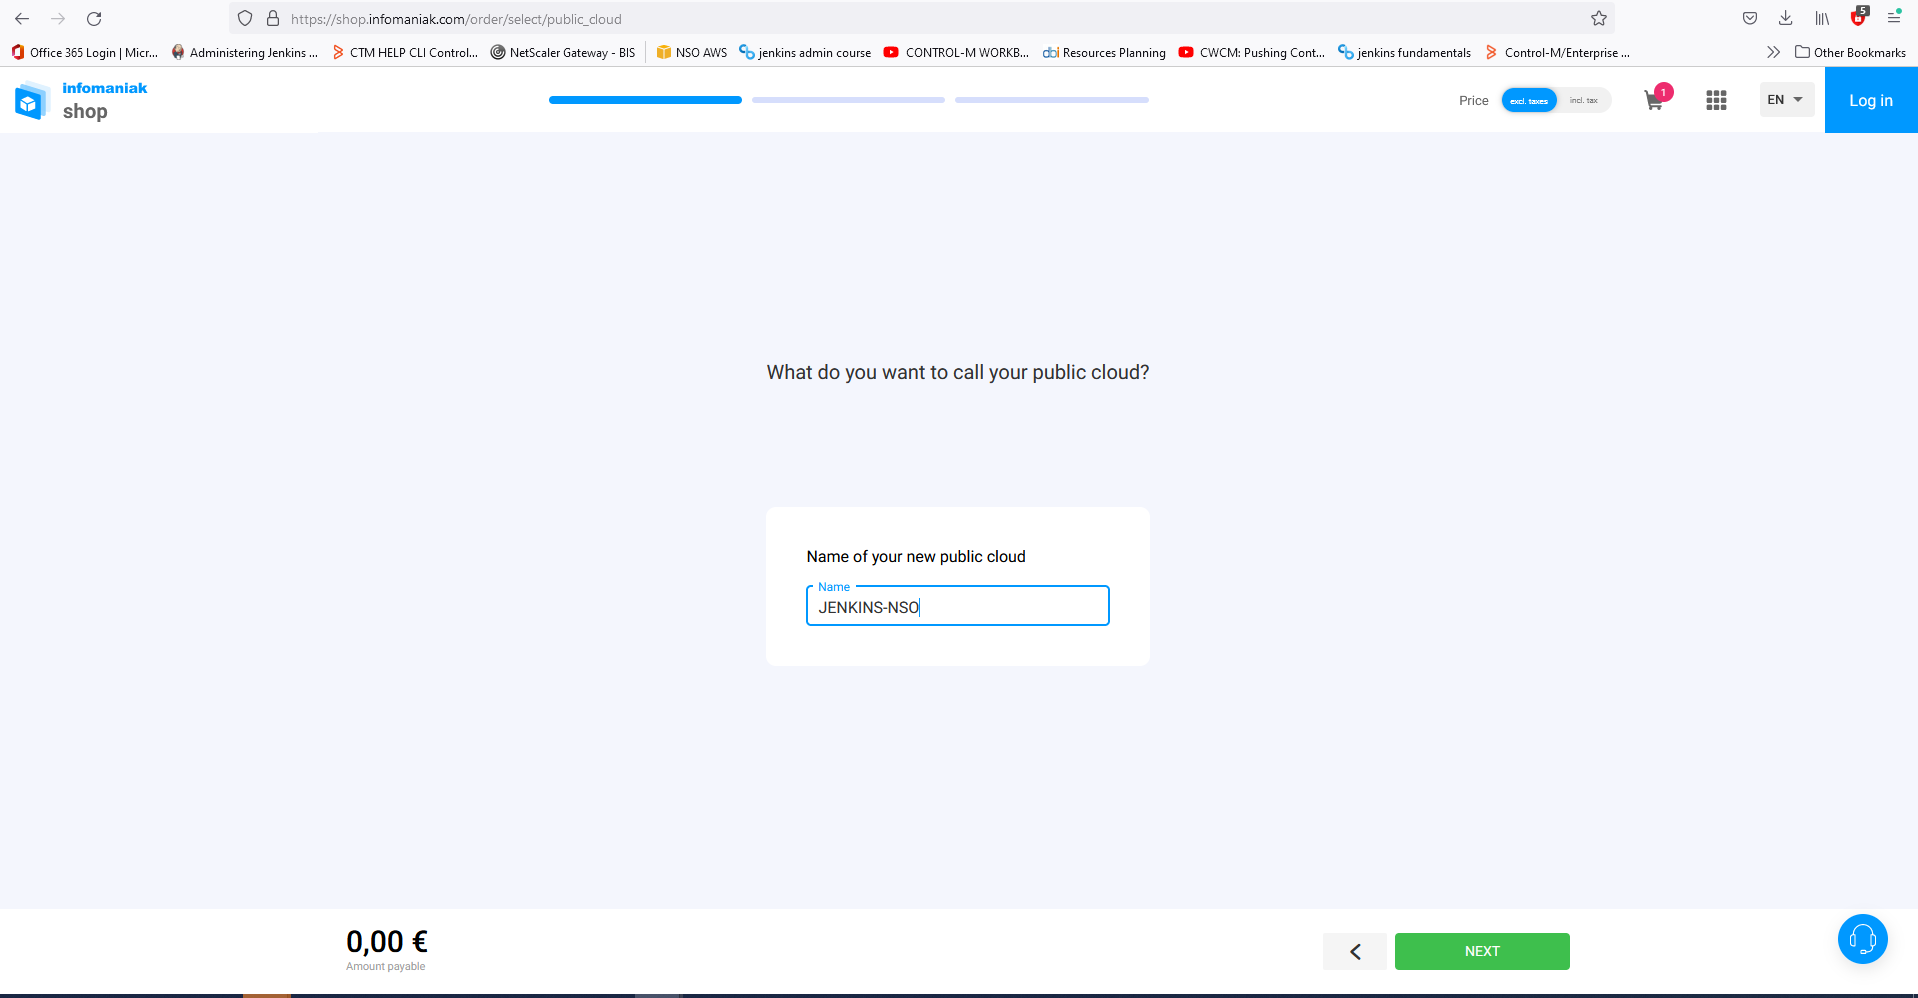
- name your public cloud
- Go on your interface manager
You can create a new public cloud or manage your current public cloud
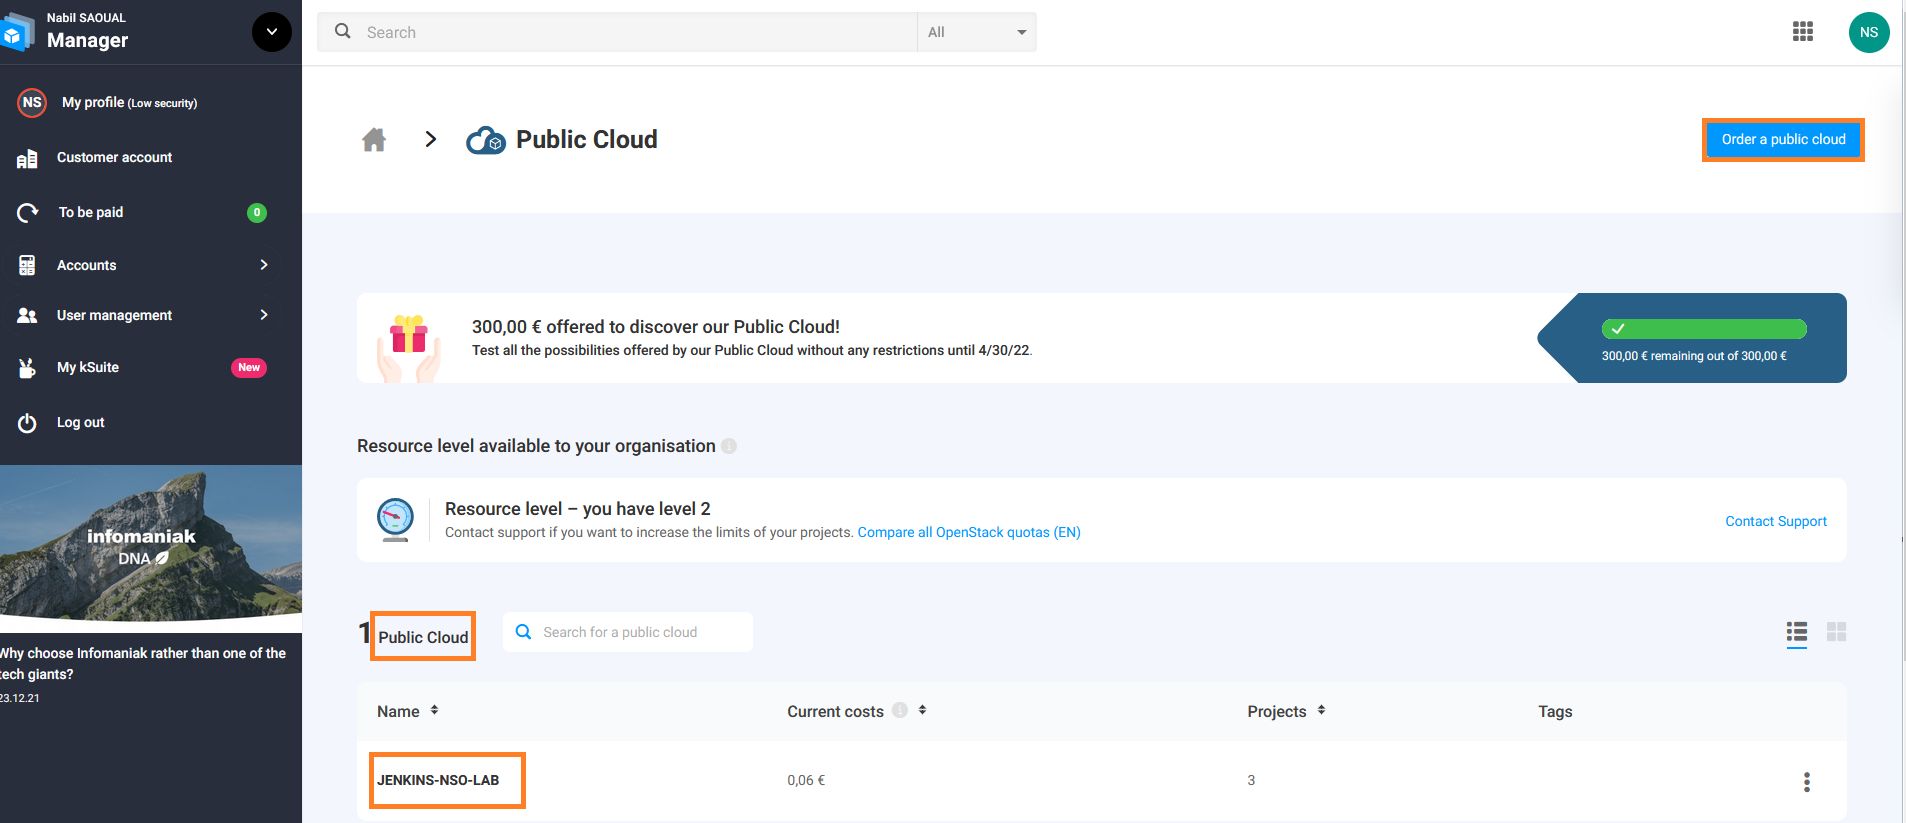
- Create a new project

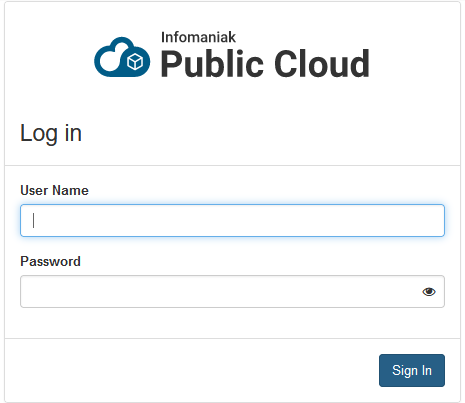
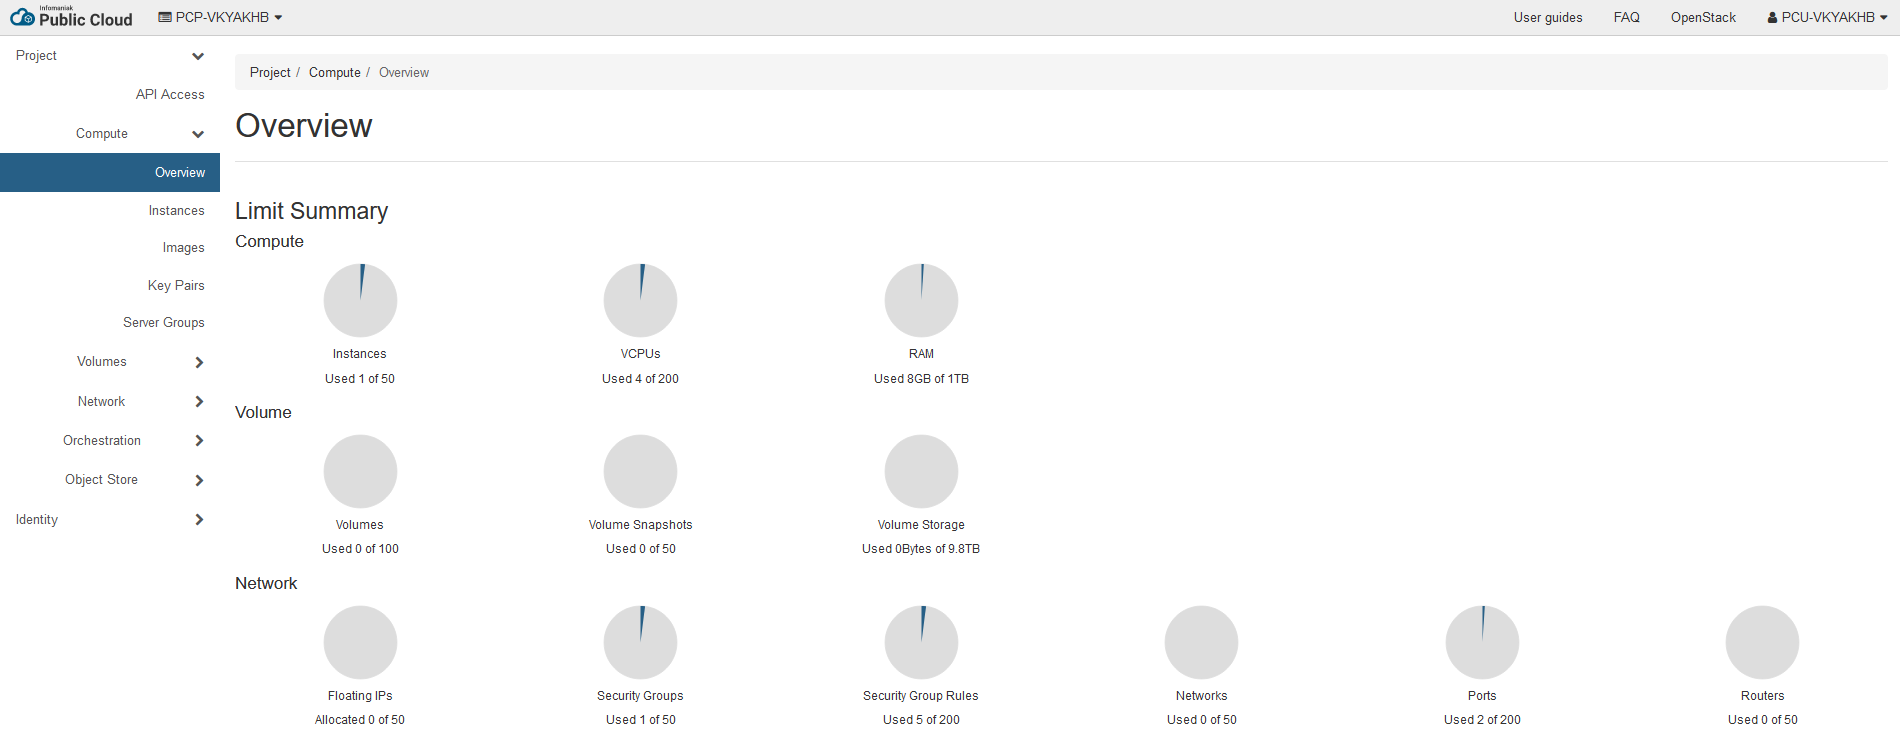
- log on you public cloud
- Double click on your project and start configuration
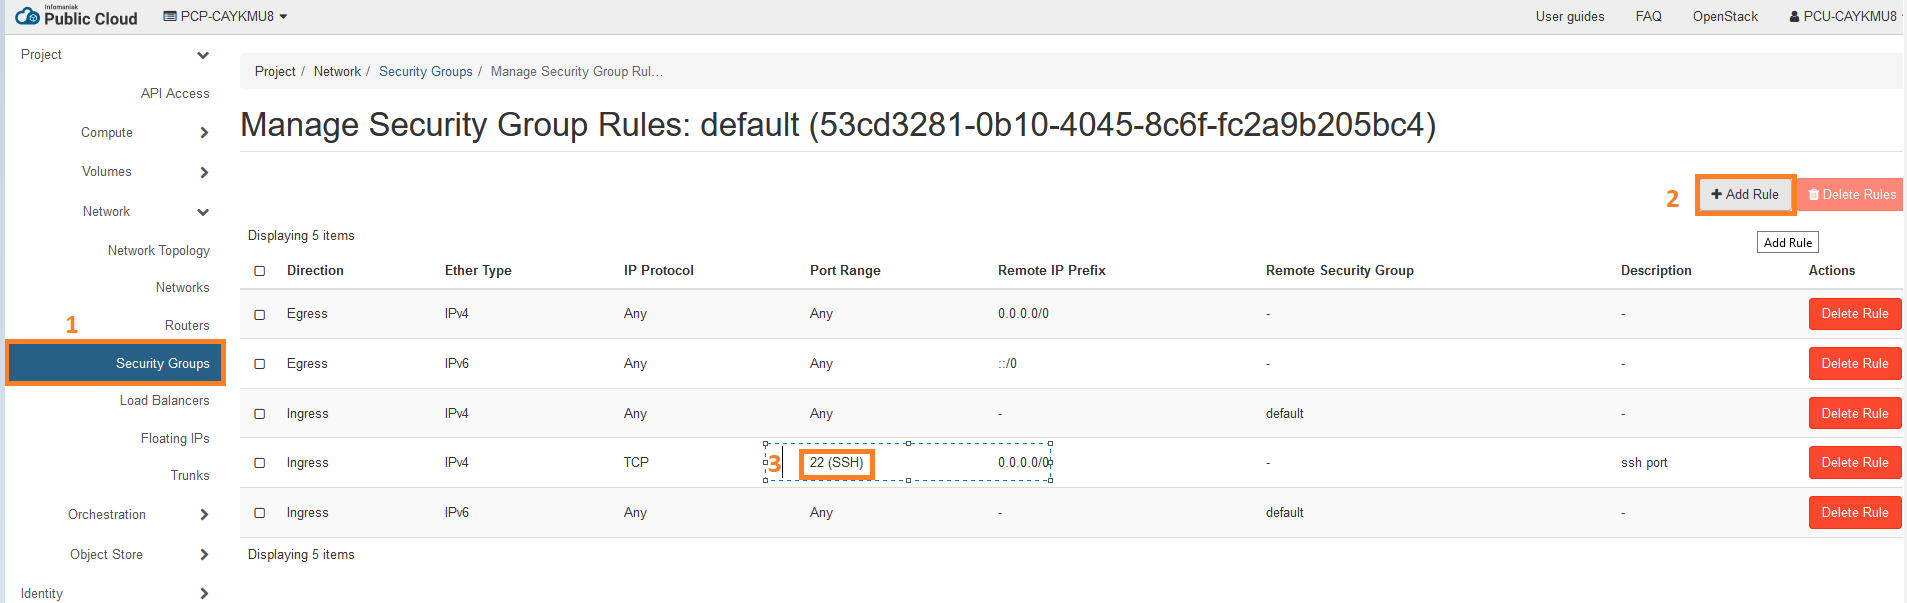
before creating your instance
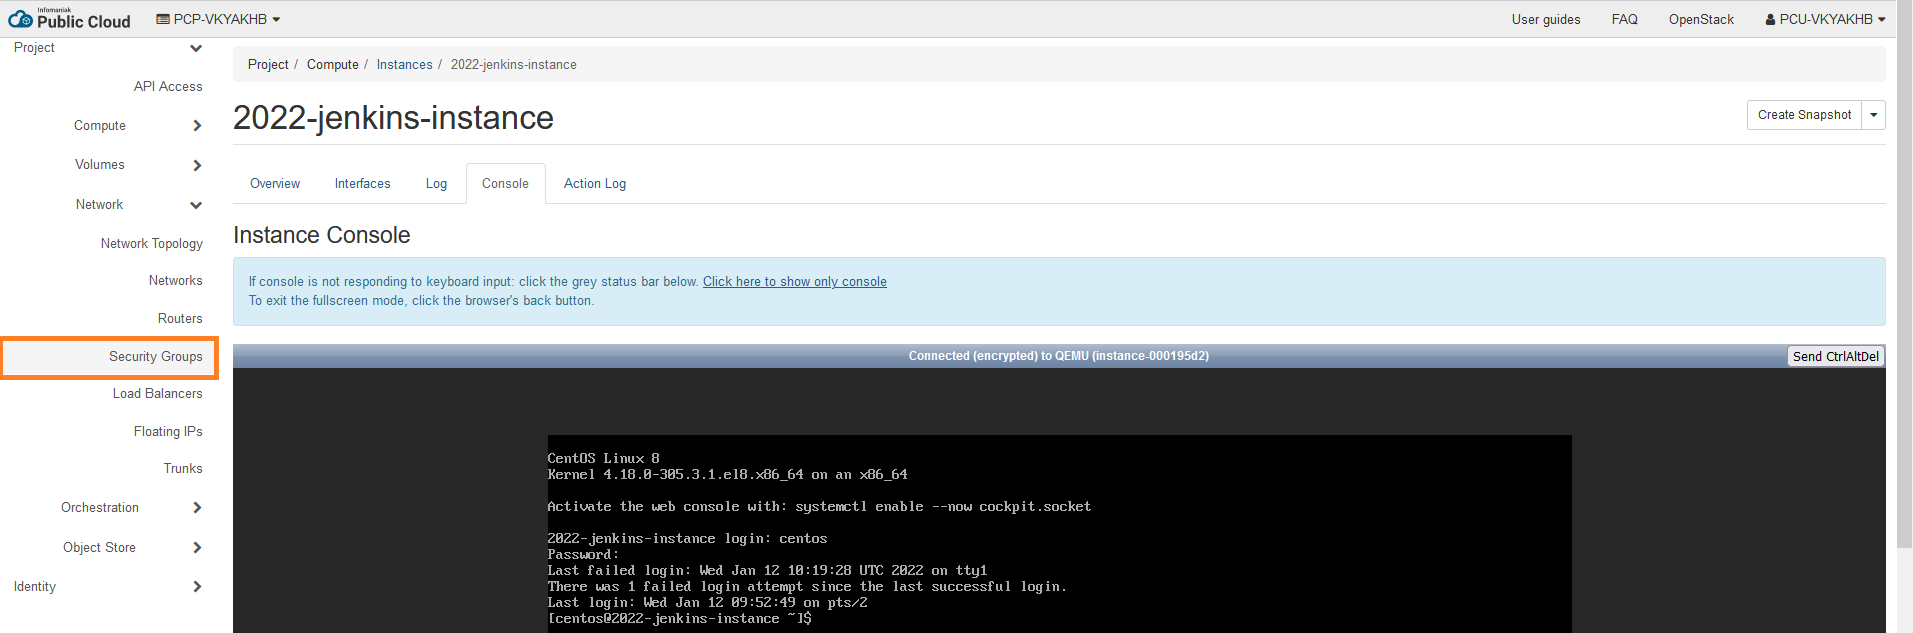
- create your security rules to allow SSH
To use your machine on putty or mobaxterm for example you must add a new rule
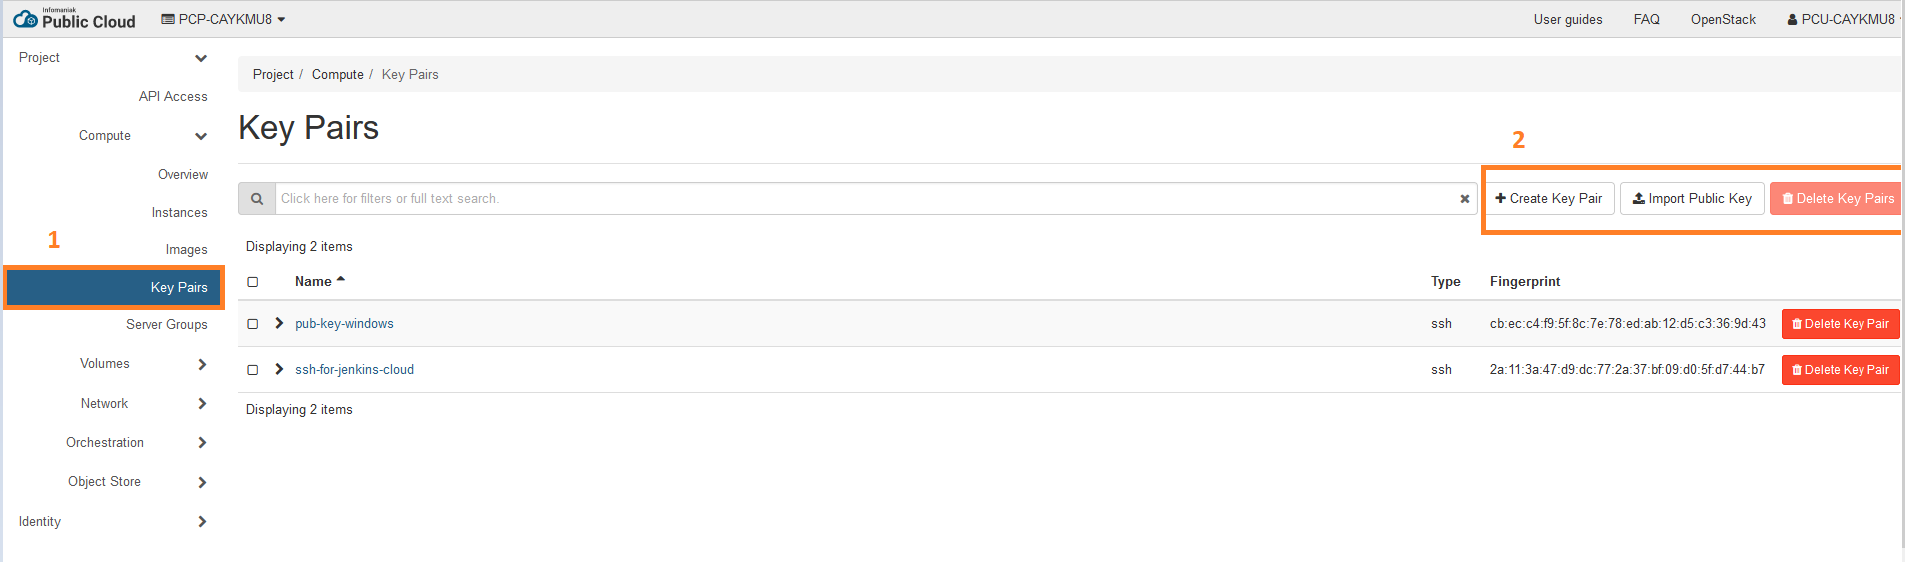
- import a ssh key pair
On your machine generate the key pair

- Import the public key to your public cloud
- Create your new instance

- Name your instance
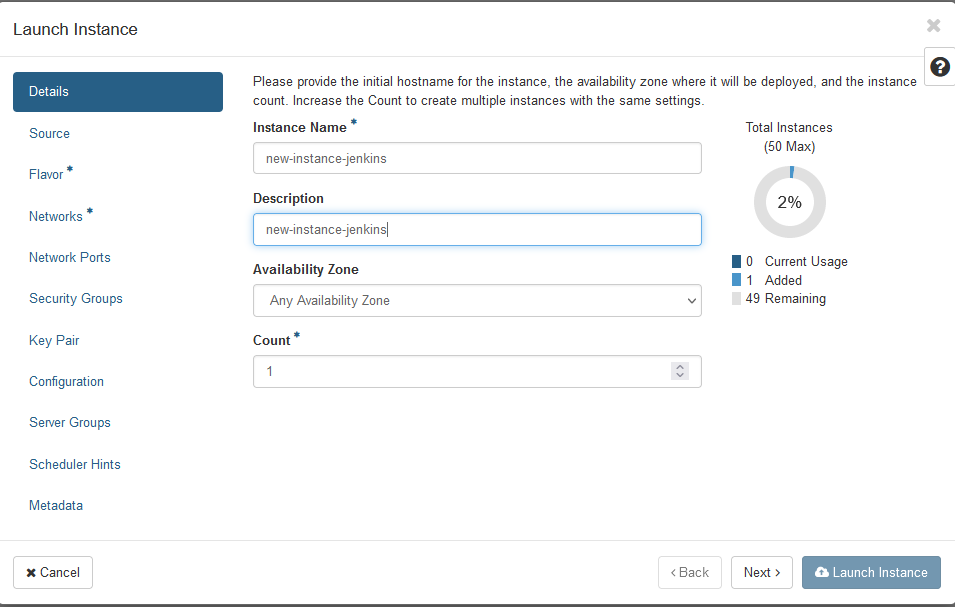
- select you source
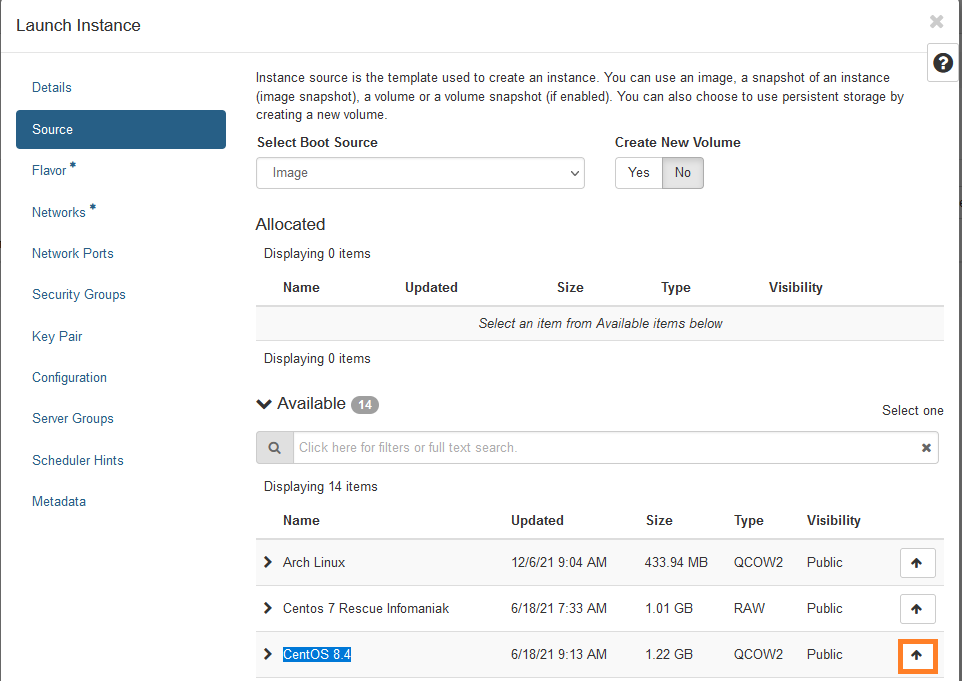
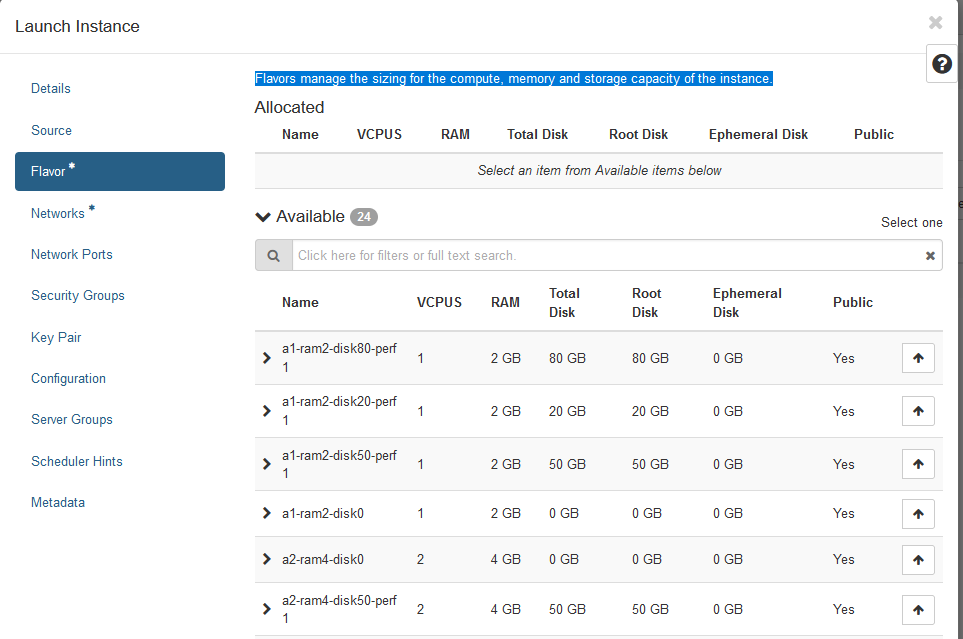
- select your OS specificity RAM/Space
Note: Flavors manage the sizing for the compute, memory and storage capacity of the instance
- select your Network( I let by default )
- add your security groups (including SSH rule added before )
- add your key pair defined before (each time you create a VM you must add your key pair )
Connect to your new instance
- Click on launch instance
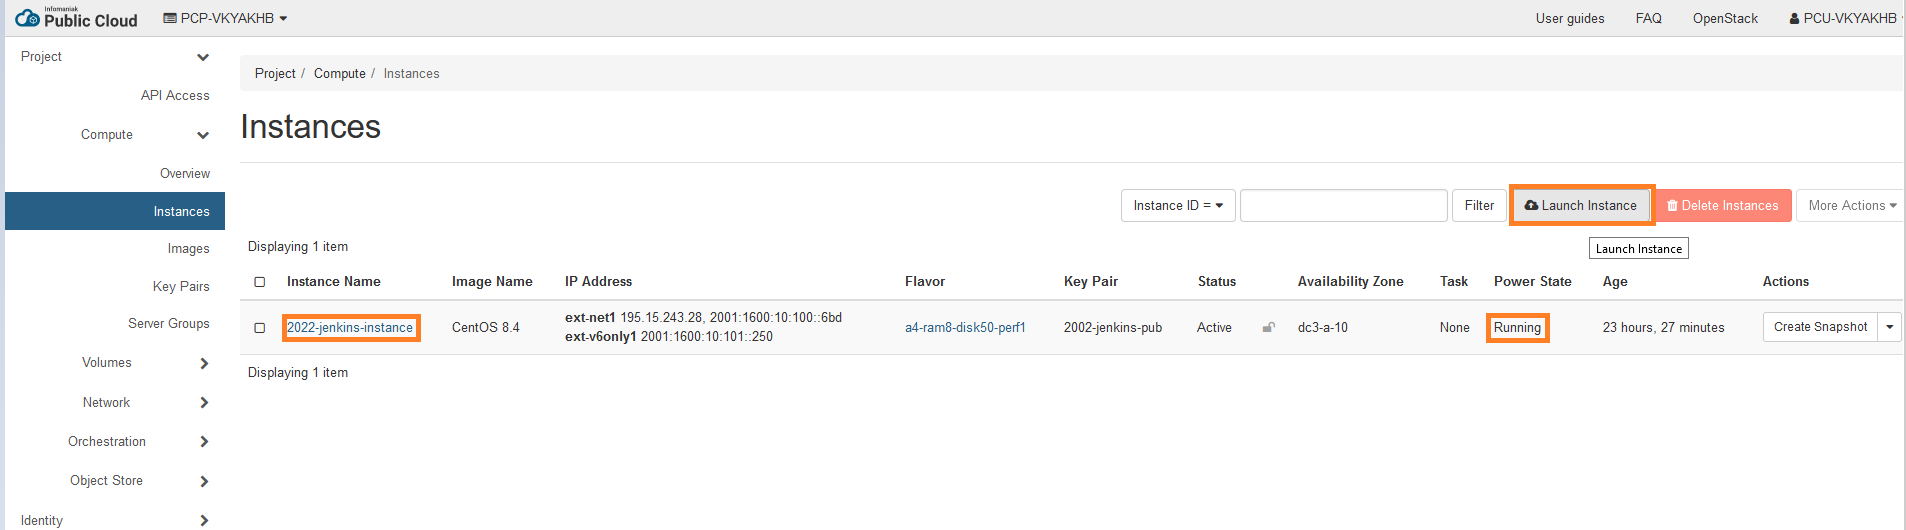
- connect to your terminal with your ip address displayed
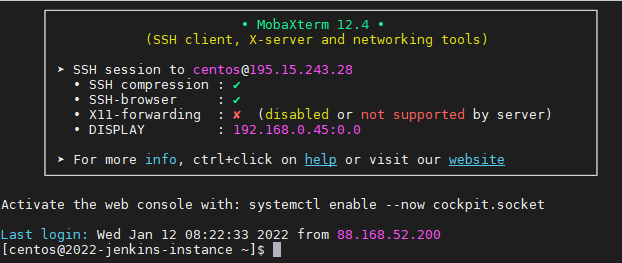
Your VM is now available for Jenkins installation
Install Jenkins
- Install java
sudo dnf install java-1.8.0-openjdk-devel
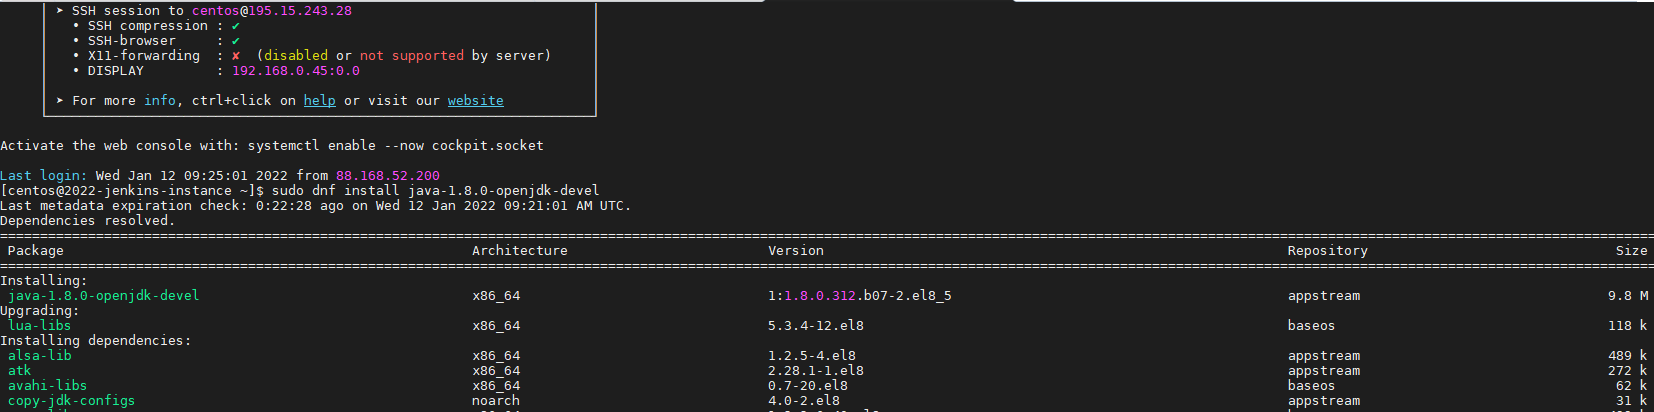
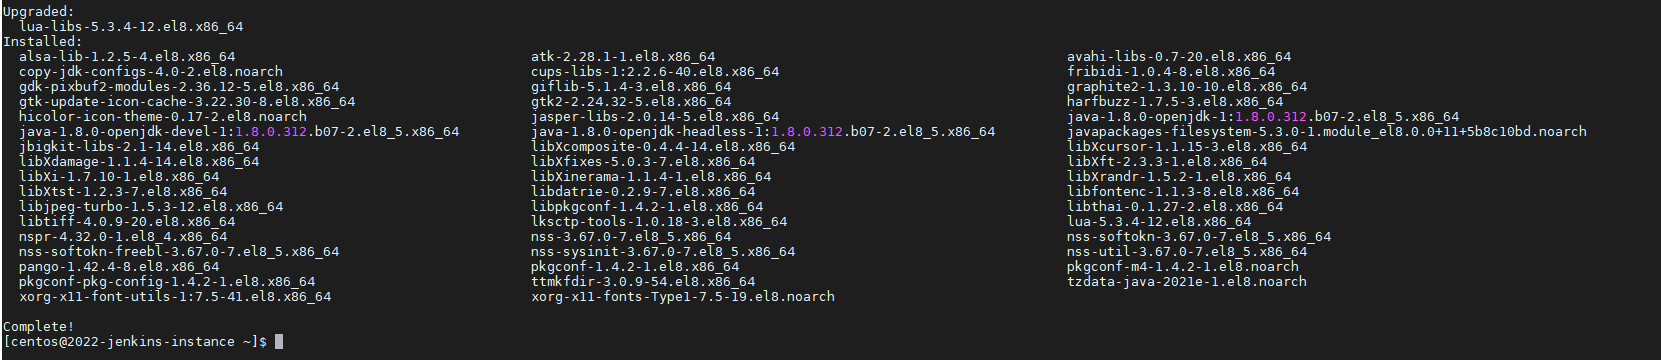
- Check if install is validated
- Add Jenkins Software Repository
Jenkins isn’t included in the default CentOS software repositories. To add the Jenkins repository, open a terminal window, and enter the following:
sudo wget –O /etc/yum.repos.d/jenkins.repo http://pkg.jenkins-ci.org/redhat-stable/jenkins.repo
note:
If you have an issue with that command install wget
[root@2022-jenkins-instance centos]# sudo wget -O /etc/yum.repos.d/jenkins.repo \>https://pkg.jenkins.io/redhat-stable/jenkins.reposudo: wget: command not found[root@2022-jenkins-instance centos]# yum install wget
Last metadata expiration check: 0:40:28 ago on Wed 12 Jan 2022 09:21:01 AM UTC.
Install Jenkins
[root@2022-jenkins-instance centos]# sudo rpm --import https://pkg.jenkins.io/redhat/jenkins.io.key
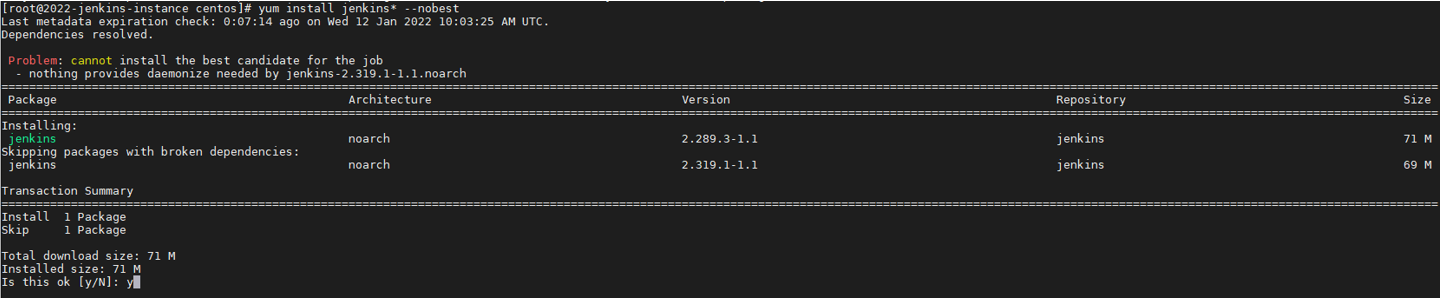
[root@2022-jenkins-instance centos]# sudo dnf install jenkins
If not working use suffix –nobest
Or you can do the following steps:
sudo wget -O /etc/yum.repos.d/jenkins.repo \
https://pkg.jenkins.io/redhat-stable/jenkins.repo
sudo rpm --import https://pkg.jenkins.io/redhat-stable/jenkins.io.key
sudo yum upgrade
sudo yum install epel-release java-11-openjdk-devel
sudo yum install jenkins
sudo systemctl daemon-reload
Start Jenkins services
To start the Jenkins service and enable it at startup, enter the following:
sudo systemctl start jenkins
sudo systemctl enable jenkins
To display the status of the Jenkins service, enter the following:
sudo systemctl status jenkins
important
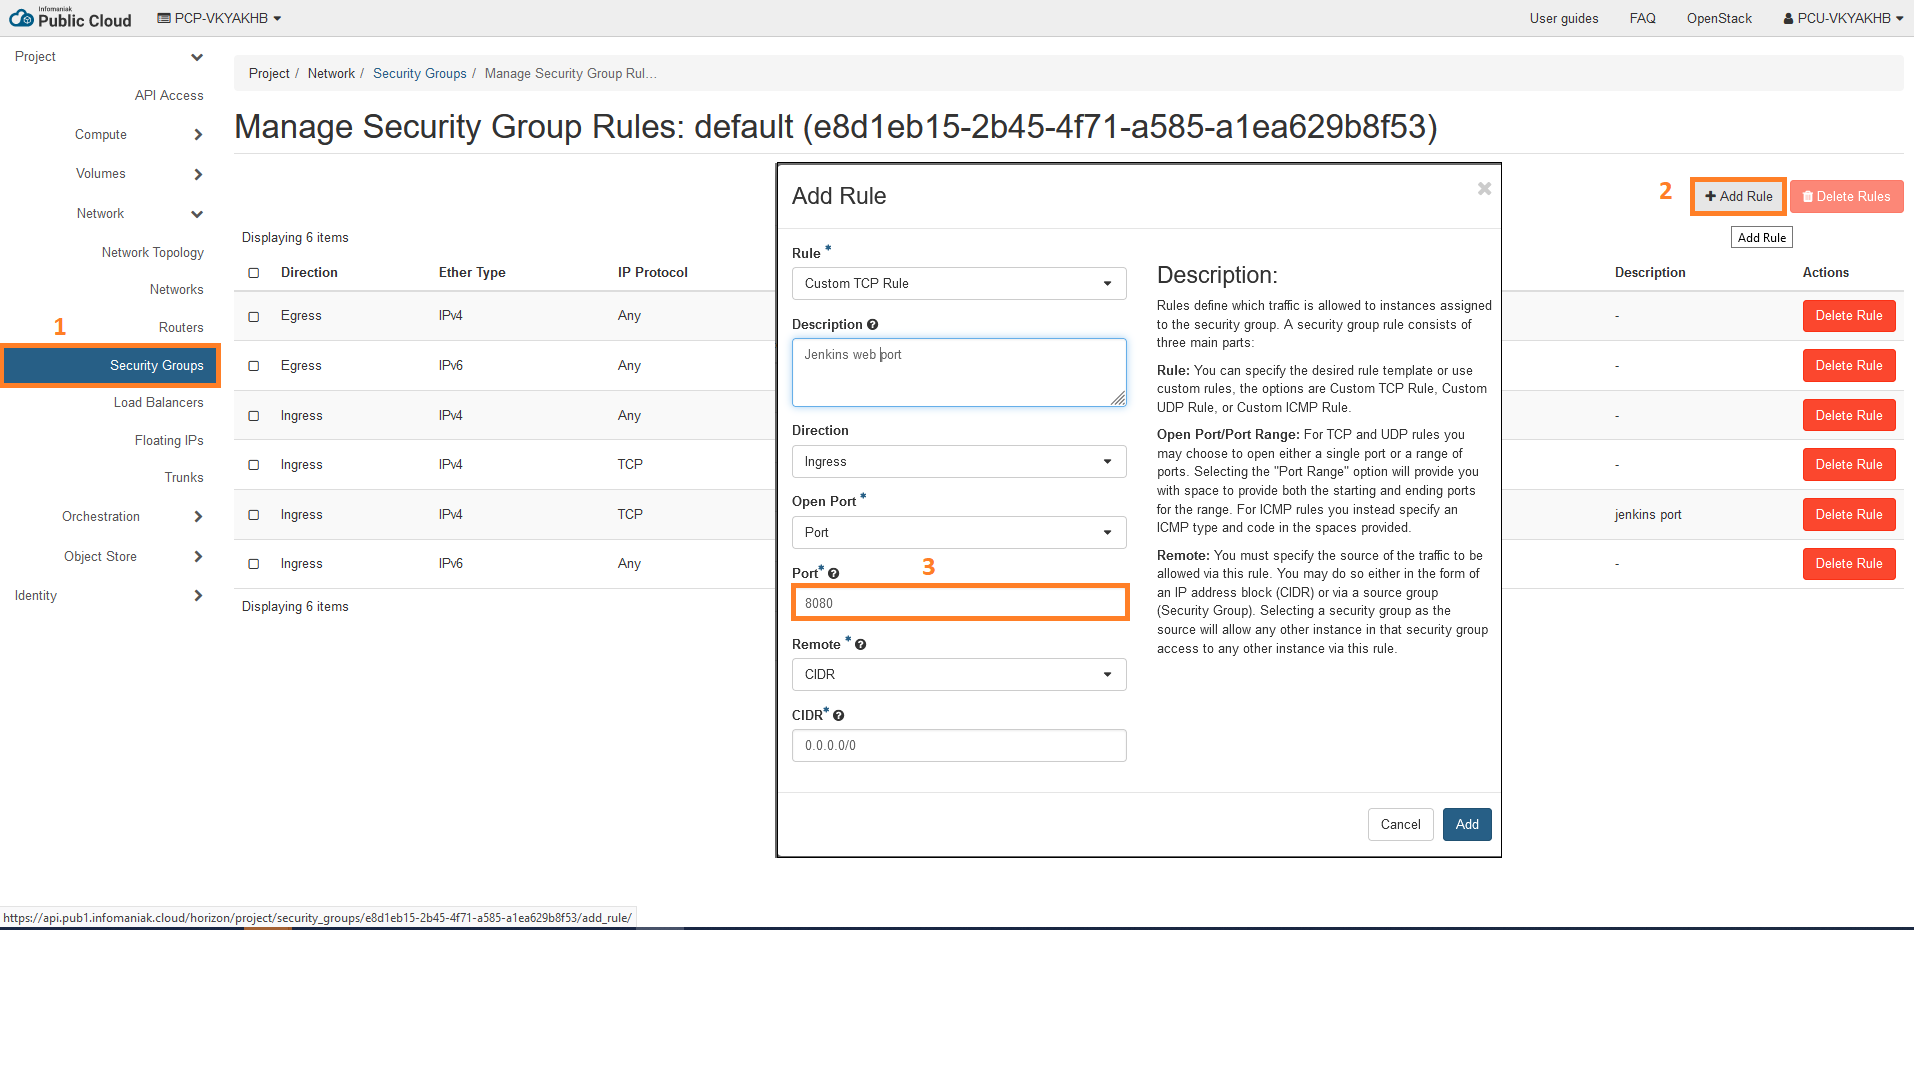
when connecting to your browser don’t forget to open rules fort your Jenkins port ( I let default 8080 )
- Open rule for Jenkins port
- You can now configure your Jenkins
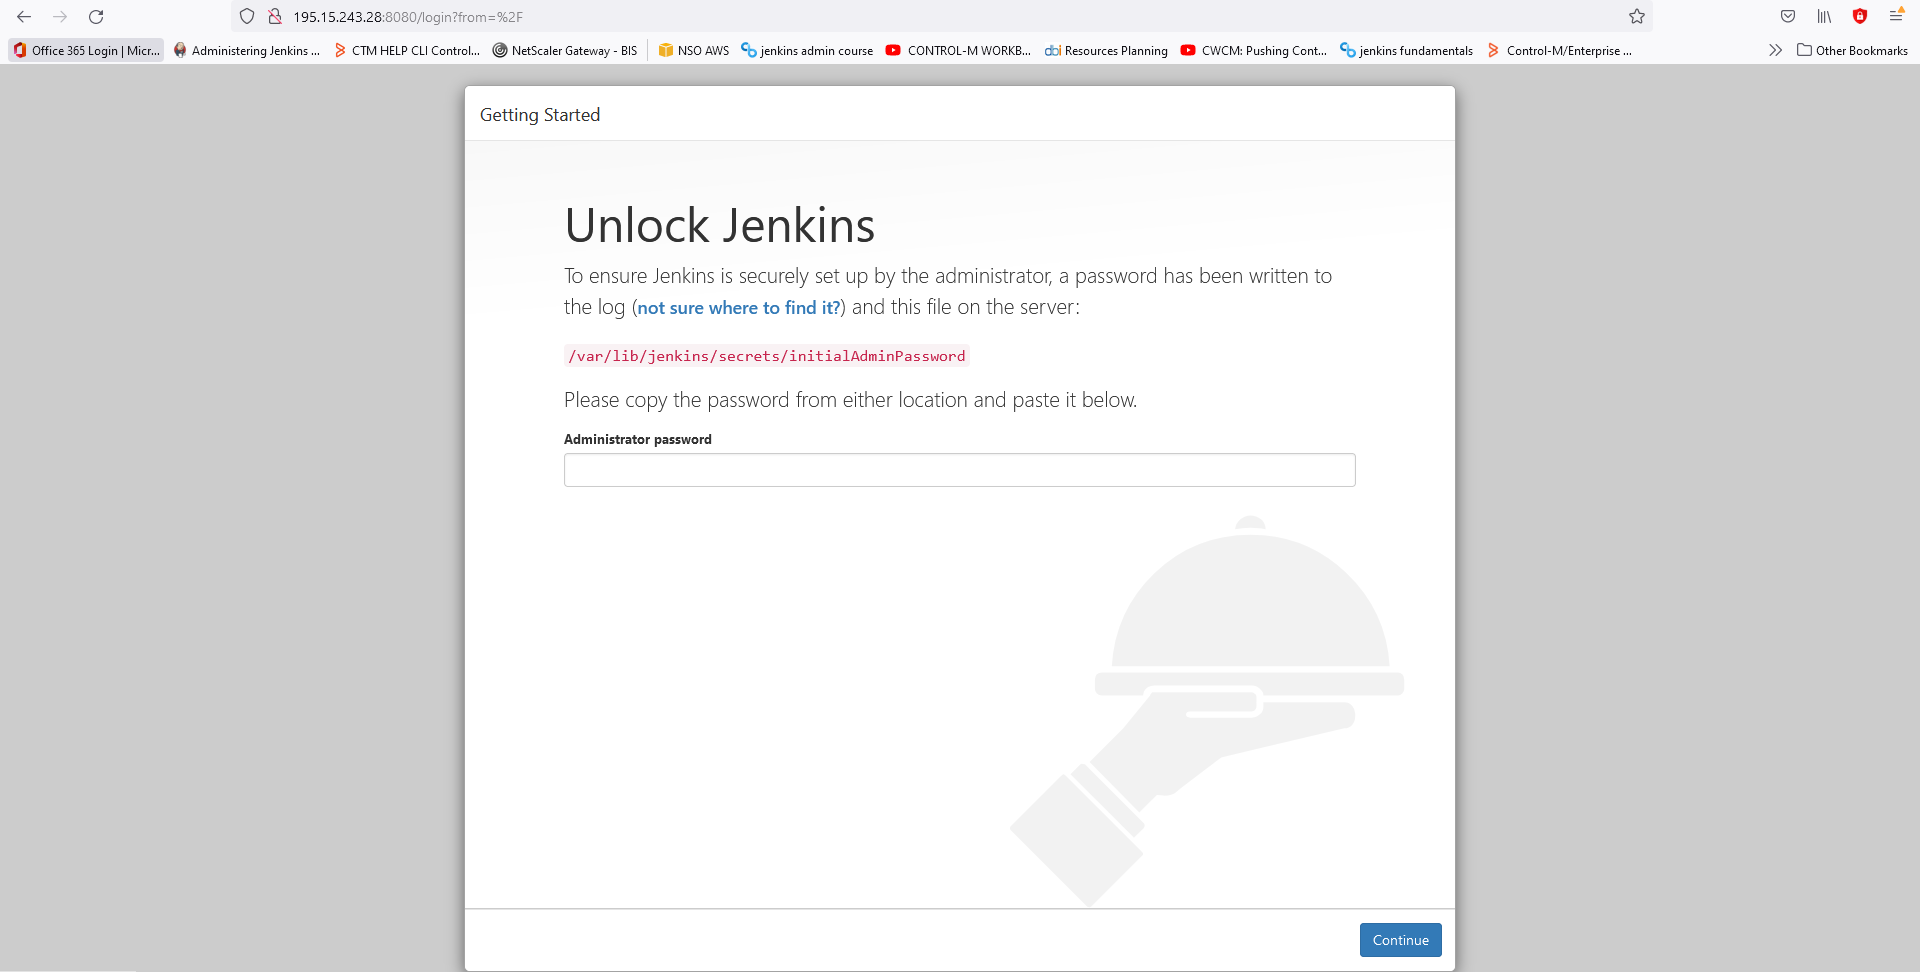
- Get secret password at
sudo cat /var/lib/jenkins/secrets/initialAdminPassword
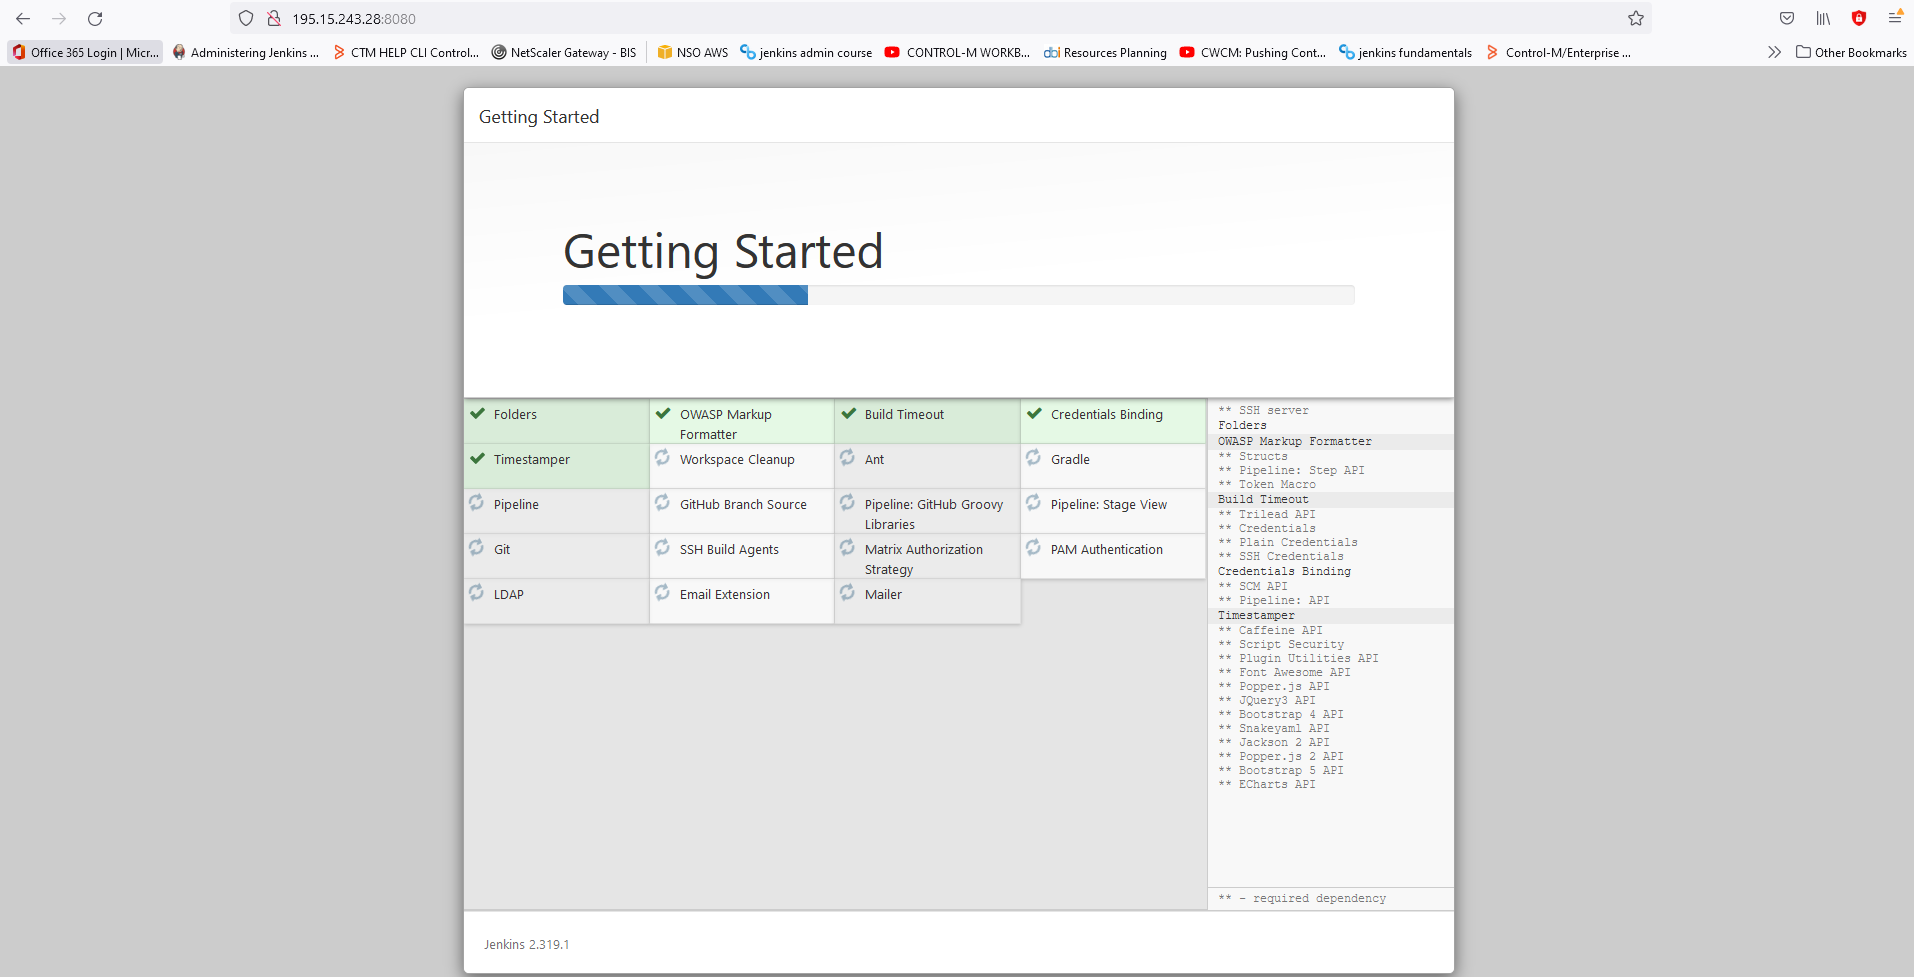
- Install your pluginSelect default (install suggested plugins )
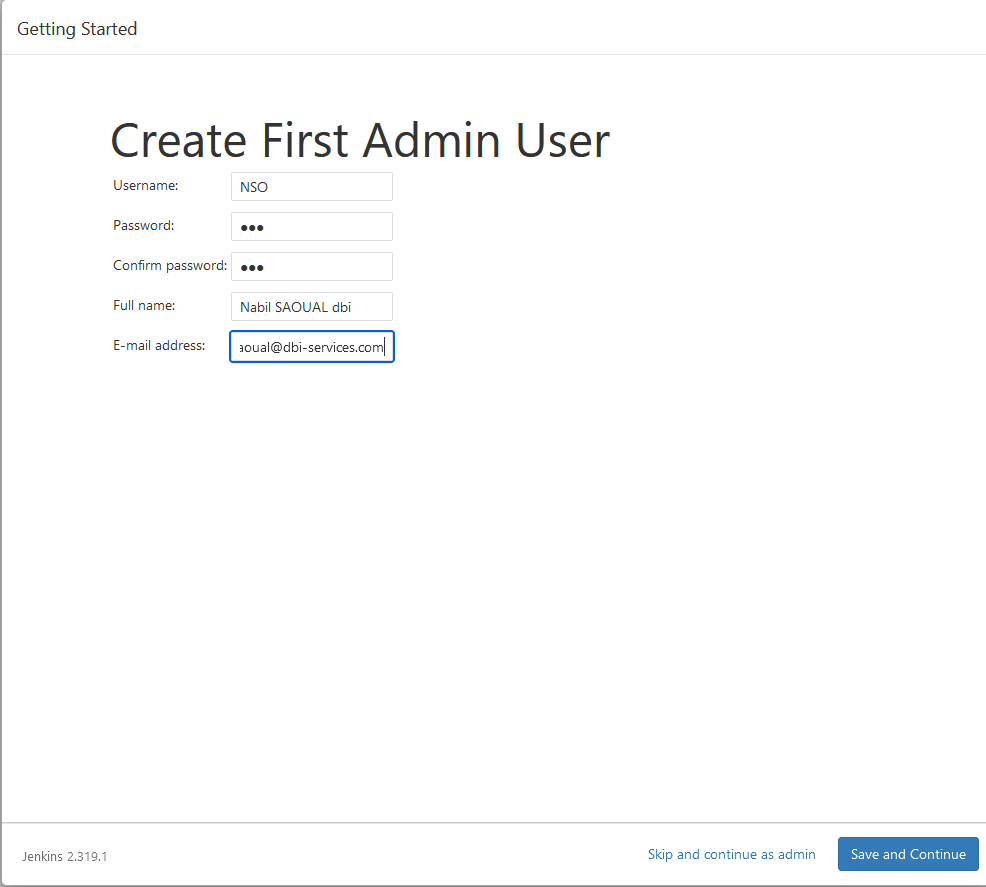
- Create your first admin user (you can also skip but not recommended)
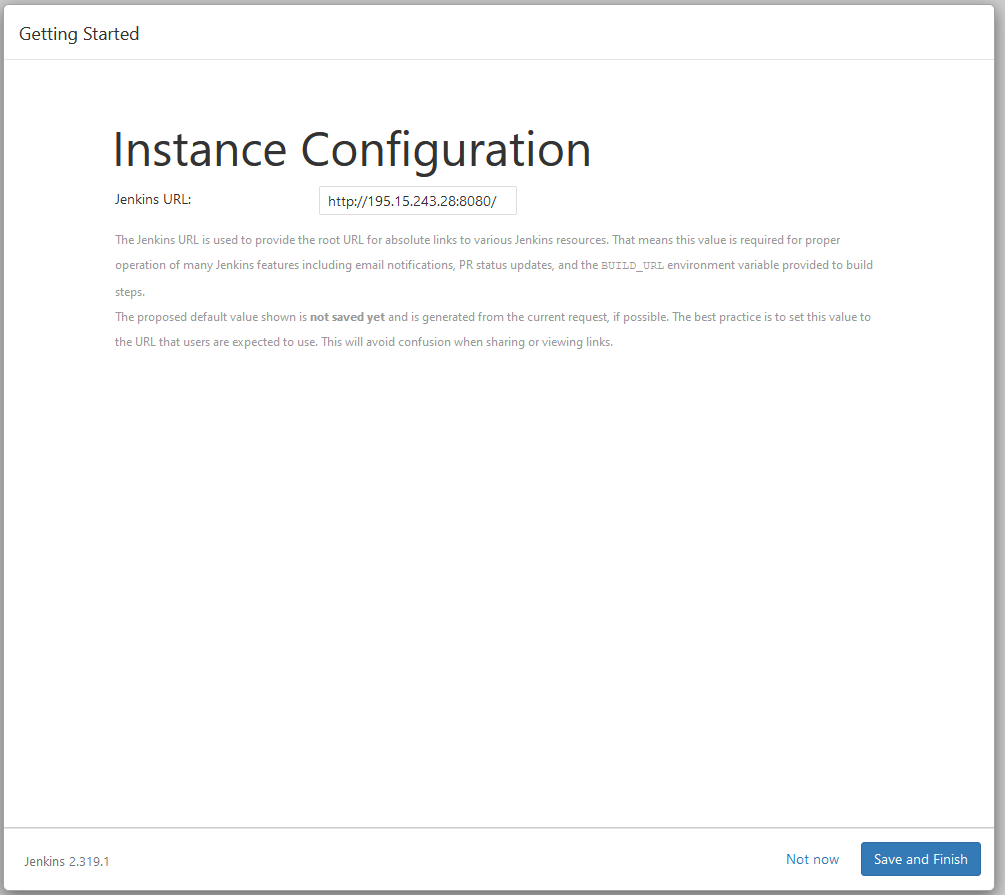
- Configure your instance and chose you port
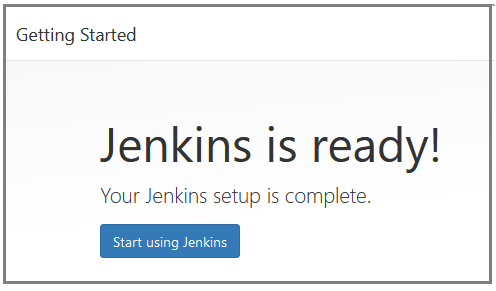
- Jenkins is now ready
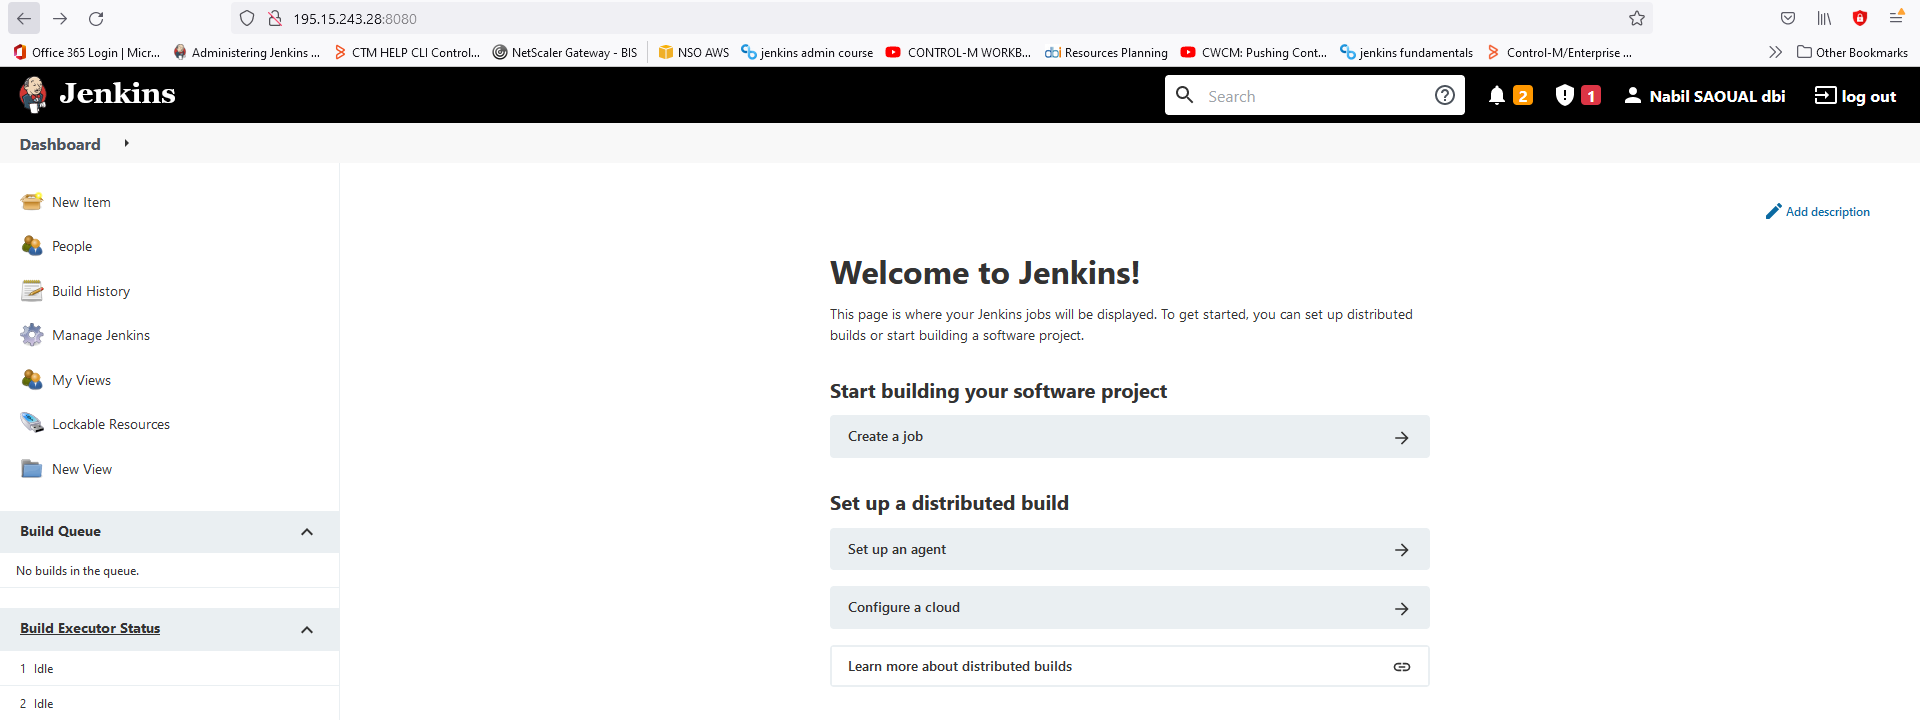
- You can now access to the Dashboard
Conclusion:
A nice idea to work on a public cloud to get many features and to avoid our computer overloading, thanks to infomaniak site to propose a free testing of their features, I invite you to try it, I guess I will subscribe to enhance my work and to store my labs safely!
![Thumbnail [60x60]](https://www.dbi-services.com/blog/wp-content/uploads/2022/05/Middleware-TO_Final-wpcf_173x250.png)
![Thumbnail [90x90]](https://www.dbi-services.com/blog/wp-content/uploads/2022/08/DWE_web-min-scaled.jpg)