MongoDB OPS Manager (MMS) is a tool for administering and managing MongoDB deployments, particularly large clusters. MongoDB Inc. qualified it as “the best way to manage your MongoDB data center“. OPS Manager also allows you to deploy a complete MongoDB cluster in multiple nodes and several topologies. As you know, at dbi services, the MongoDB installation is based on our best practices, especially the MFA (MongoDB Flexible Architecture), more information here.
Is OPS Manager compatible with our installation best practices and our MongoDB DMK? For this reasons, I would like to post a guide for the installation and the configuration of the OPS Manager (MMS) based on the dbi services best practices.
In this installation guide, we’ll use the latest version of OPS Manager, release 4.0.2. We’ll install OPS Manager in a single instance, recommended for test and proof of concept.
Testing Environment
We’ll use a Docker container provisioned in the Swiss public cloud Hidora. Below the information of the container:
- CentOS 7
- Add a Public IP
- Endpoints configuration for: MongoDB DB port 2017, FTP port 21, SSH port 22, OPS Manager interface port 8080

MongoDB Installation
Once your container has been provisioned, you can start the installation of MongoDB. It’s important to know, that OPS Manager needs a MongoDB database in order to stores the application information. That’s why we need to install and start a mongo database at first.
For more details about the MongoDB Installation, you can refer to a previous blog.
[root@node32605-env-4486959]# mkdir -p /u00/app/mongodb/{local,admin,product}

[root@node32605-env-4486959]# mkdir -p /u01/mongodbdata/
[root@node32605-env-4486959]# mkdir -p /u01/mongodbdata/{appdb,bckpdb}
[root@node32605-env-4486959]# mkdir -p /u02/mongodblog/
[root@node32605-env-4486959]# mkdir -p /u02/mongodblog/{applog,bckplog}
[root@node32605-env-4486959]# mkdir -p /u99/mongodbbackup/

[root@node32605-env-4486959]# chown -R mongodb:mongodb /u00/app/mongodb/ /u01/mongodbdata/ /u99/mongodbbackup/
Let’s now download the latest MongoDB and OPS Manager releases from the MongoDB Download Center.
[root@node32605-env-4486959 opt]# wget https://fastdl.mongodb.org/linux/mongodb-linux-x86_64-rhel70-4.0.2.tgz
[root@node32605-env-4486959 opt]# wget https://downloads.mongodb.com/on-prem-mms/tar/mongodb-mms-4.0.2.50187.20180905T1454Z-1.x86_64.tar.gz
Based on the MFA, move the software inside the /product folder.
[root@node32605-env-4486959 opt] mv mongodb-linux-x86_64-rhel70-4.0.1.tgz mongodb-mms-4.0.2.50187.20180905T1454Z-1.x86_64.tar.gz /u00/app/mongodb/product/
Permissions and Extraction:
[root@node32605-env-4486959 product]# chown -R mongodb:mongodb /u00/app/mongodb/product/* [root@node32605-env-4486959 product]# su - mongodb [mongodb@node32605-env-4486959 product]$ tar -xzf mongodb-linux-x86_64-rhel70-4.0.1.tgz [mongodb@node32605-env-4486959 product]$ tar -xzf mongodb-mms-4.0.2.50187.20180905T1454Z-1.x86_64.tar.gz
Run mongo databases for OPS Manager and Backup:
[mongodb@node32605-env-4486959 bin]$ ./mongod --port 27017 --dbpath /u01/mongodbdata/appdb/ --logpath /u02/mongodblog/applog/mongodb.log --wiredTigerCacheSizeGB 1 --fork
[mongodb@node32605-env-4486959 bin]$ ./mongod --port 27018 --dbpath /u01/mongodbdata/bckpdb/ --logpath /u02/mongodblog/bckplog/mongodb.log --wiredTigerCacheSizeGB 1 --fork
Once the 2 databases have been successfully started, we can confirgure and start the OPS Manager application.
First, we need to configure the URL to access to OPS Manager.
[mongodb@node32605-env-4486959 ~]$ cd /u00/app/mongodb/product/mongodb-mms-4.0.2.50187.20180905T1454Z-1.x86_64/conf
Edit the conf-mms.properties file and add the following lines:
mongo.mongoUri=mongodb://127.0.0.1:27017/?maxPoolSize=150
 mongo.ssl=false
 mms.centralUrl=http://xxx.xxx.xx.xx:8080
Replace the xxx.xxx.xx.xx by your public IP or DNS name.
[mongodb@node32605-env-4486959 ~]$ cd /u00/app/mongodb/product/mongodb-mms-4.0.2.50187.20180905T1454Z-1.x86_64/bin
[mongodb@node32605-env-4486959 bin]$ ./mongodb-mms start
OPS Manager configuration
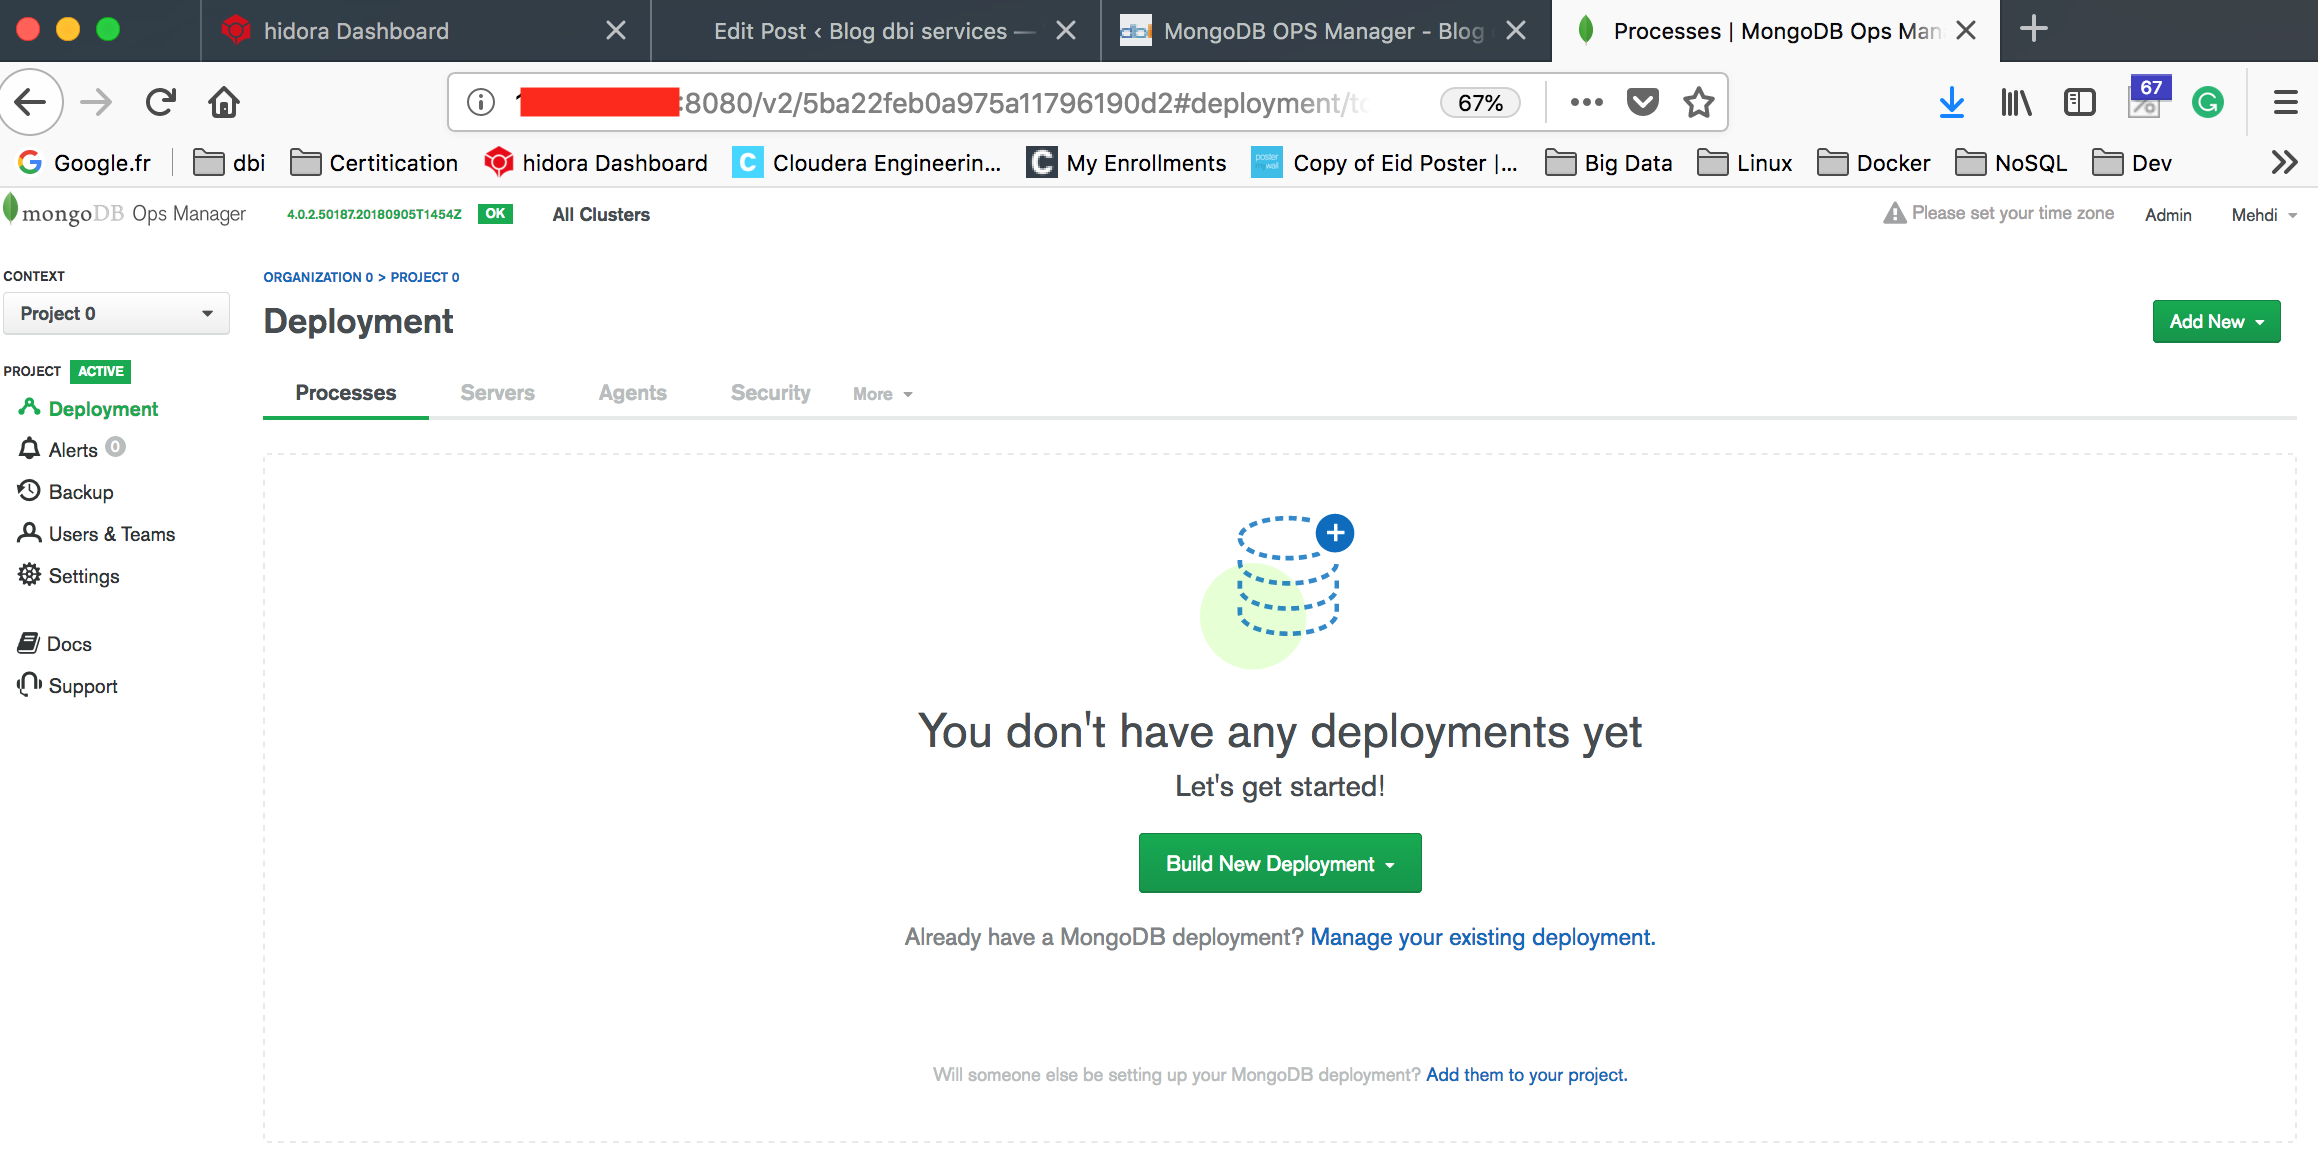
Access to the OPS Manager application through the following URL:
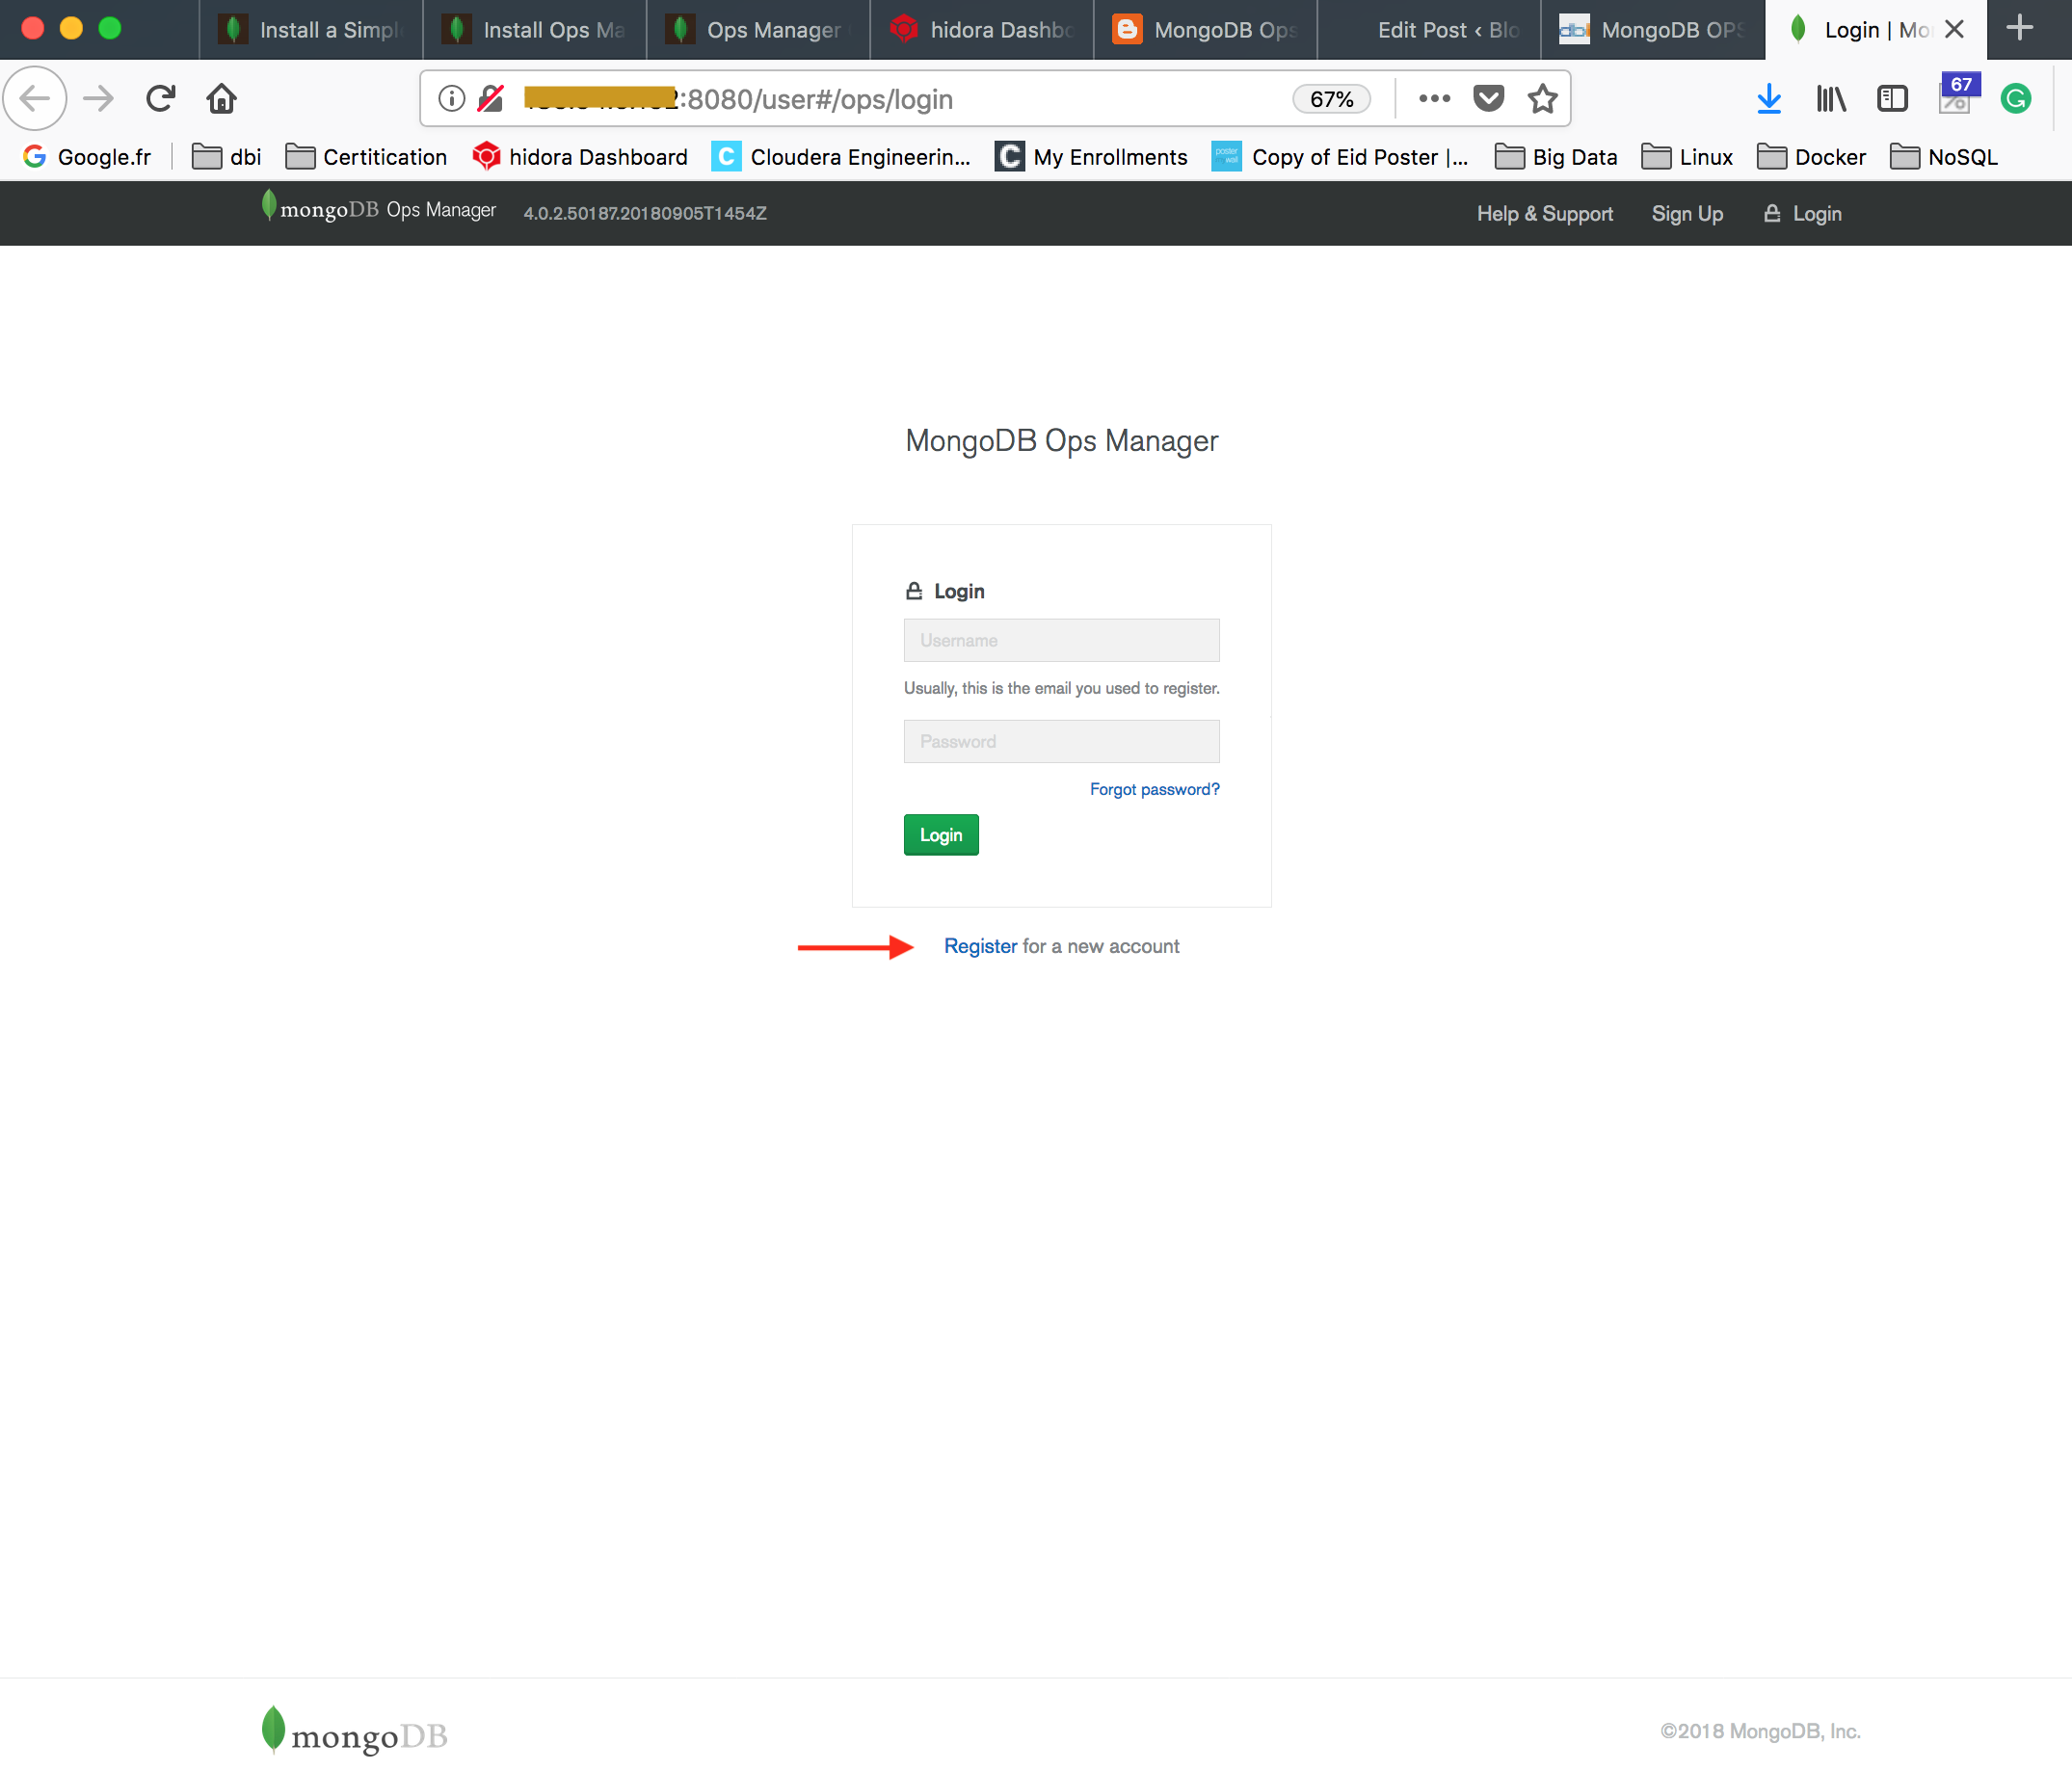
You need to register for the first time.
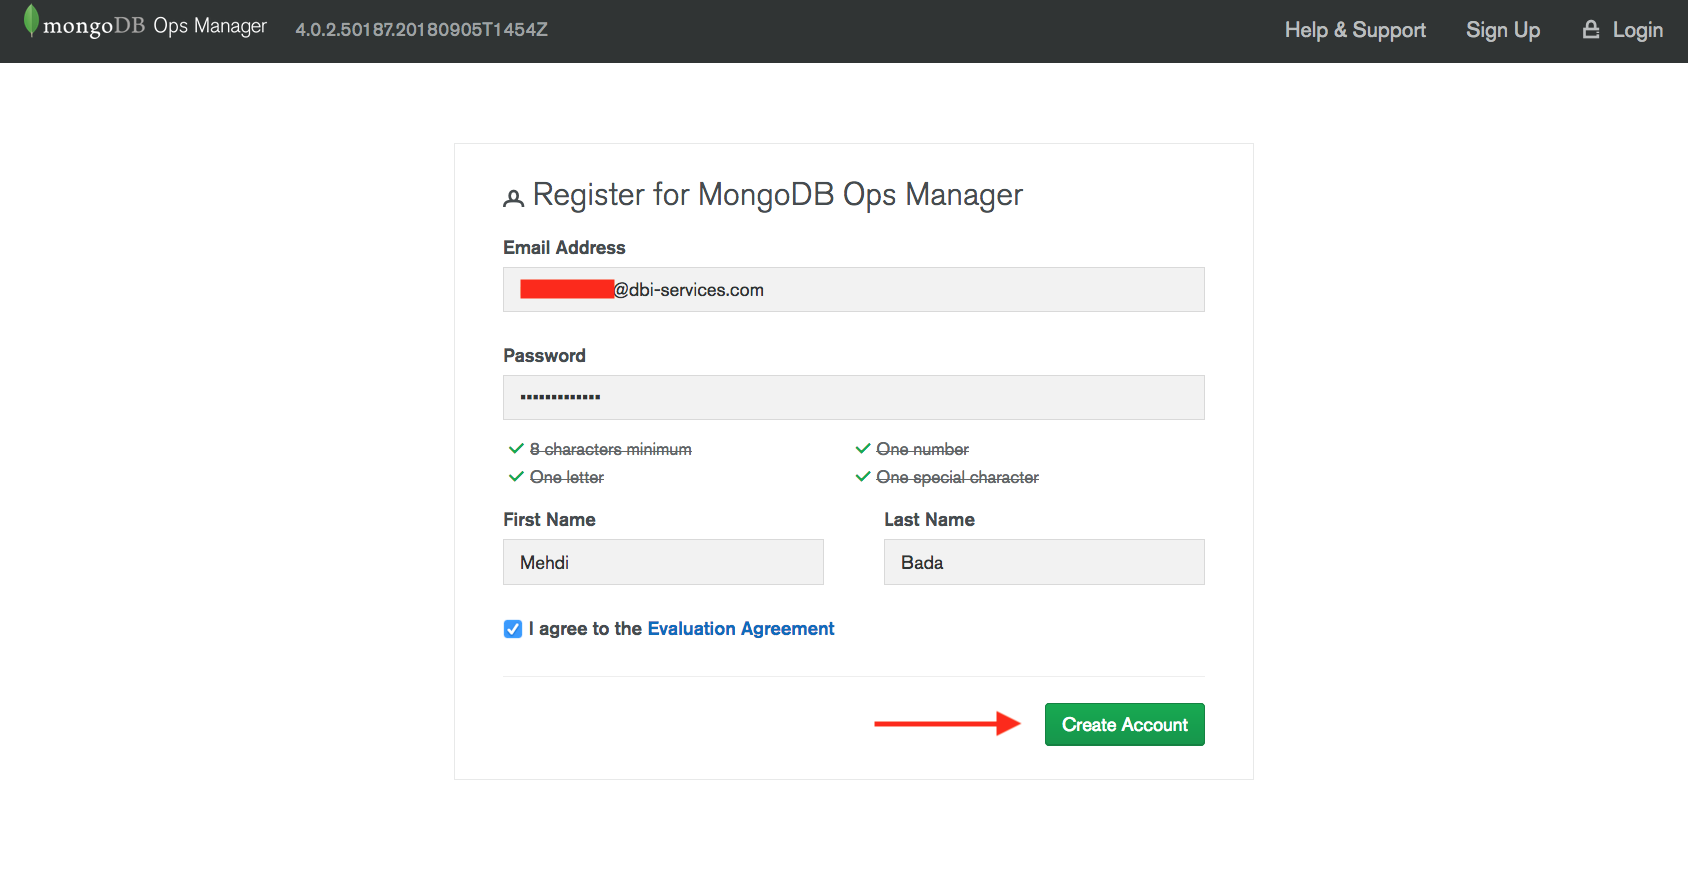
Once your account have been created, configure the OPS Manager access URL.
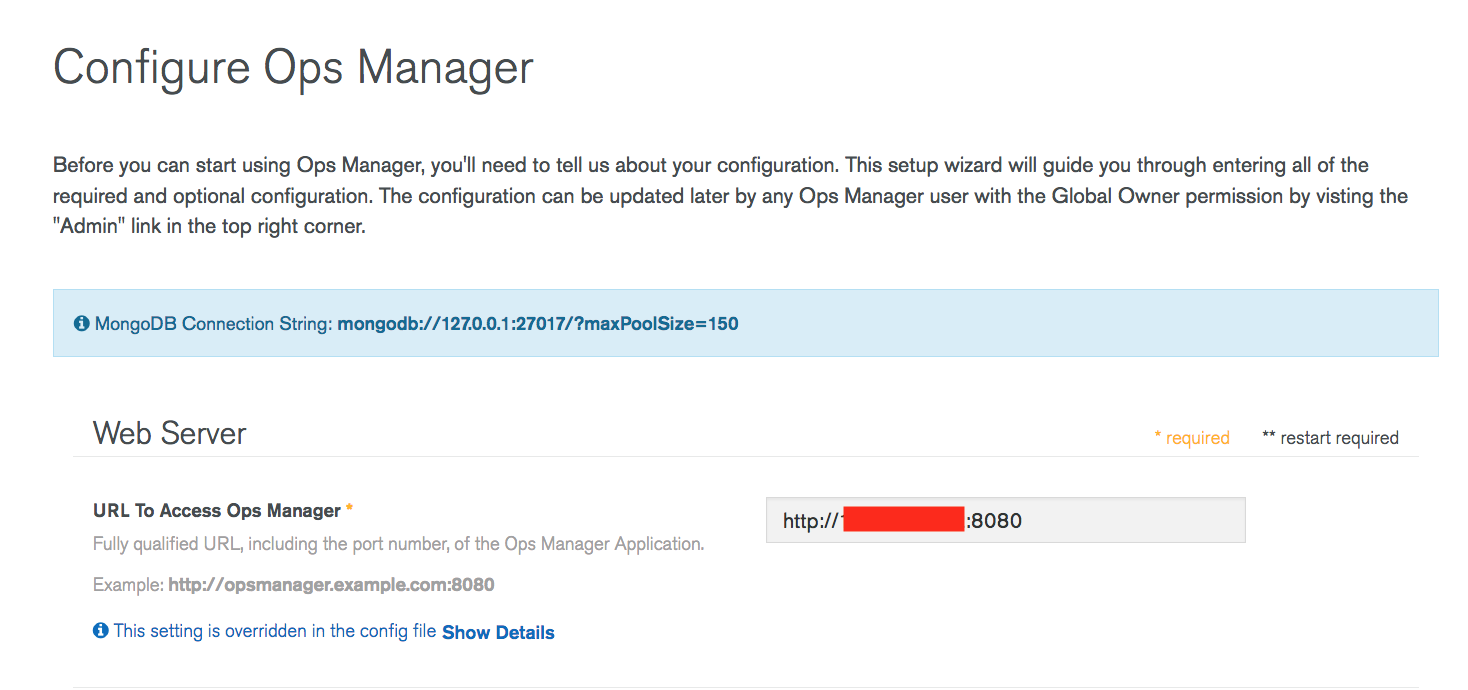
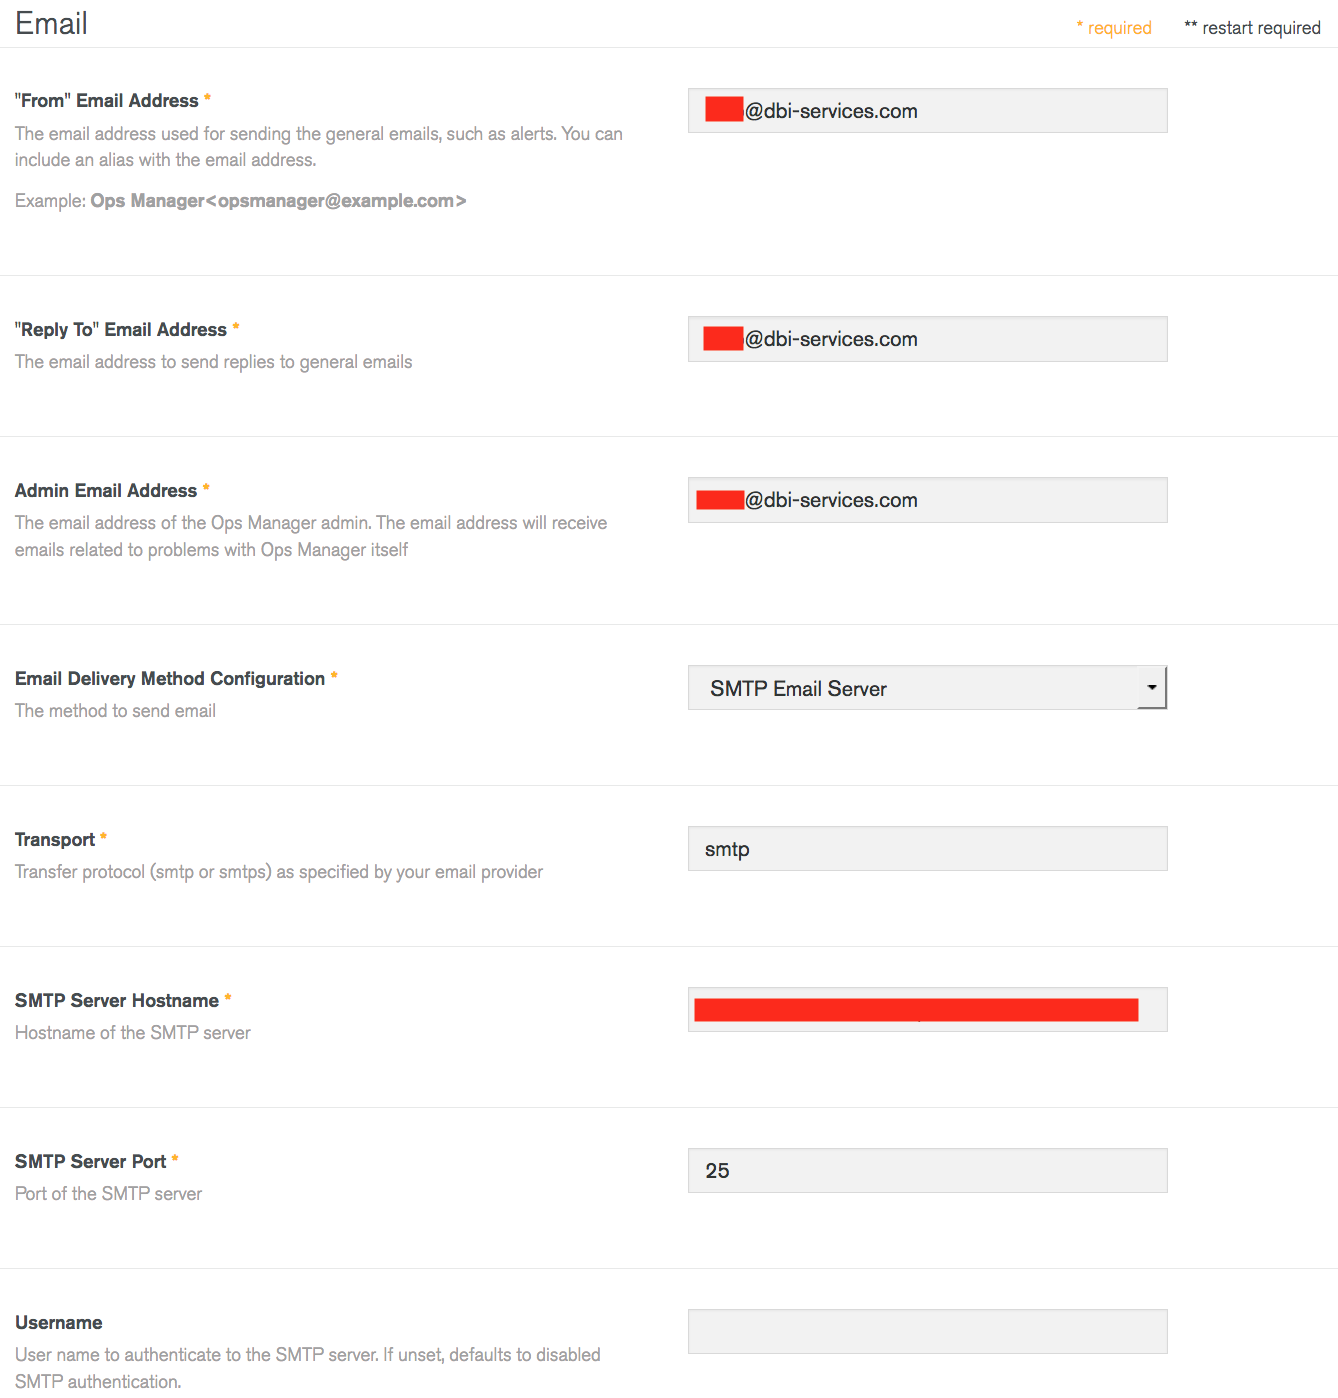
Then configure your email settings.
Click on Continue and configure the User Authentication, Backup Snapshots, Proxy.
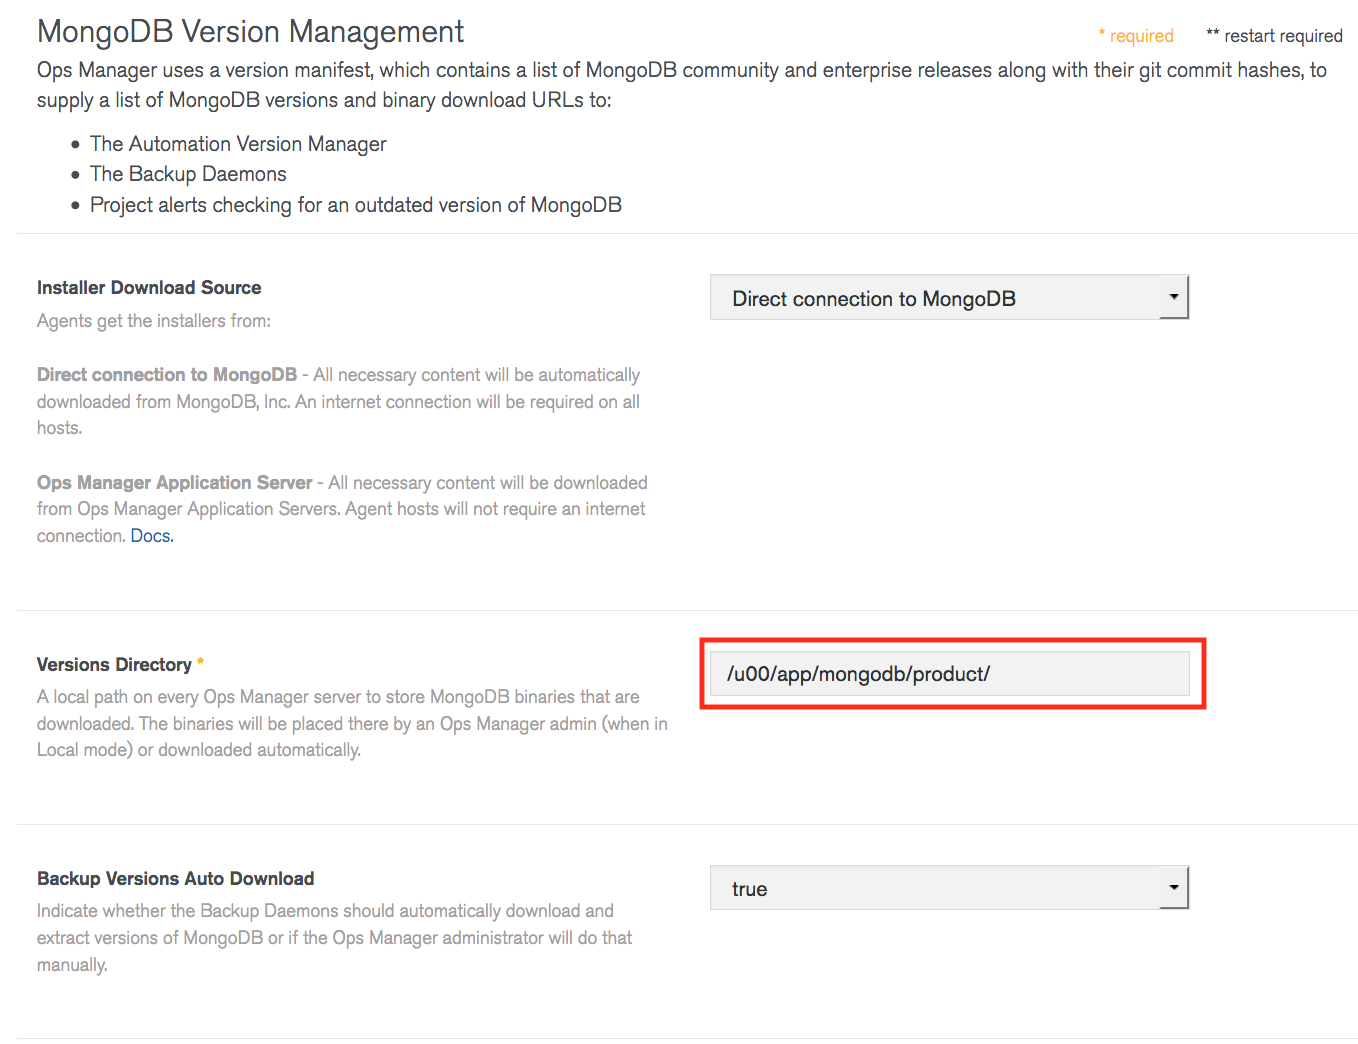
Finish by the OPS Manager versions configuration.
Congratulation, you finish your installation. You can start using OPS Manager now and deploy a MongoDB cluster.