I’m currently working on the migration of a Failover Clustered SSAS instance from Windows Server 2012 to Windows Server 2019.
The context is quite complex and in order to choose the right migration scenario I need to play with it on my LAB environment first.
I usually work with AlwaysOn architectures and it’s not often that I need to set up an FCI with its Cluster Shared Volume.
As a reminder, a Cluster Shared Volume is a shared disk containing an NTFS volume that is made accessible for read and write operations by all nodes within a Windows Server Failover Cluster.
In this blog post, will go through the steps I used to create an iSCSI Cluster Shared Volume that will be used to install an SQL Server Failover Cluster Instance (of SSAS) on my Hyper-V LAB.
Windows Server vSAN VM
First, I created a new VM on my Hyper-V Server (my laptop) with Windows Server 2019. You can get a 180 days free trial from the Evaluation Center.
This is a standard VM I named “vSAN”. It will hosts my iSCSI Disks and Targets.
I could have used my Domain Controller VM too as this is just a LAB, but I prefer to have a dedicated VM.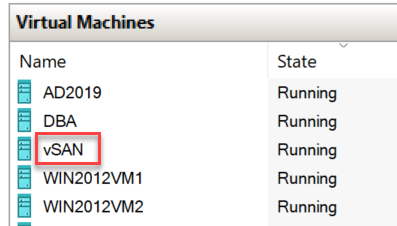
WIN2012VM1 and WIN2012VM2 are the Windows Server 2012 nodes of my Windows Failover Cluster.
iSCSI Server
On vSAN, first we need to install the ISCSI Target Server feature. You can do it with the Server Manager interface or with PowerShell. I’ll do everything with GUI for this post.
For information with PowerShell:
Install-WindowsFeature –Name FS-iSCSITarget-Server –IncludeManagementTools
iSCSI Disk
Always in Server Manager, in “File and Storage Services / iSCSI” click on “Create an iSCSI virtual disk”.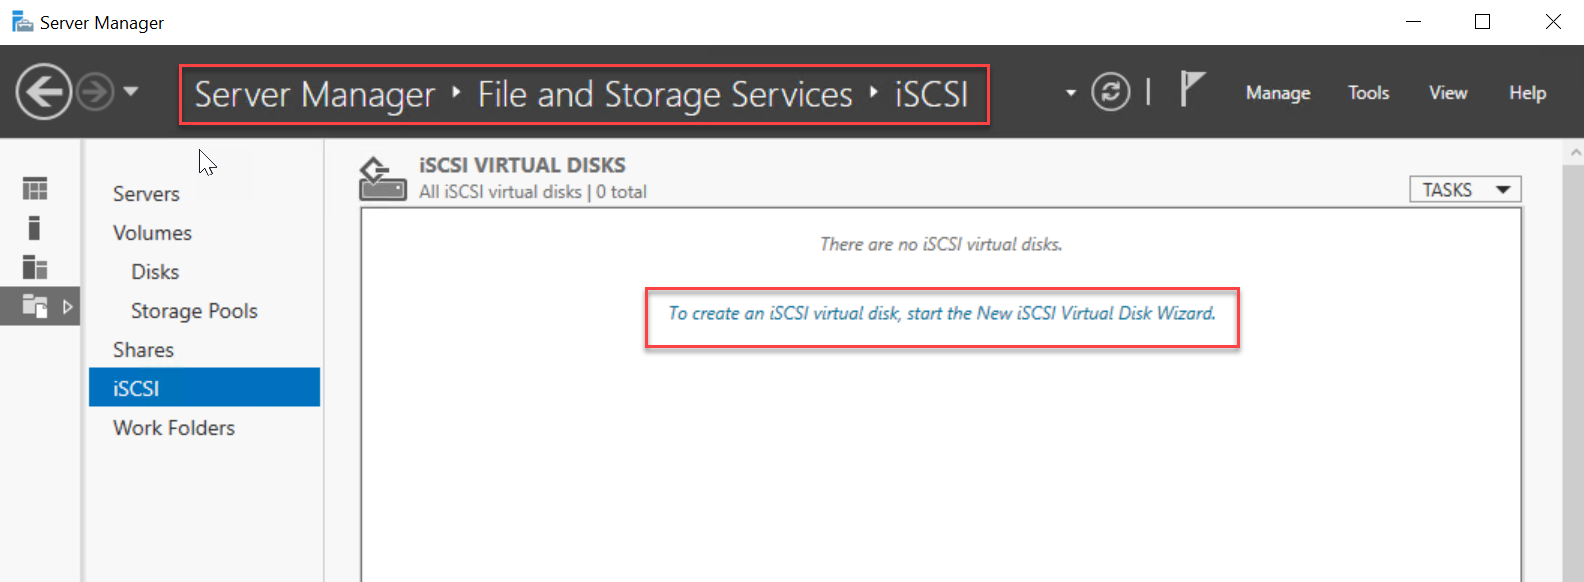
Choose the location where the new disk will be stored. It could be somewhere in C:. I select my larger S: drive.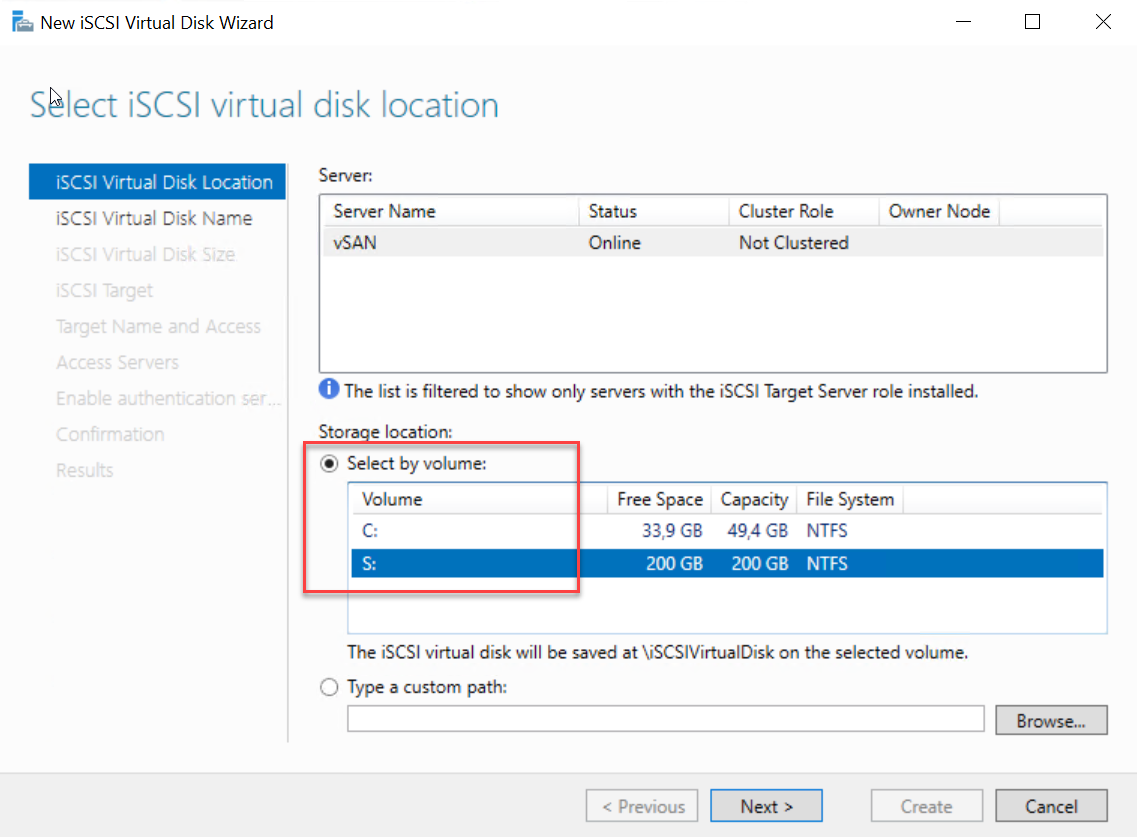
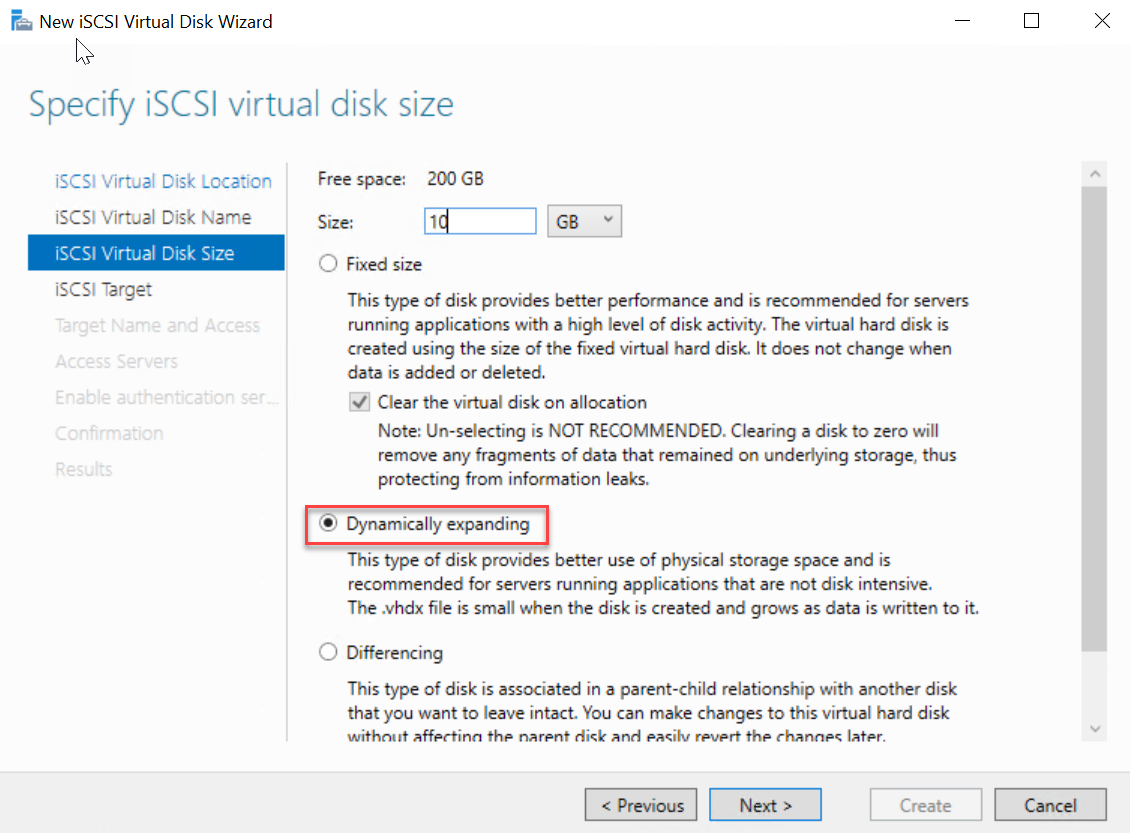
Enter a name, choose a disk size. I configure my disk to be Dynamically expanding.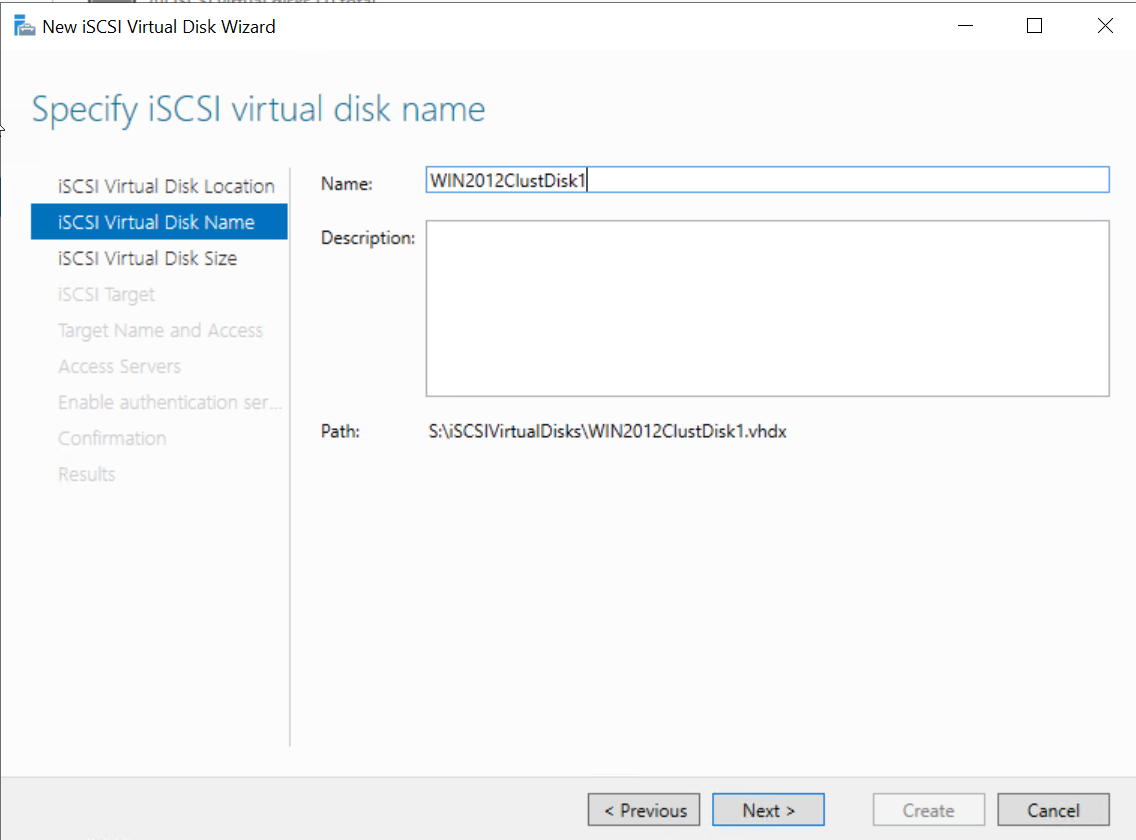
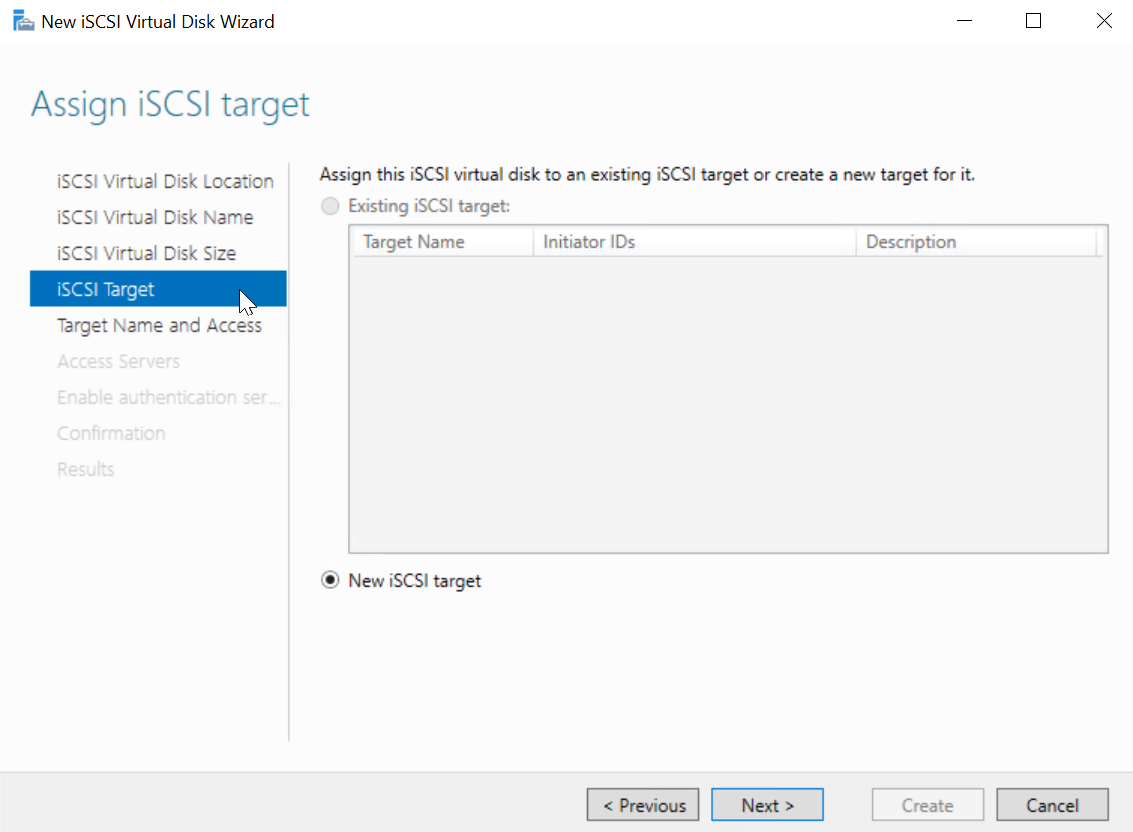
iSCSI Target
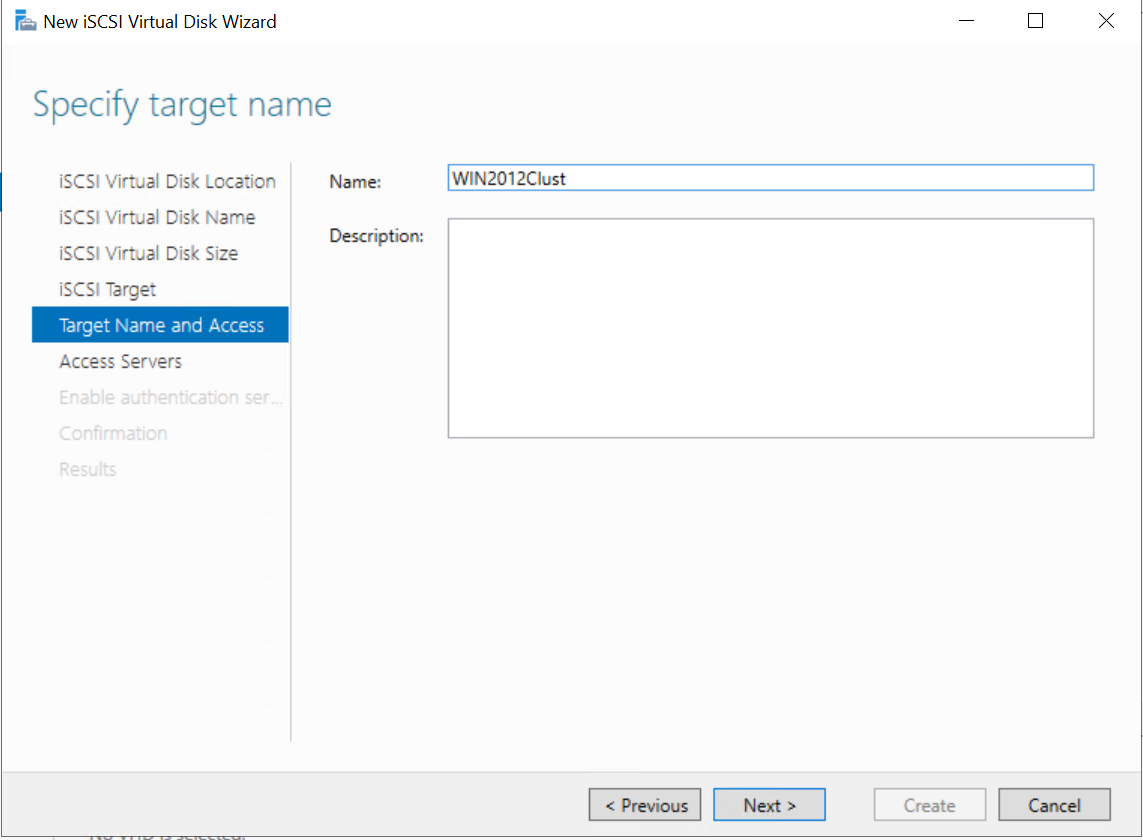
In the following wizard panel, choose “create” then enter an iSCSI Target name.
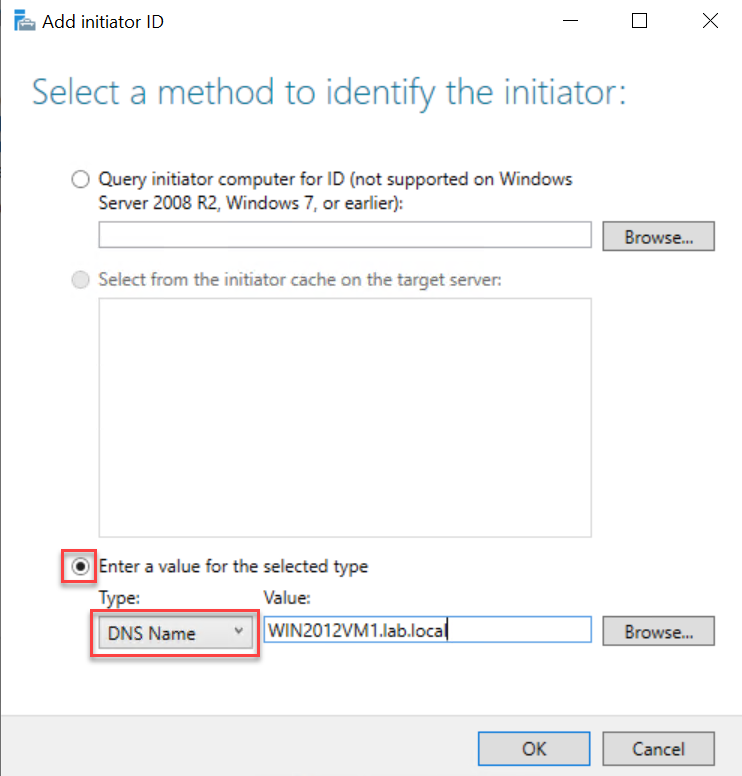
On the “Access Server” tab, click “Add” and enter the client VM that will access the iSCSI Target.
You could add them by IP address or with DNS Name like I did. Make sure to use the FQDN.
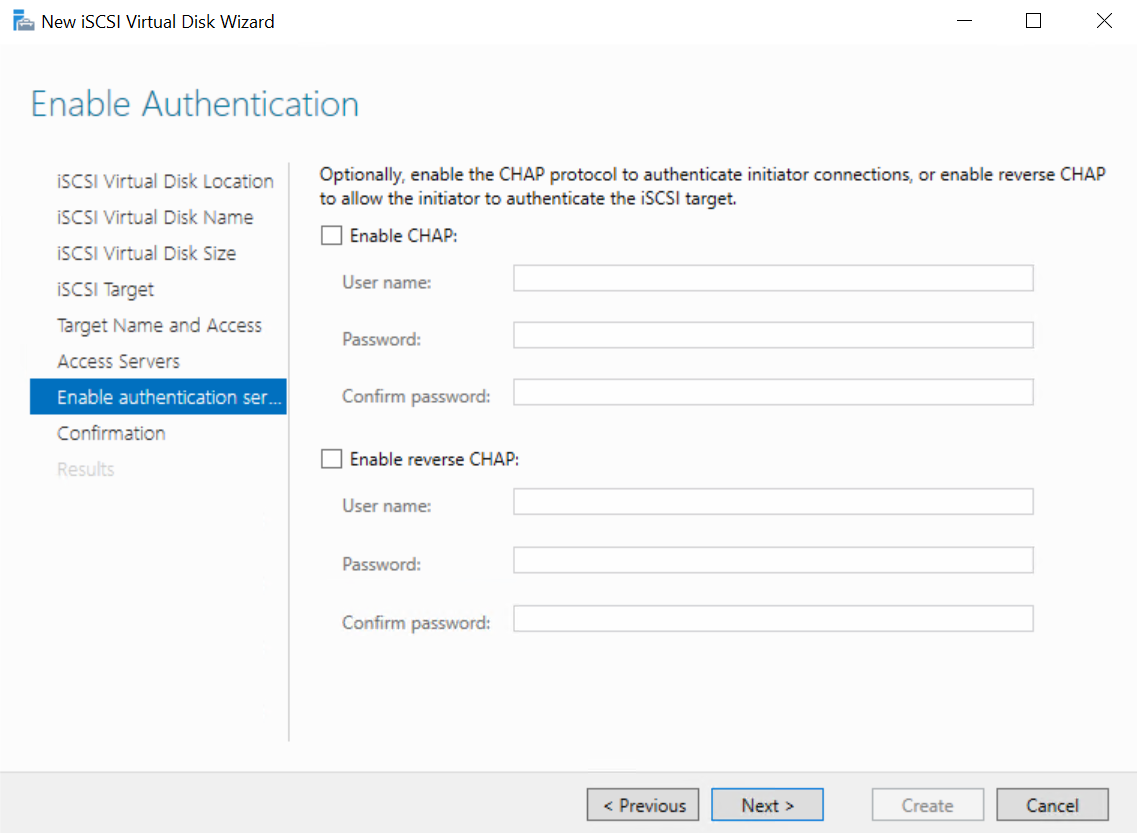
On the next tab, do not enable CHAP.
We are done on the iSCSI Target side. We have a Disk and it’s Target ready. As you can see the status is “Not connected” for now.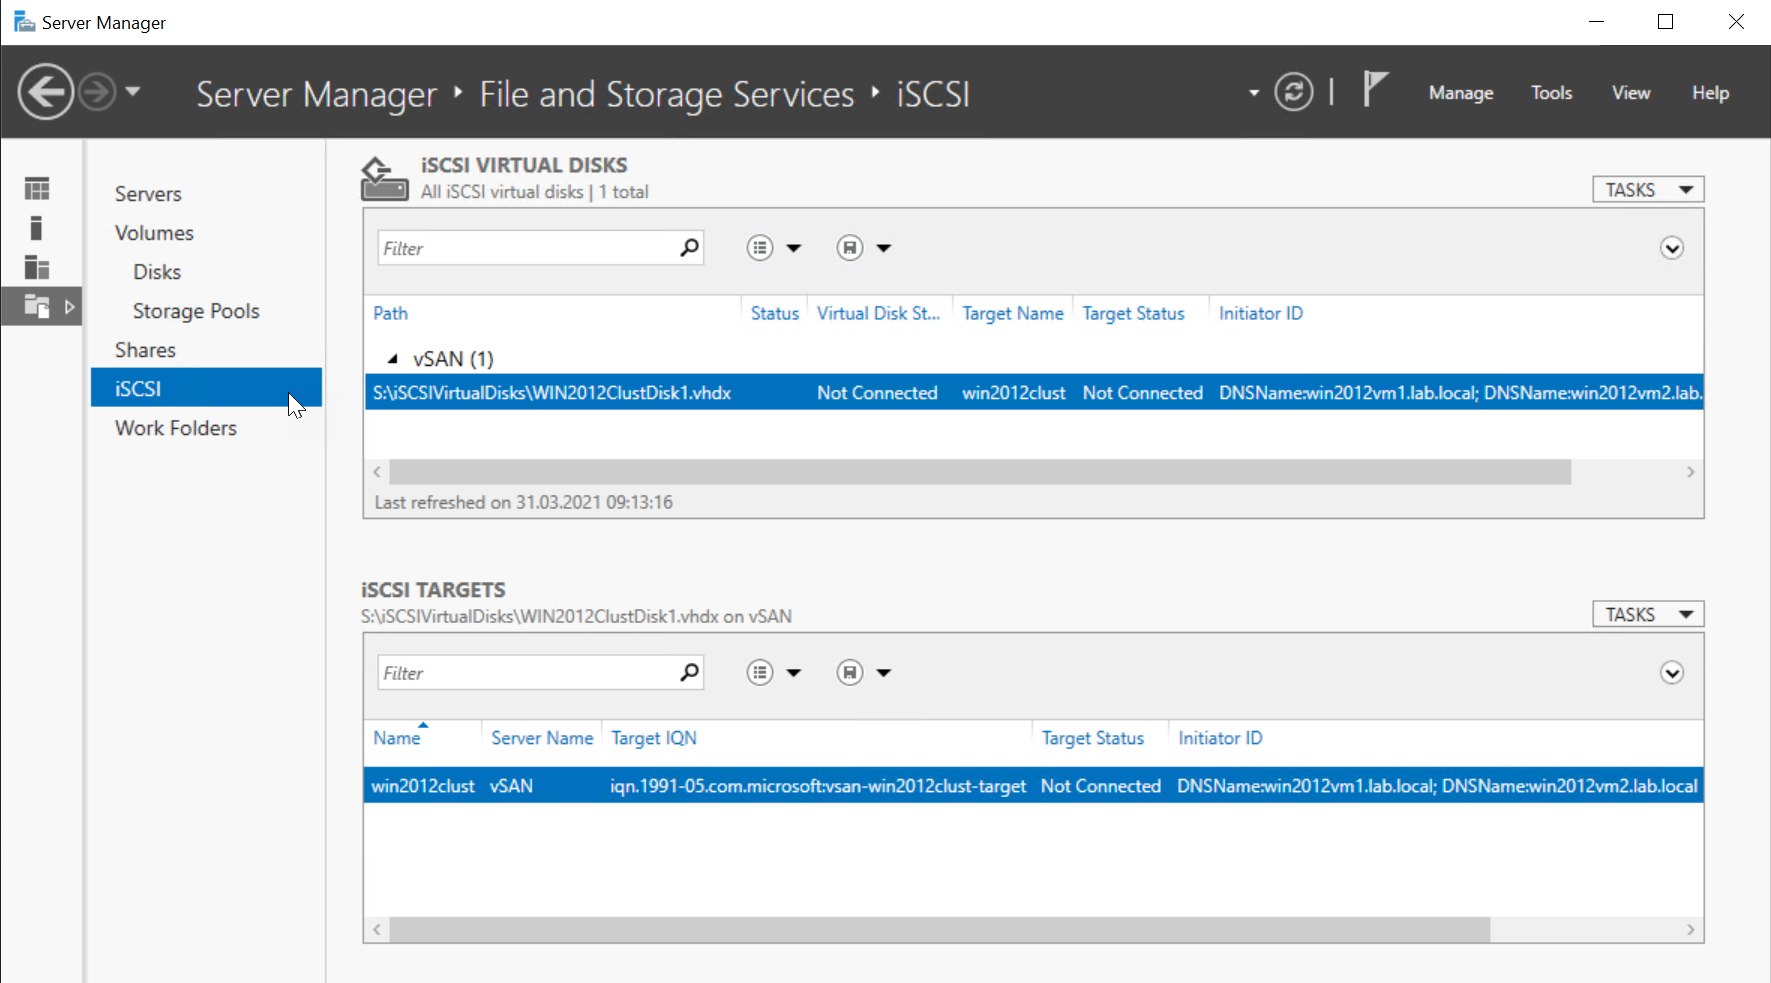
iSCSI initiators configuration
Now, on each node of my Windows Failover Cluster, I need to configure the iSCSI initiator to use the Target we just created.
On WIN2012VM1 and WIN2012VM2, in Server Manager click on “iSCSI initiator”.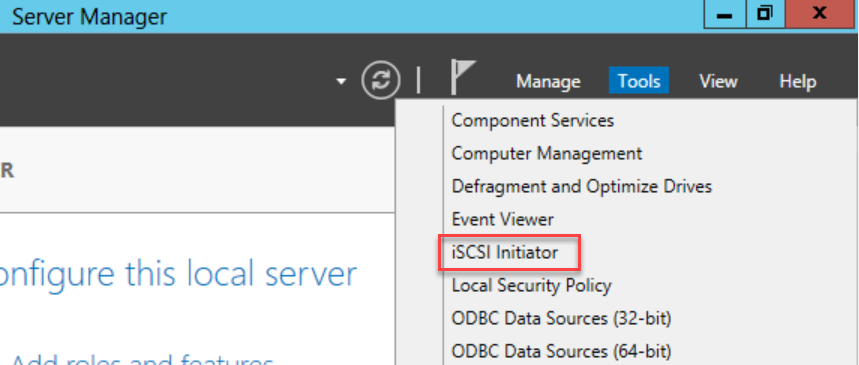
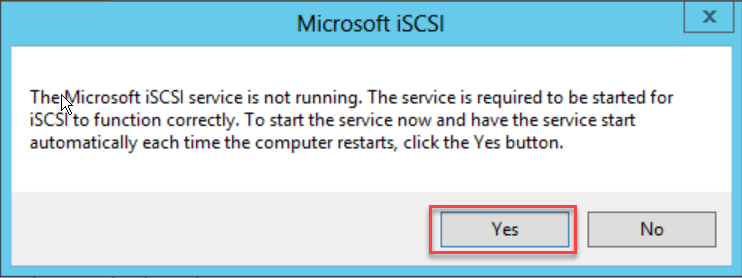
The iSCSI initiator Properties box should appear.
On Target I enter “vSAN” and click “Quick Connect”.
In the Discovery tab, you can see the Port used by iSCSI is 3260. You might need to add rules in your Firewall to allow TCP traffic on this port.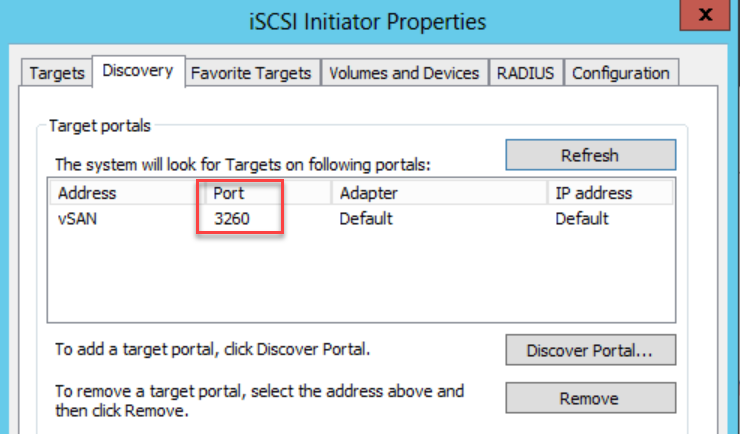
Click “Auto Configure” on the “Volumes and Devices” tab.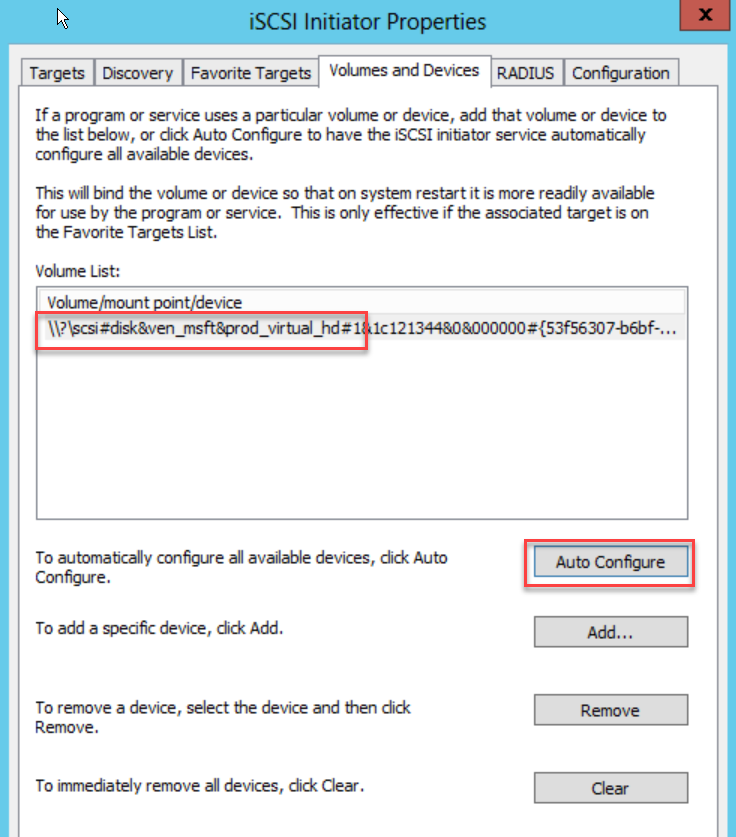
Configure Disk
The iSCSI Target and initiators are now configured.
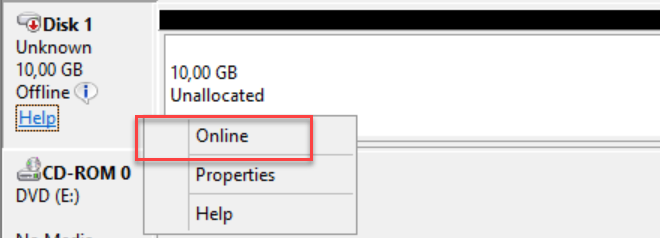
Looking at the disk on one of the WFC nodes I can see an Offline 10GB disk of bus Type iSCSI.
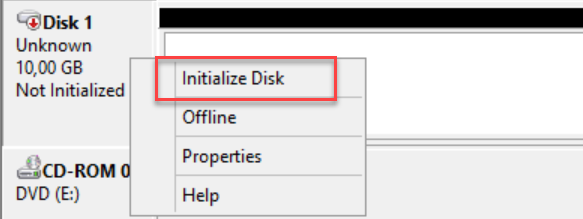
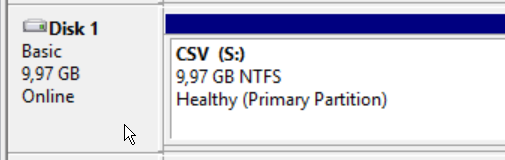
Let’s initialize it and create a partition. This can be done on one of the nodes only.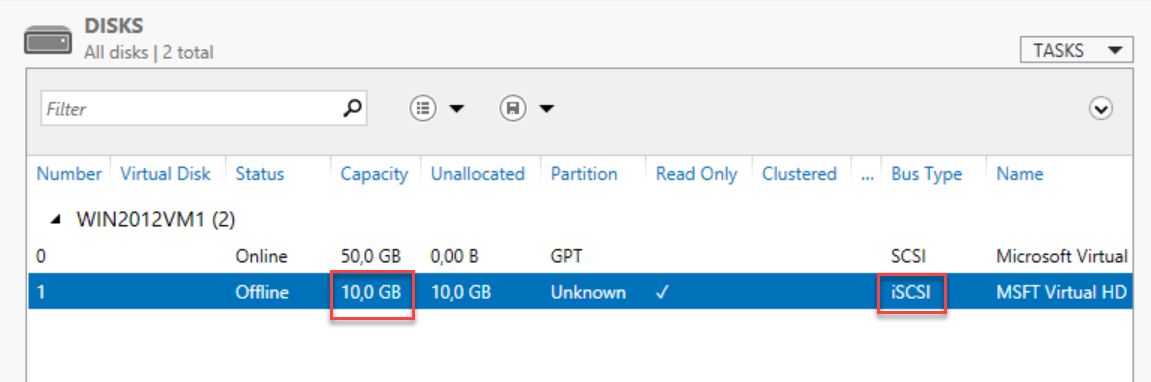
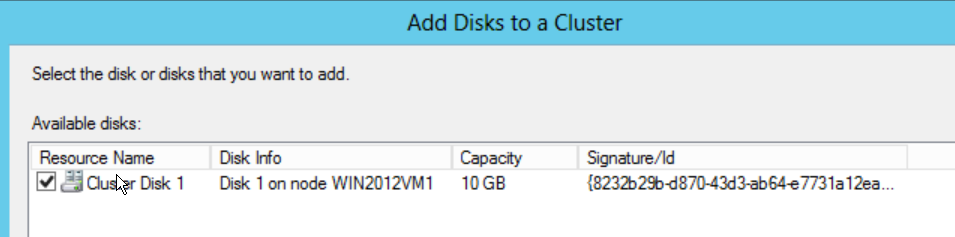
Add Disk to Cluster
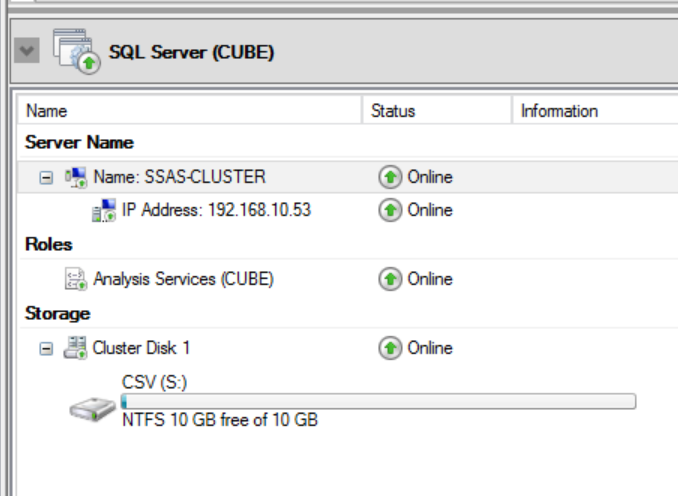
With the Failover Cluster Manager, I can now add my disk to the Cluster and use it later for my Clustered Instance of SQL Server Engine or SSAS.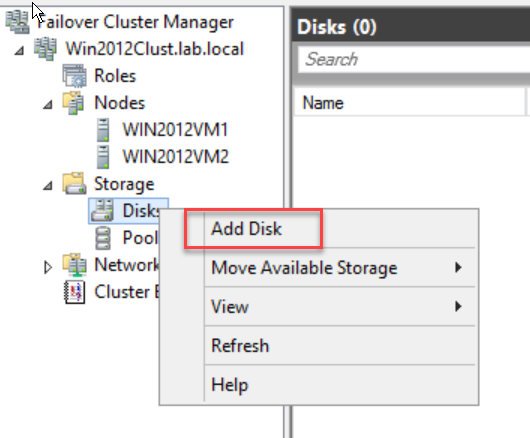
That’s it. The new disk is now an Available Storage for my Windows Failover Cluster.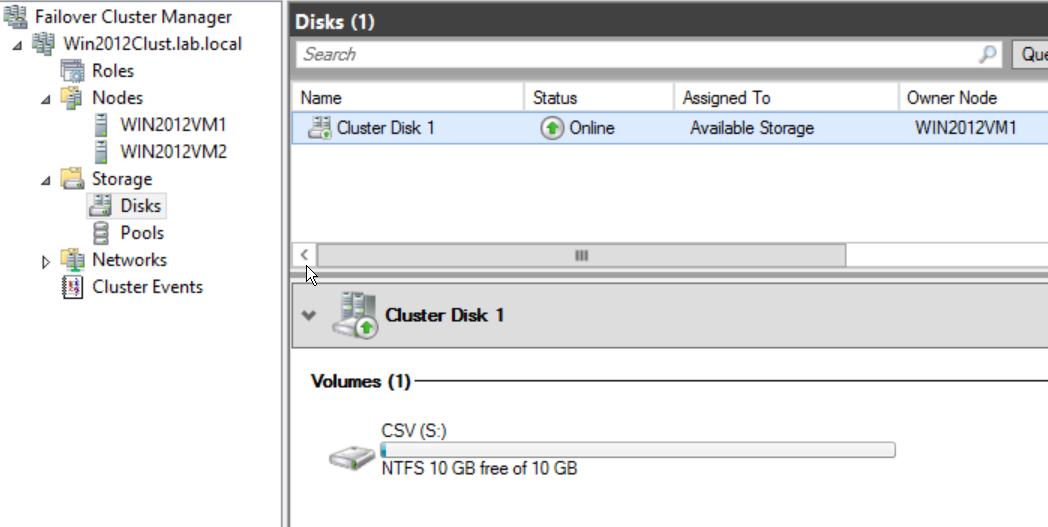
I hope this blog post can help you setting up your Lab and playing with Failover Cluster instances.
![Thumbnail [60x60]](https://www.dbi-services.com/blog/wp-content/uploads/2022/09/SNA_web-min-scaled.jpg)
![Thumbnail [90x90]](https://www.dbi-services.com/blog/wp-content/uploads/2022/08/DWE_web-min-scaled.jpg)