In this Blog I will write the requirements and steps to install SUSE Manager Server. Maybe you heard about SUSE Manager but you could not understand why a SUSE Manager Server (SUMA) can help to manage your server environments easier.
How can SUMA help you?
- Without automated processes, the systems management overhead increases, and this leadS to increased costs.
- Get a complete hardware and software inventory of your systems.
- Install Software with few clicks to multiple servers
- SUSE Manager delivers complete life-cycle management for Linux systems (System Deployment, Patch Management, Subscription Management, Configuration Maintenance)
- Create custom repositories for delivering RPM based applications
- Patch Management
- Manage Docker Images
SUMA4 Architecture
- Salt Master
- Broadcast commands to be executed down on the Salt Minions
- Salt API
- This is the connector between Tomcat and the Salt Master
- Tomcat
- Implements the SUMA web UI
- Taskomatic
- Mixture of the “cron” and “at” commands
- PostgreSQL
- List of all clients & repositories
- Reporting information
- etc.
- ZeroMQ (0MQ)
- messaging library designed to connect disparate parts of any distributed systems
Requirements:
- SLES 15 Installer Media
- Hardware requirements:
- RAM: 8GB for test, min. 32 GB for production Server
- CPU: For up to 200 connected systems 4 CPUs, for 201-1000 Systems 4 to 8 CPUs
- DISK: Depends on how many products you are supporting. min 150GB
- Firewall Ports:
| 25 | SMTP for SUSE Manager to send notifications emails |
|---|---|
| 80 / 443 | Connecting to SCC (SUSE Customer Center) |
| 5269 | Connects a SUSE Manager proxy to SUSE Manager for pushing actions to proxies and clients via the proxy |
Important: Choose the host name of the SUMA server carefully. Changing the name after installation is doable, but not supported.
Installation
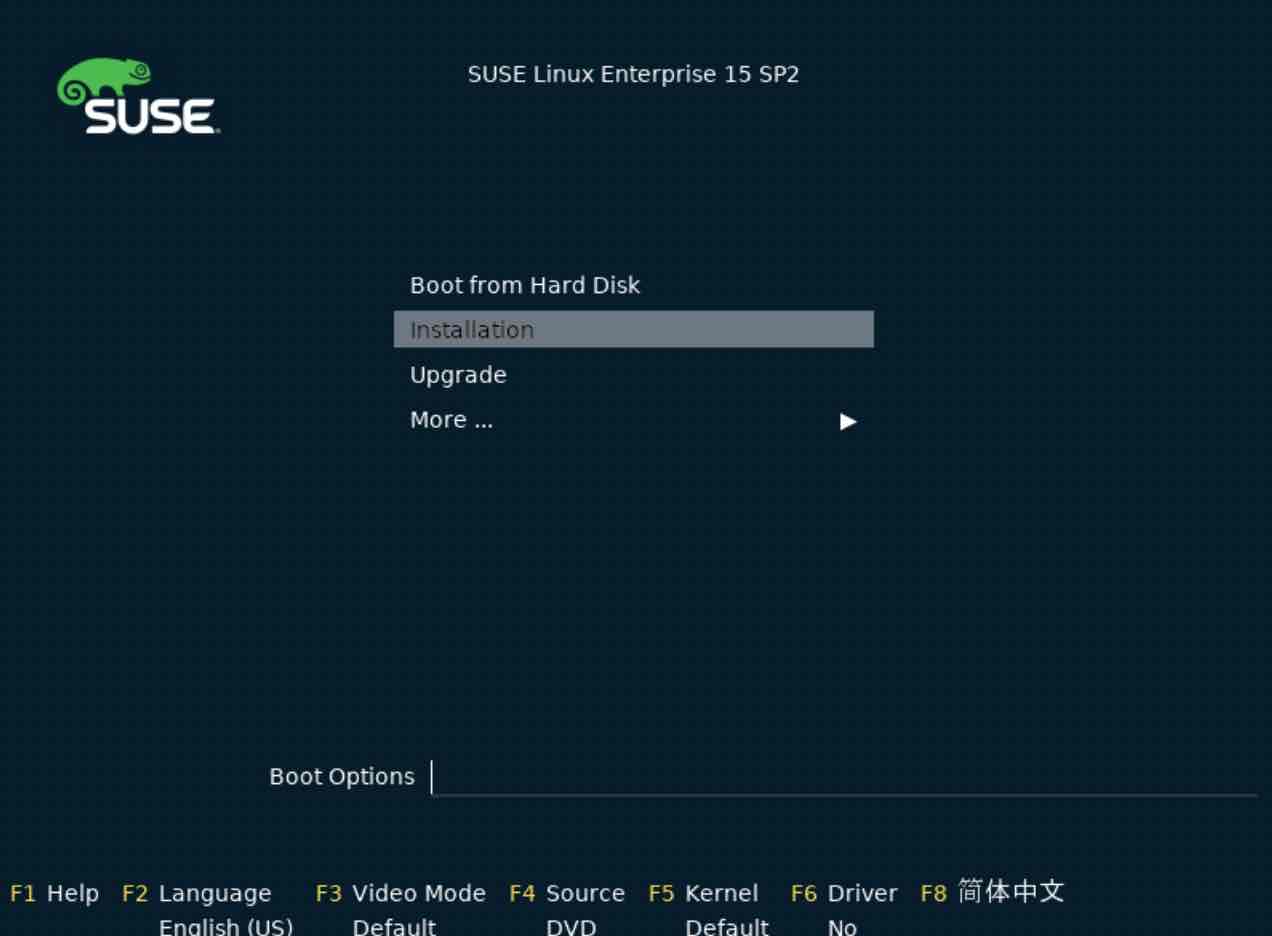
Boot from ISO and select Installation
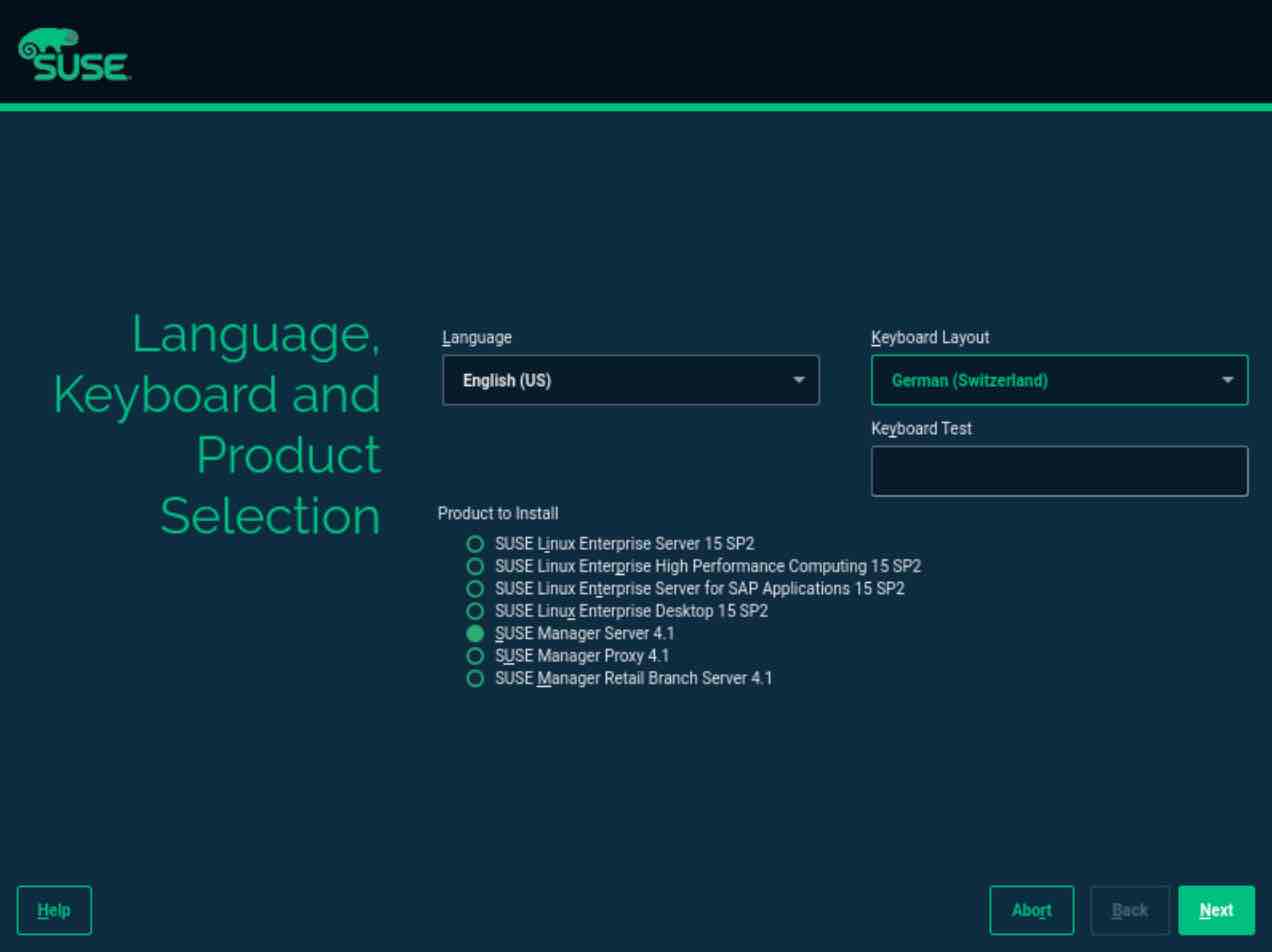
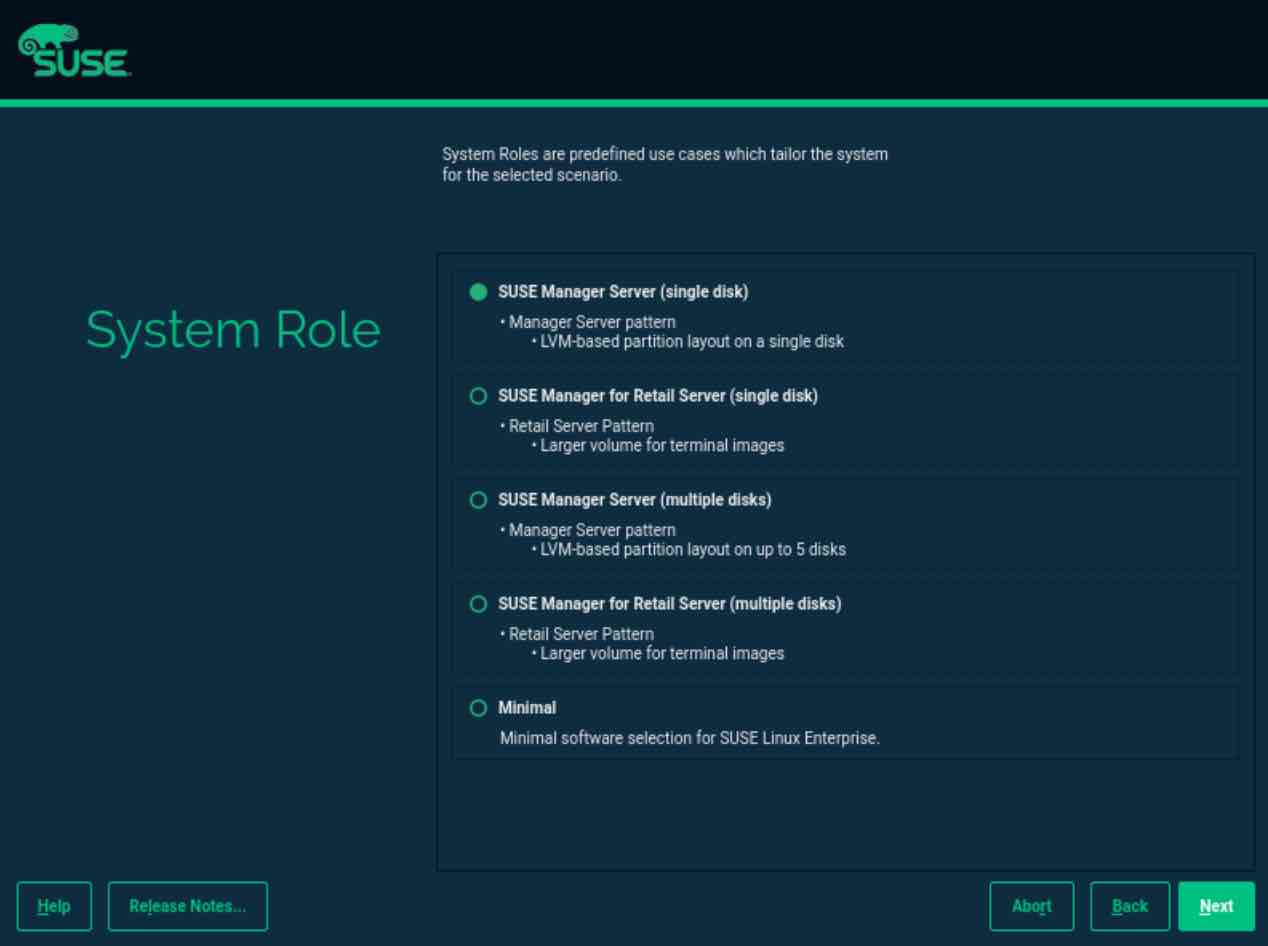
Select SUSE Manager Server 4.x
If you do not register, the updates and security fixes will be disabled. You gen also get for 120 Days trial access code from here:
https://scc.suse.com/product/suse-manager?architecture=x86_64&version=4.1&_ga=2.98972762.59522187.1609766212-1527968285.1605703189
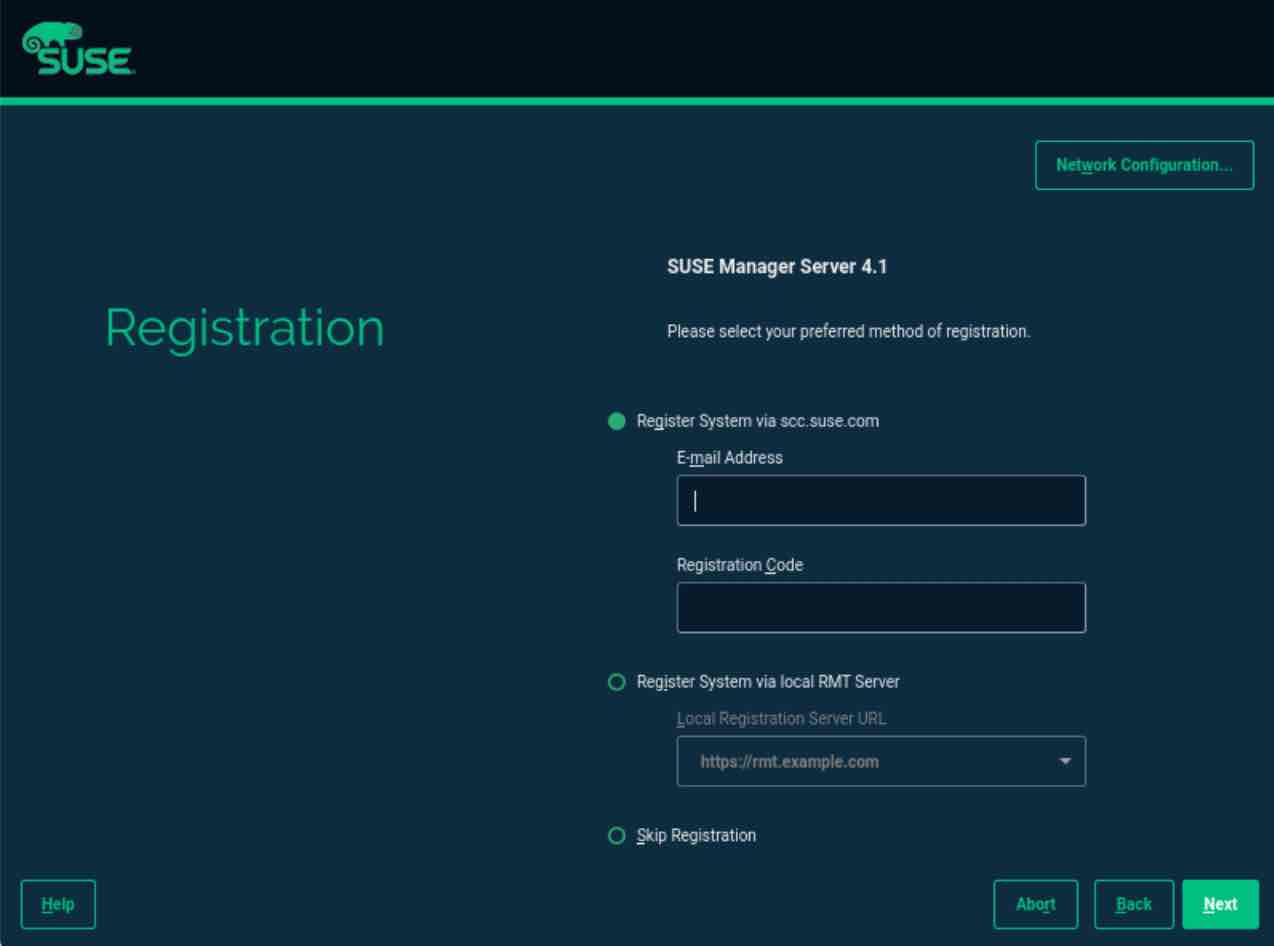
Just click next
For testing it is enough to install the SUMA on single disk, but for a production server we recommend you to split the OS and Database etc.
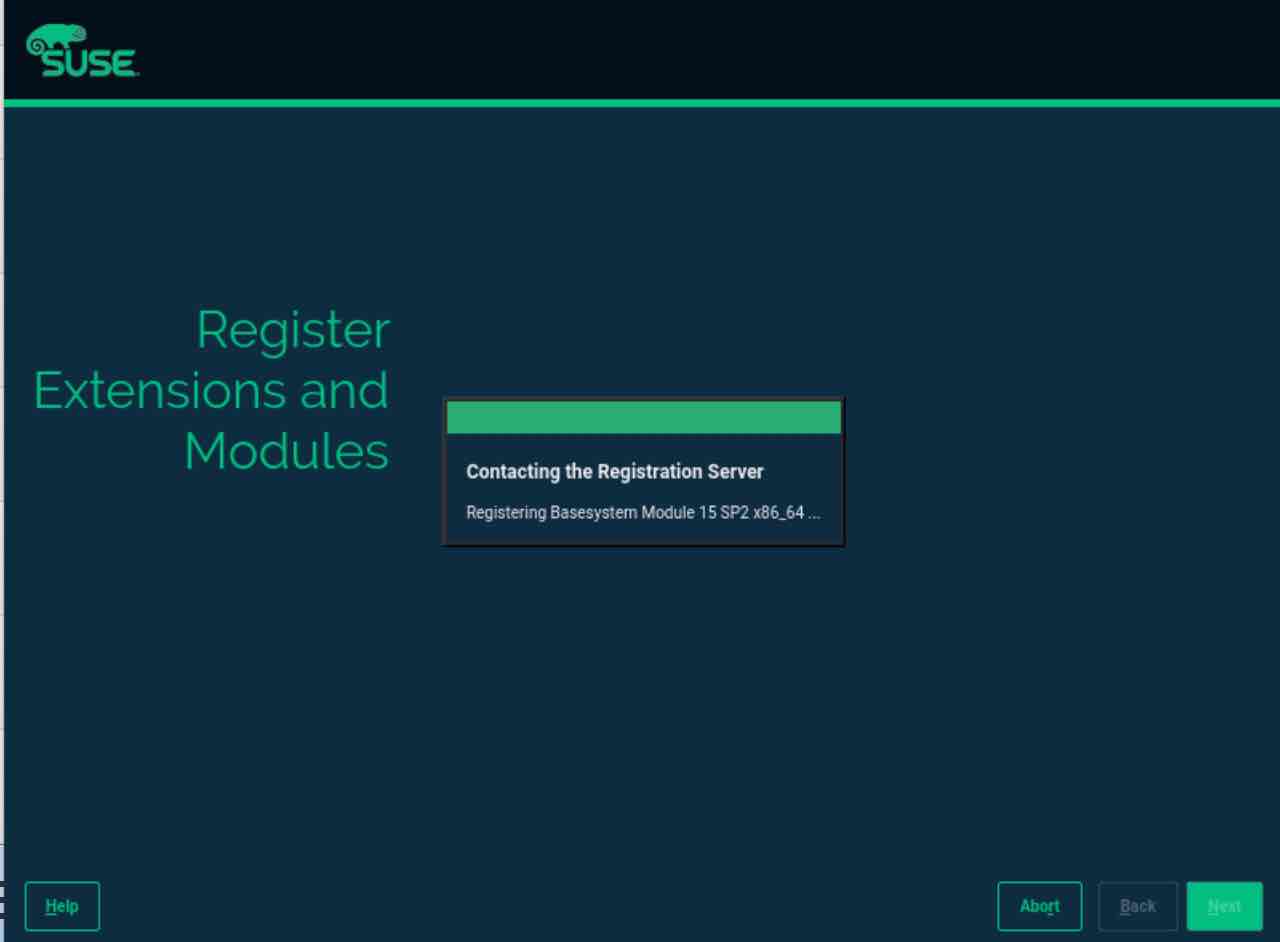
The registration can take a few minutes.
The last step is to configure the root password.
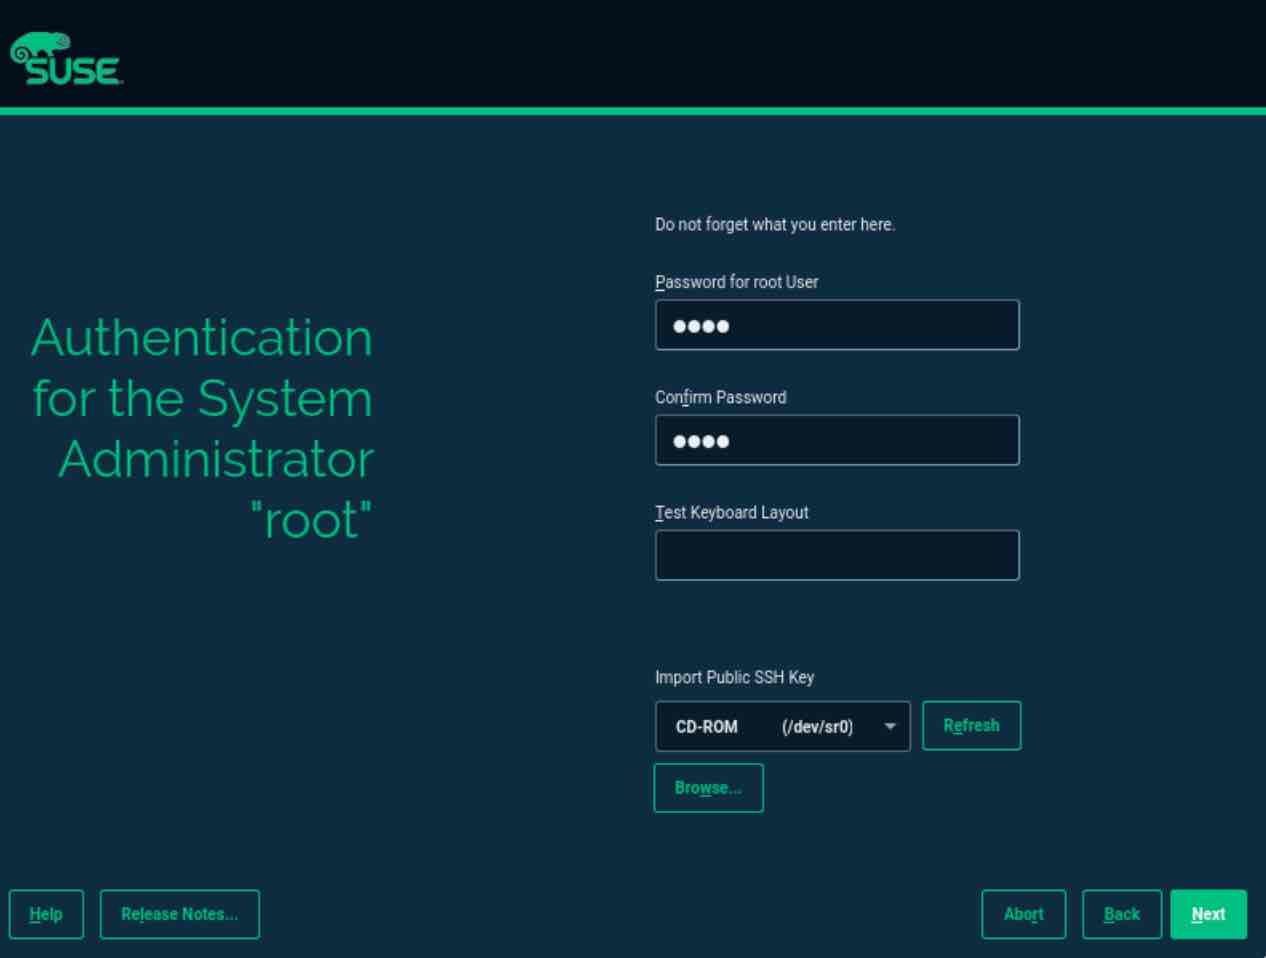
If you want to enable SSH, you should click on “enable” SSH:
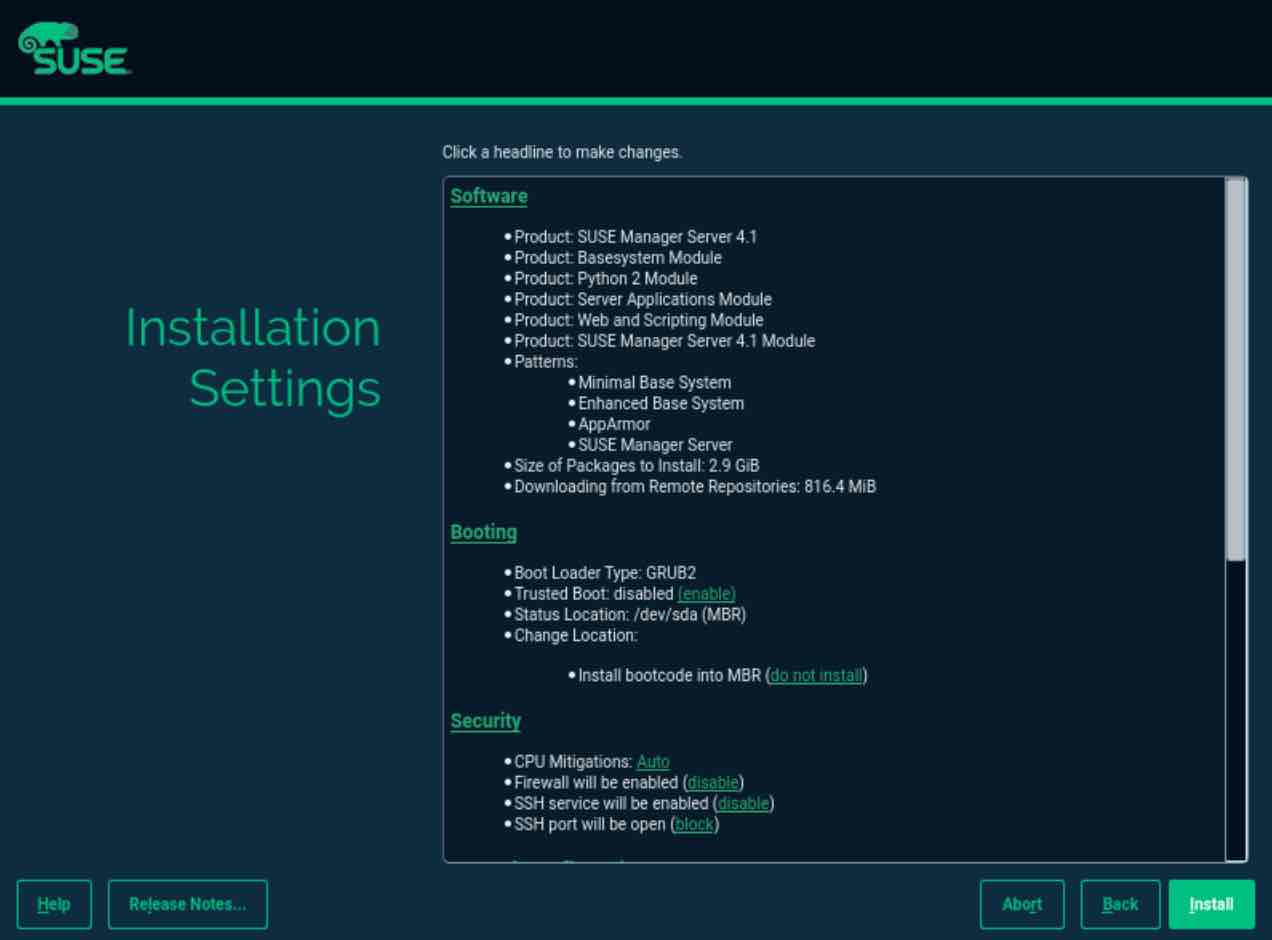

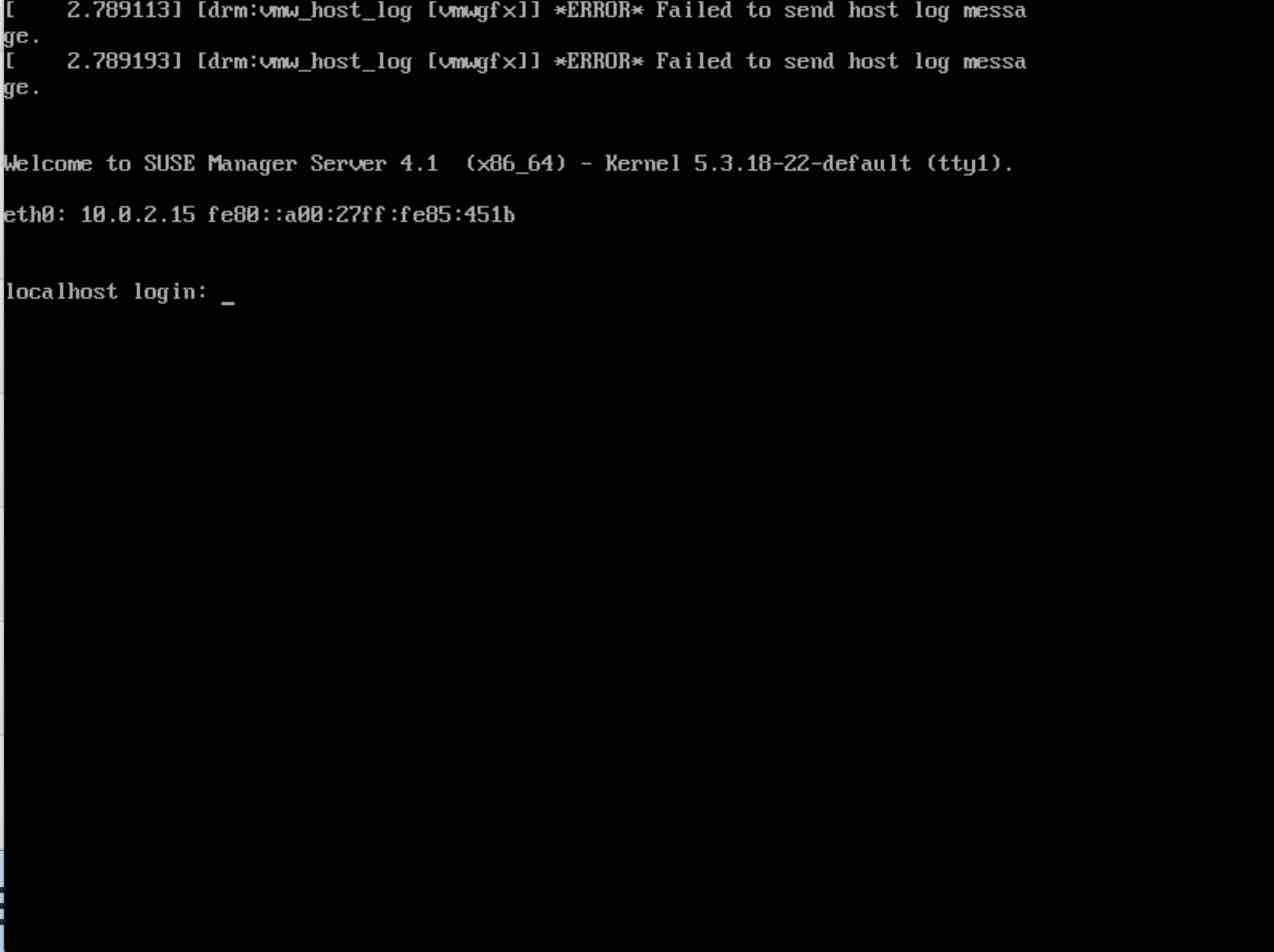
The installation of the SUMA Server done 🙂
SUMA configuration
Let’s start configuring the SUMA Server: yast2 susemanager_setup
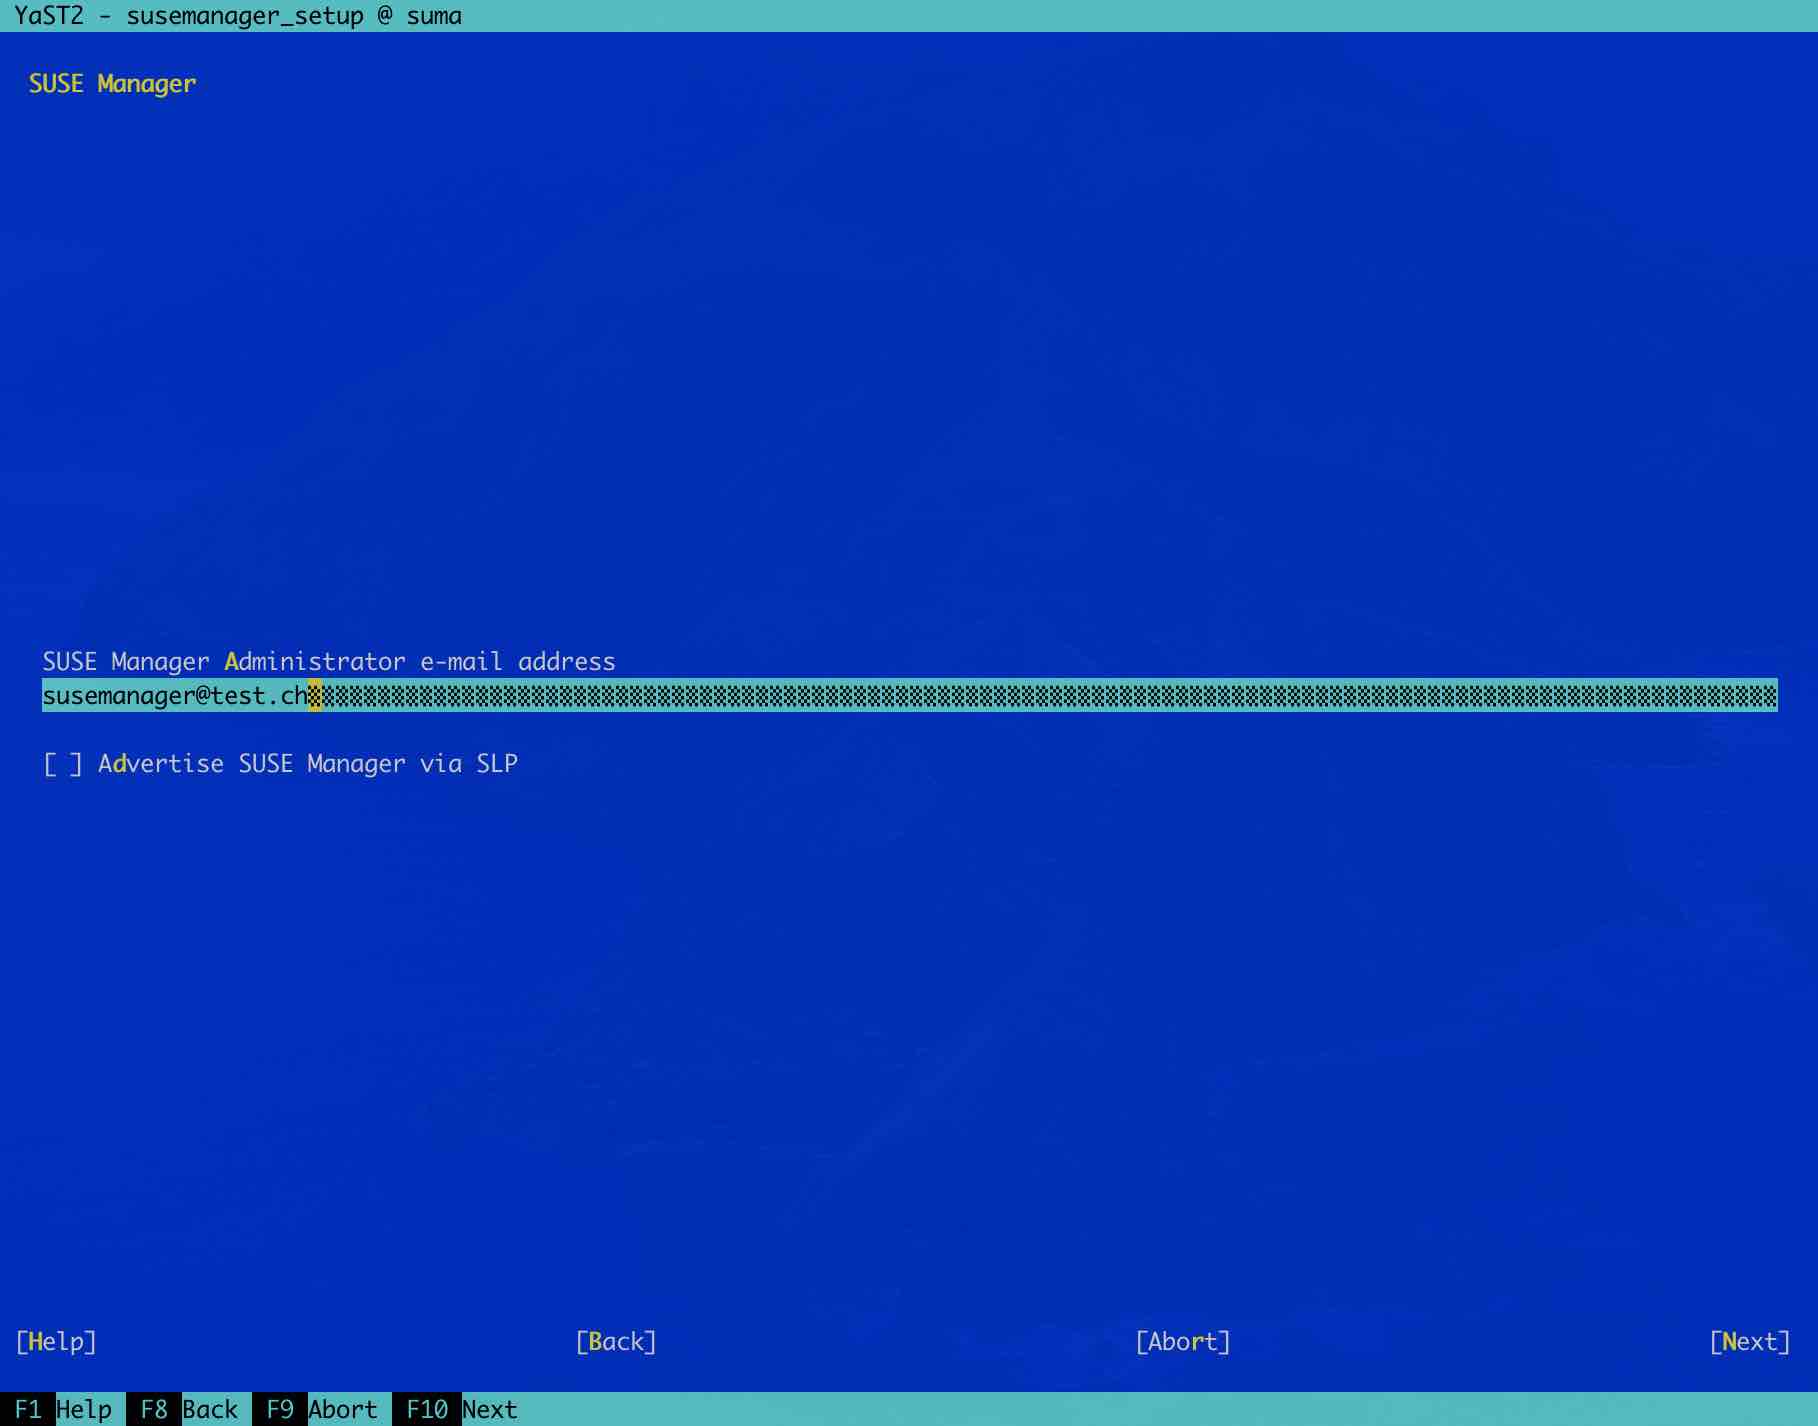
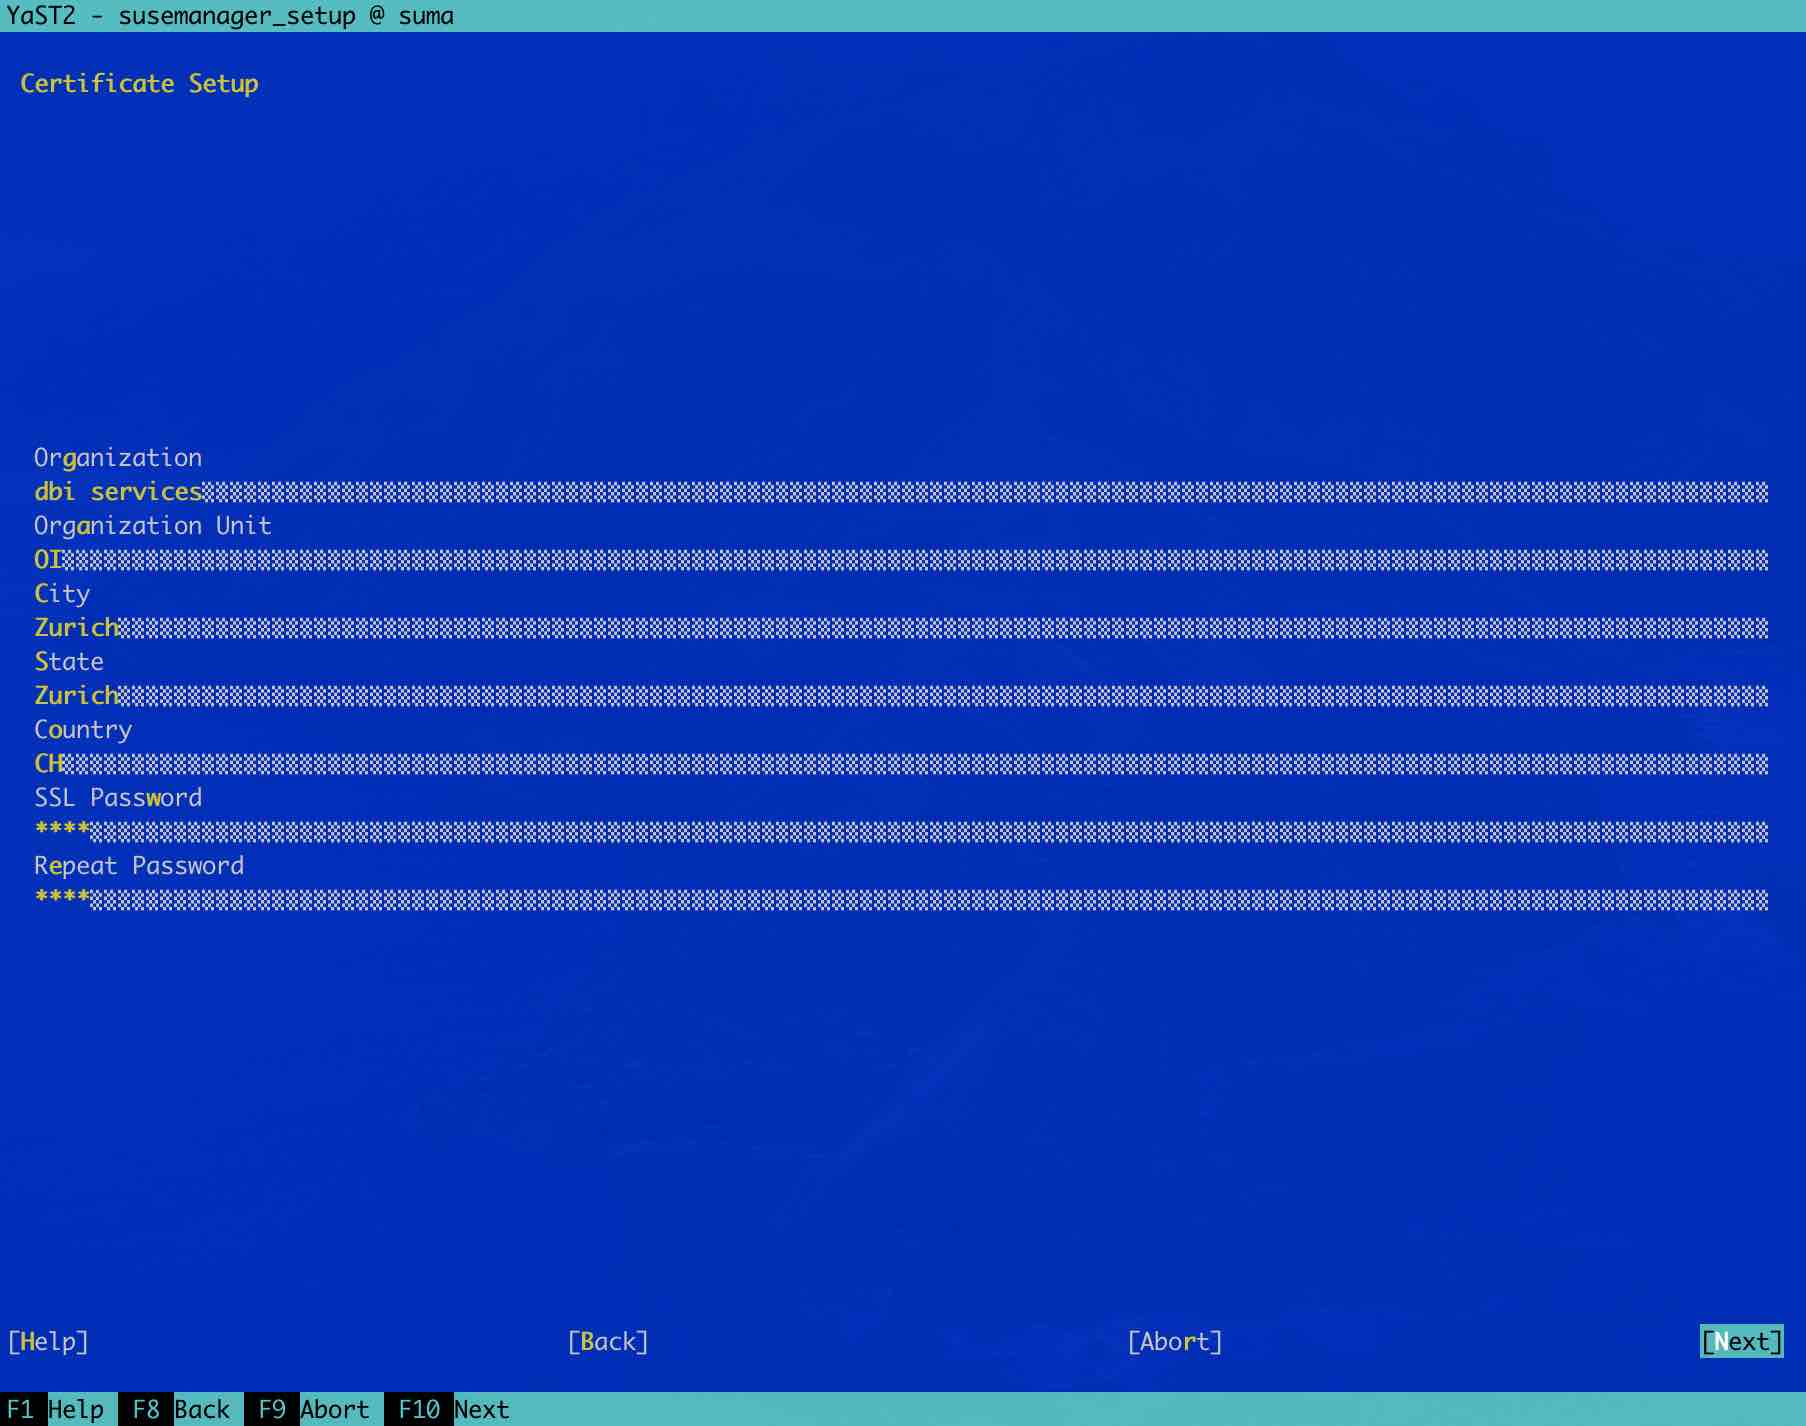
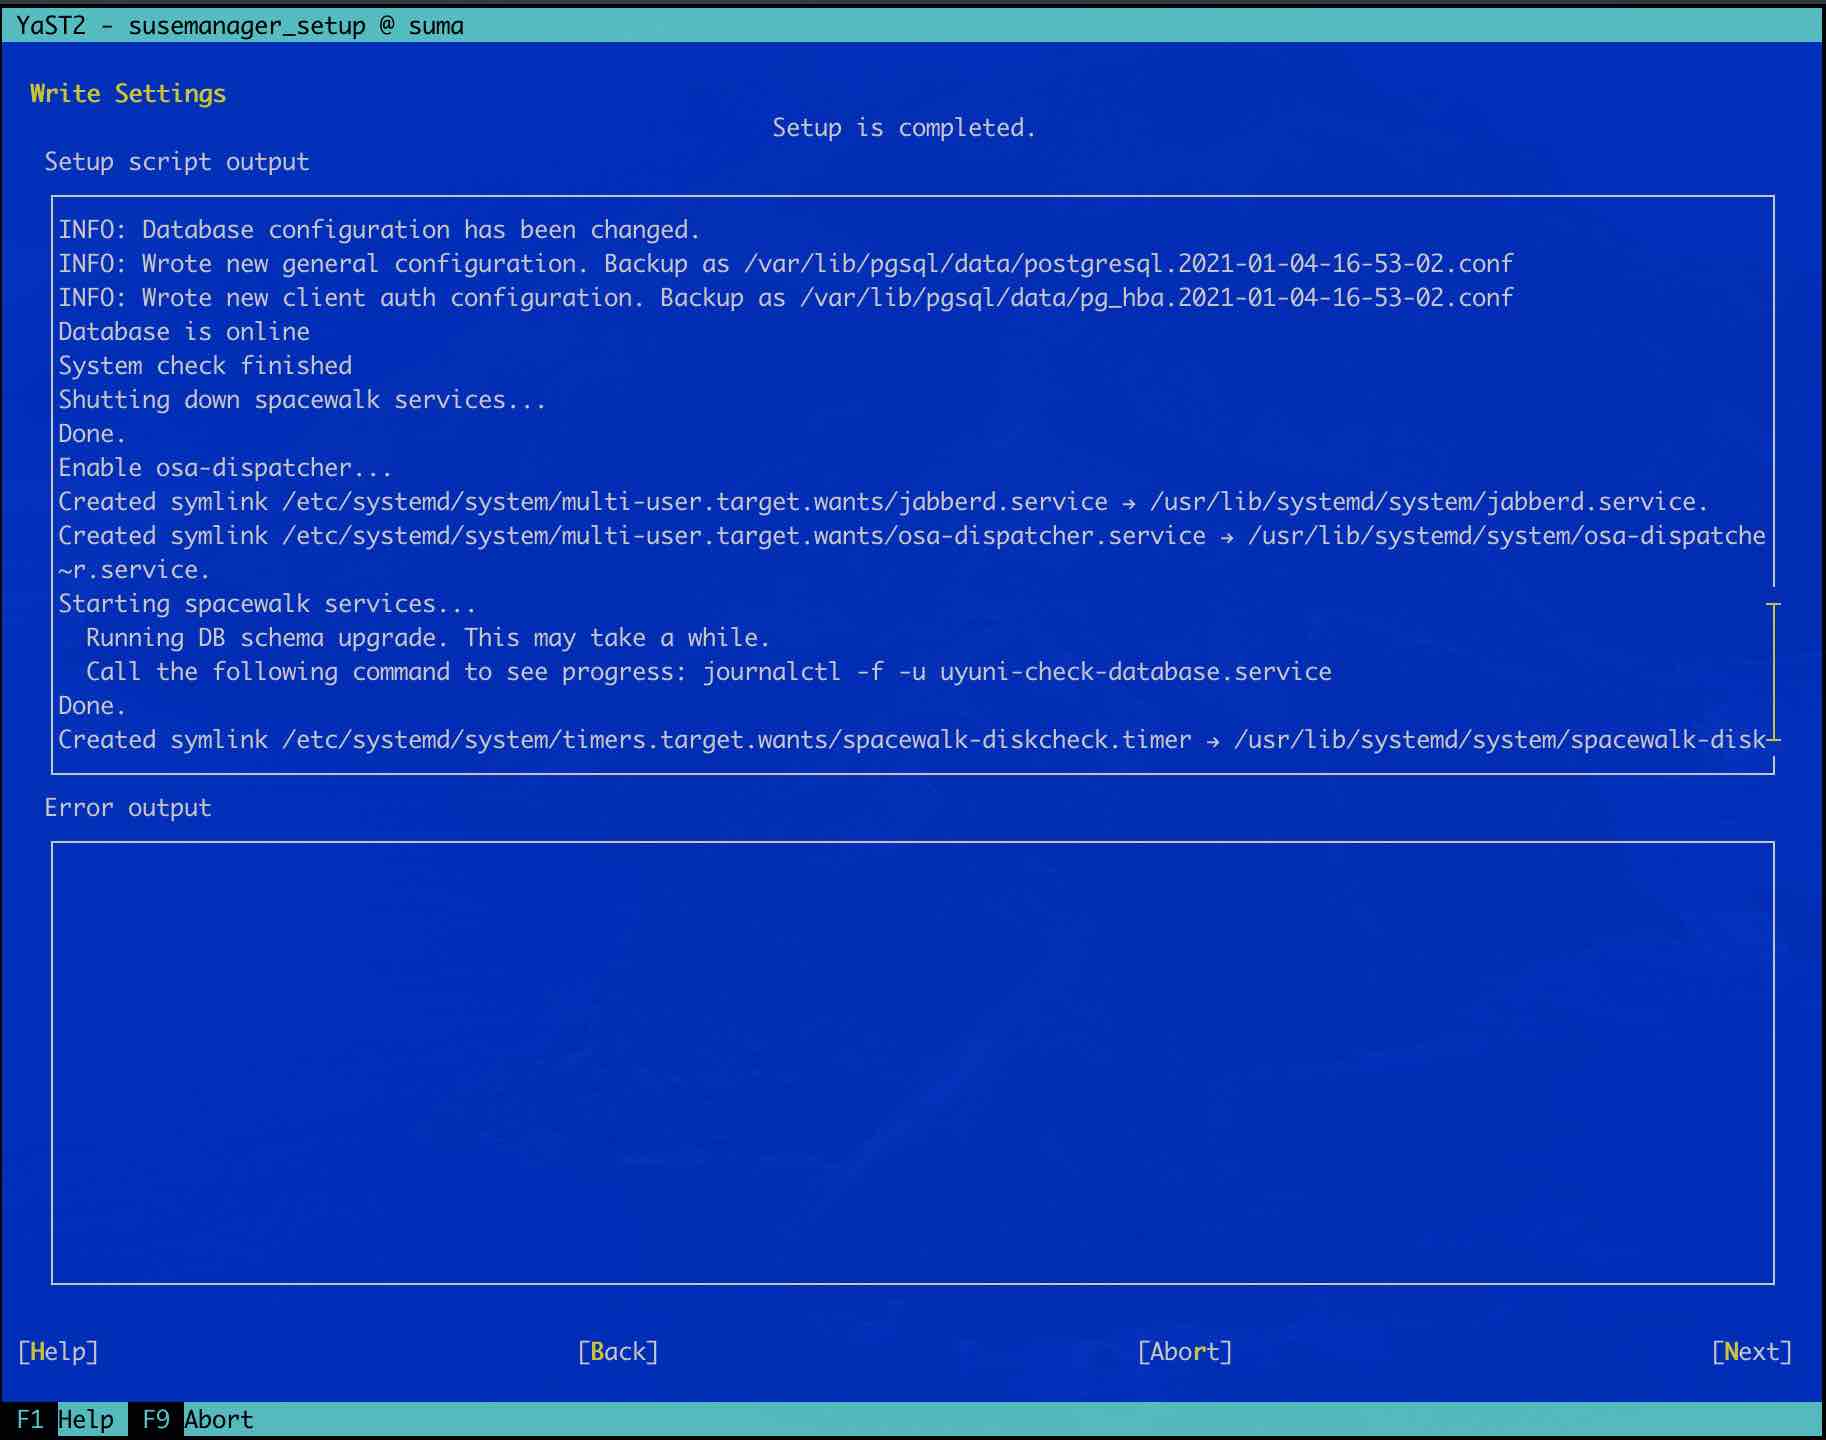
SUMA Certificate Setup.
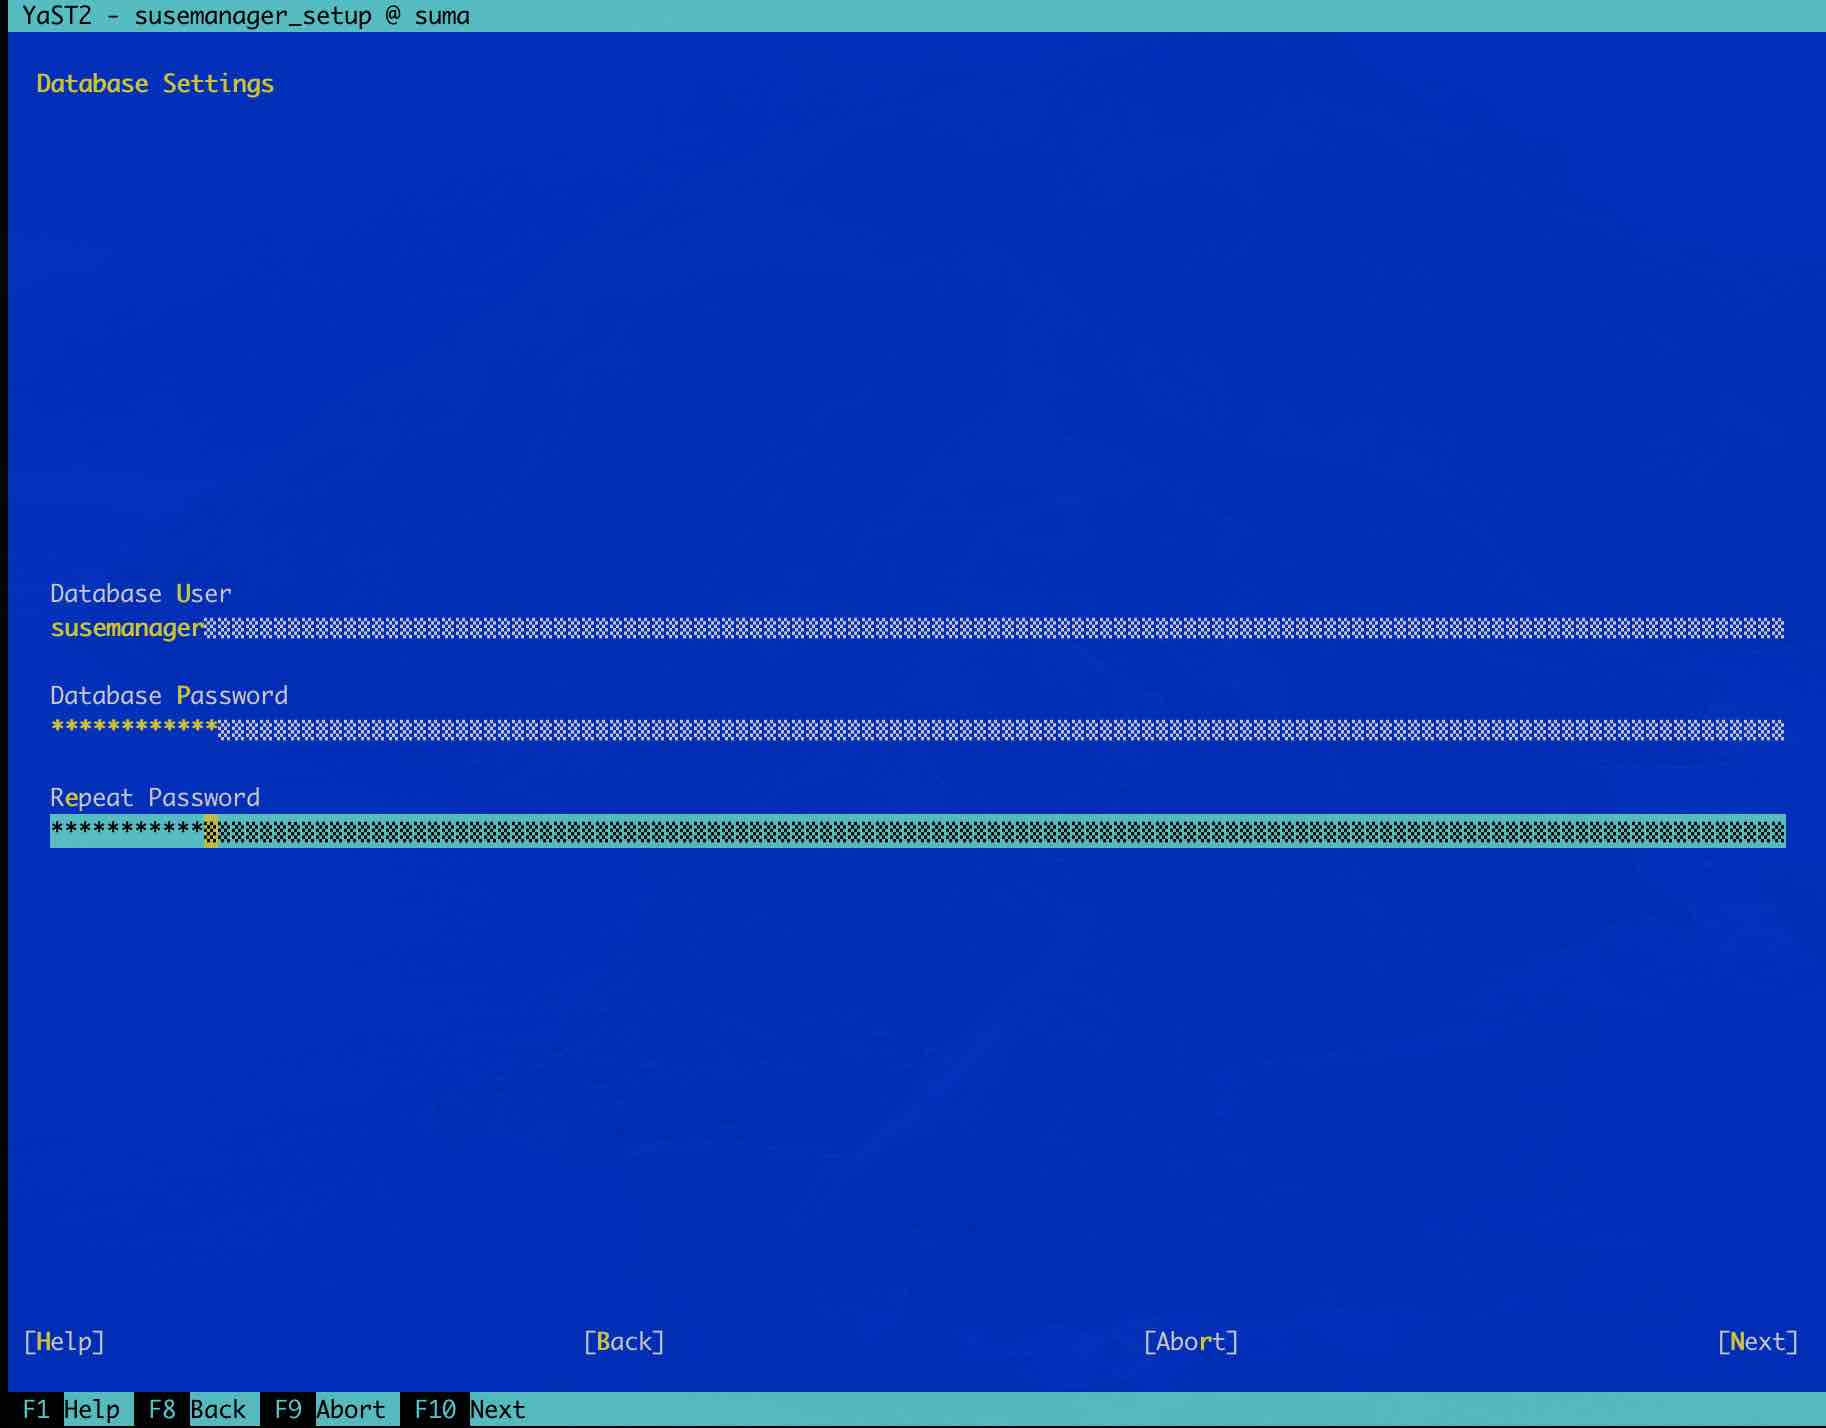
PostgreSQL database and user will be automatically created. I recommend you to write this password somewhere like in a KeePass.
The Installation takes few Minutes. Once in the top is writing “Setup is completed”, you can click on Next on the right bottom.
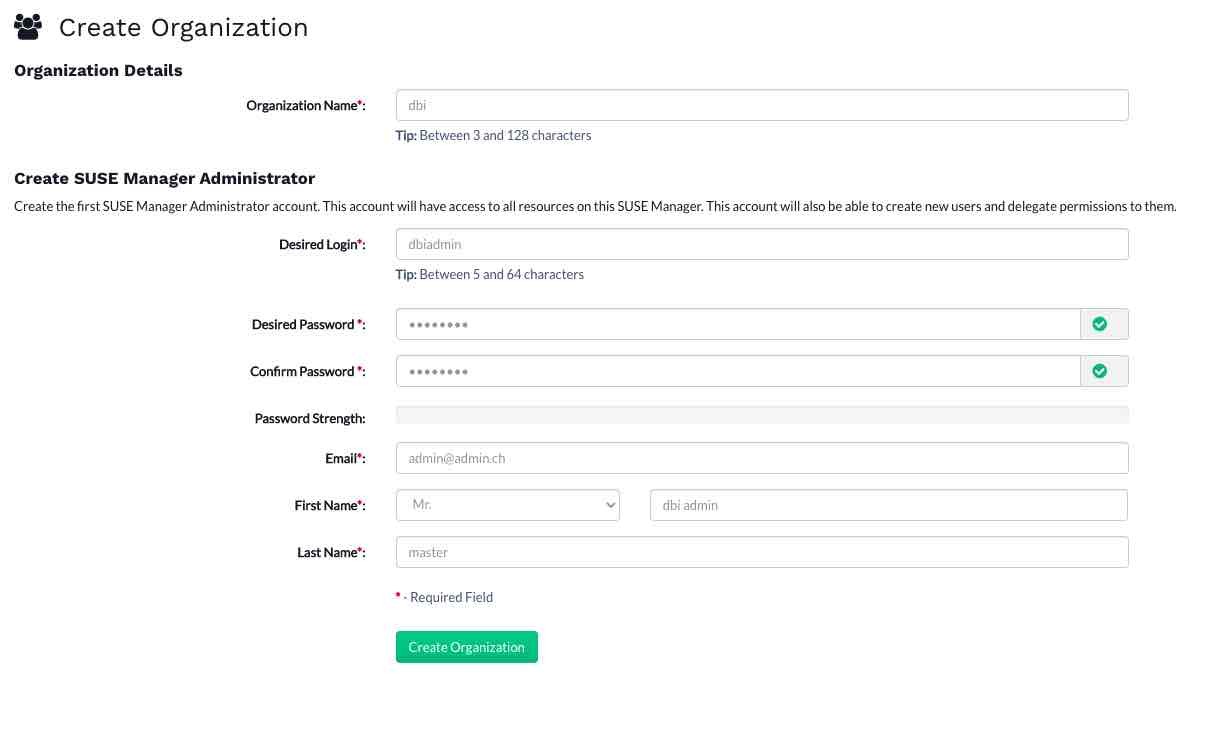
After the installation, you are able to connect to the server using any browser. Open Webbrowser and type: https://<your-suma-ip / hostname>

As you see the installation of SUSE Manager is not difficult. But there are few points which is very important:
- Split your DISK’s
-
min Size Description / 100GB file system /var/spacewalk 50 GB per SUSE Product, 100GB RHE product /var/lib/pgsql 50 GB Database /srv/www/htdocs/pub for custom repositories /var/log
-
- Installing SUMA4 on an existing SLES Server is not supported!
![Thumbnail [60x60]](https://www.dbi-services.com/blog/wp-content/uploads/2022/05/open-source-author.png)
![Thumbnail [90x90]](https://www.dbi-services.com/blog/wp-content/uploads/2022/08/DWE_web-min-scaled.jpg)
![Thumbnail [90x90]](https://www.dbi-services.com/blog/wp-content/uploads/2023/05/STM_web_min.jpg)